When you are a 2D artist, perfection is always something you seek. And apart from perfecting your understanding and application of anatomy, light, shadow and other art fundamentals, one very important thing, most notably when it comes to 2D digital art, is the post production editing of your drawings and digital paintings.
While we see mediums and varnish used in oil paintings to bring out their true colors and give them a boost in their appearance, we have, in digital art, plenty of options and software to help us do the same.
For this purpose we thought it would be a great idea to compare between one of the most popular and most known photo manipulation and graphic design software used to edit pictures post their production, whether 2D art or photography. With that said, let’s jump into the exploration of Gimp vs Lightroom.
GIMP vs Lightroom Comparison Overview
Let’s start out by giving you a general idea of these software.
First, GIMP. GIMP, or more specifically, GNU Image Manipulation Program, is a software first developed by Spencer Kimball and Peter Matti.
This software was intended for retouching and modifying raster graphics (You know, png, jpg and jpeg images as opposed to vector graphics) Something made for photographers more than anything. This software is free and open source, meaning the source code for it is out there and you can pick it up and add new tools and options if you’re tech savvy.
The software can be used on MacOS, Linux and of course, Windows. Although the software has a couple of drawing tools, it is not made for drawing or digital painting, trying to use it for such purposes can be a losing battle.
In fact, we explore this in other comparisons:
Feel free to check that out!
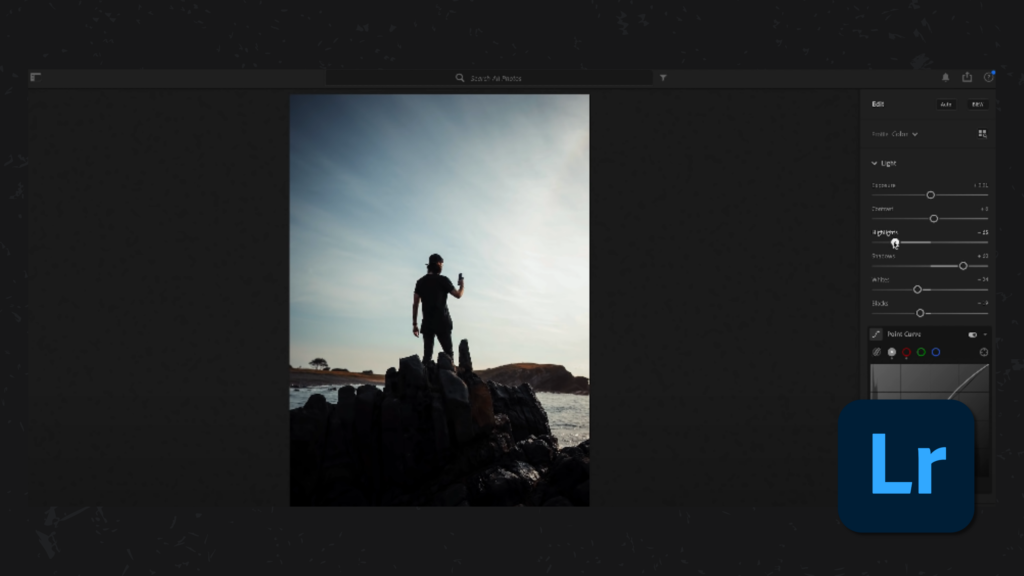
Now that we know a bit about GIMP, let’s explore Lightroom a bit.
Lightroom, or more professionally, Adobe Photoshop Lightroom, is an photo editing software in all of its glory. You might be wondering what’s so different between Photoshop and Lightroom, think of it like this, Photoshop can be used for 2D digital art and photography, while Lightroom is all about image editing, organizing, viewing and sharing. It’s very laser focused on photography.
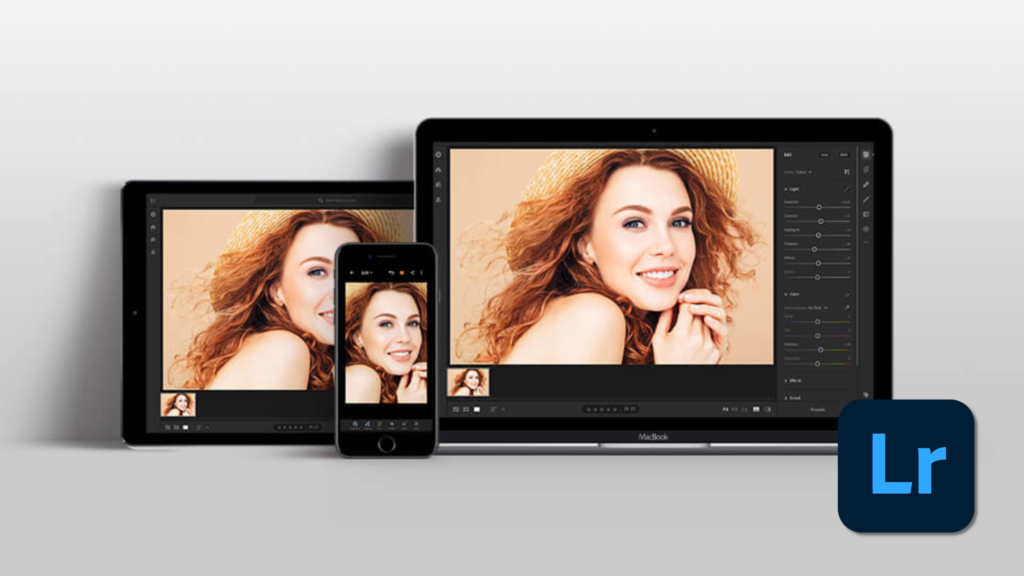
The software is not only available on the usual MacOS, Windows but also IOS and Android. It comes in the format of apps that you can download and use on your phone and tablet. Pretty neat!
Lightroom is not free and it comes as a part of the Creative Cloud subscription which has many different types and prices, however the mobile version is free, albeit having a premium version with extra goodies. It all depends on whether you think that’s worth it for you or not.
If you think that comparing a free software with a paid one is not fair, you can check our comparison of Lightroom vs Photoshop to eliminate the pricing advantage.
Now that we know a bit more about the two software, let’s explore them on a deeper level.
Interface
The interface of a software is a very important aspect of it as you’ll be staring at it for most of your time using the software. Let’s see how the two software present themselves to the user and how the user experiences their usage.
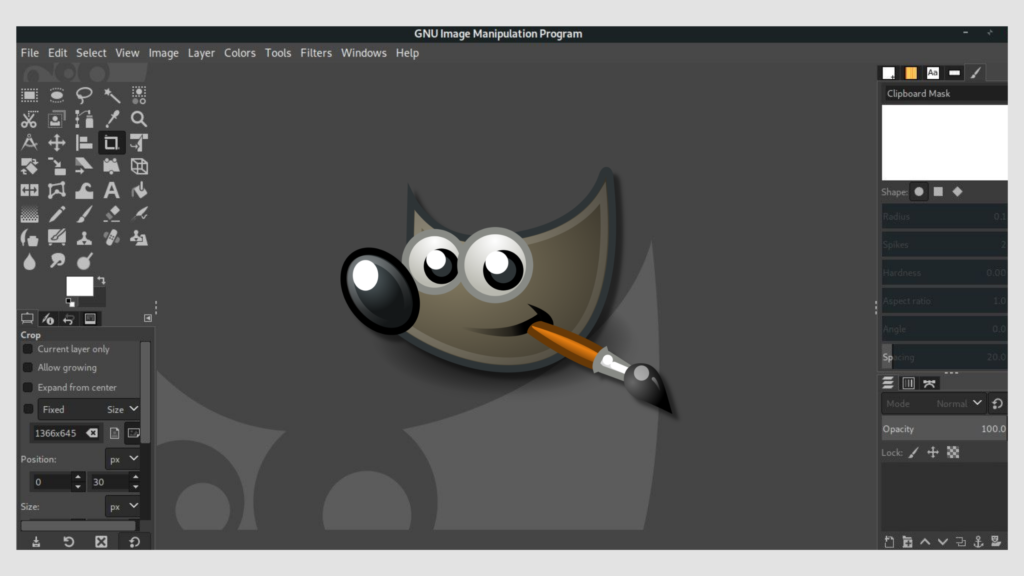
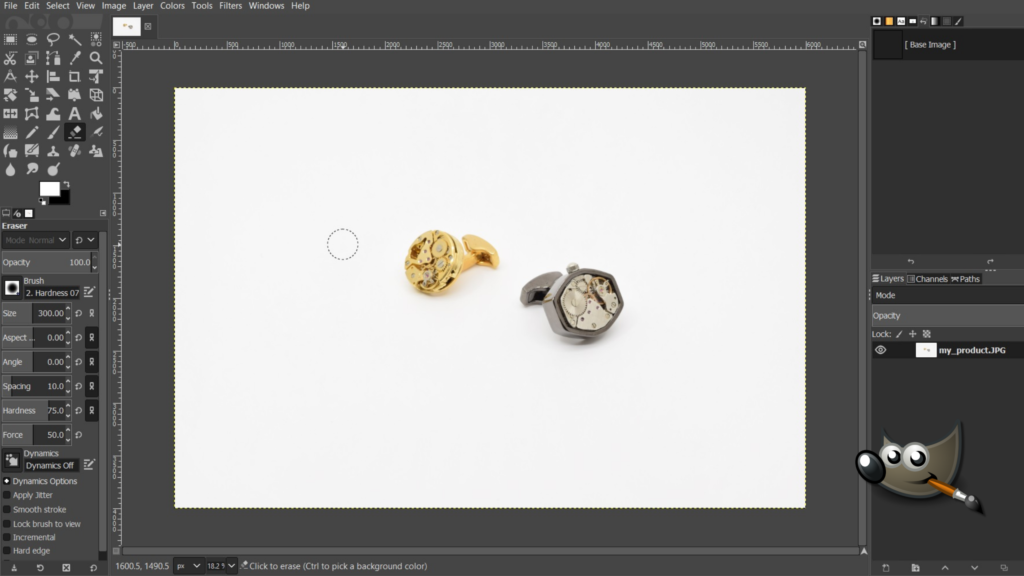
Let’s start off with GIMP. When you open GIMP you have a regular 2d software interface with a toolbar on the left with different tools such as brushes, selection tools, Magic wand etc.
On the lower end of that you would have your brush customization options if you select your brush tool, or text customization if you’ve selected your text tool.
The right side has a docker that contains different brush shapes, textures and text styles and on the bottom right you have your layers and different layer options, as well as Channels, and Paths dialogues. The software also has multiple themes from Dark to Light that you can choose from depending on what suits you best.
And finally we can’t forget the ‘canvas’ space in the middle where you can work on your pictures. This, however, doesn’t mean that the software isn’t customizable in its presentation. GIMP actually allows you to change almost everything about the interface to fit your needs. However, it’s much more of a less user friendly program as you would need to do a lot of looking and searching for things, unless you’re following a tutorial.
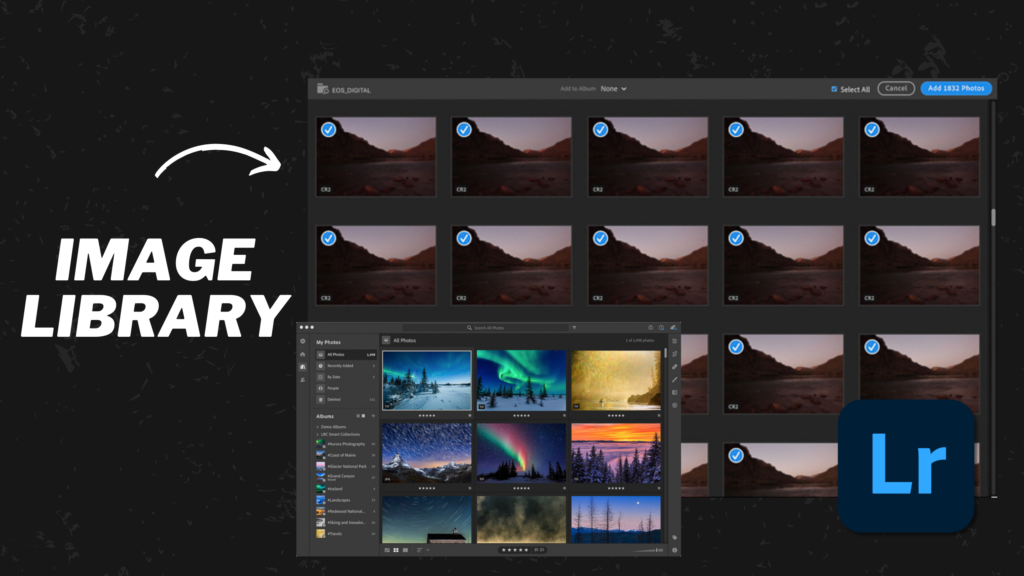
Let’s now move on to Lightroom. Lightroom, upon opening, is like no other 2D program. Since the software works as an image organization software, you’ll be first met with the library ‘module’ or simply the library section where you can organize your pictures.
Once you import your pictures, you can go to the Develop module and explore your presets and browse your edit history.
On the right side of your Develop module you have all of your image editing tools, cropping, resizing, healing… etc. The other modules have purposes but they’re less significant, the map module puts your images in a Map, the Book module puts them in a book, the Print module, well does just that, and the Web modules puts them in a web gallery.
The options available directly in the modules and the dockers and panels are quite simplistic in comparison to the ones in the menu bar or those that can be accessed by right clicking on specific panels. This keeps the software compressed and less intimidating. Lightroom, with its interface, does more hand holding as it guides you through the process of editing your photos.
Tools and workflow
Now that we know how the software presents itself, let’s explore the tools they give and how they are operated.
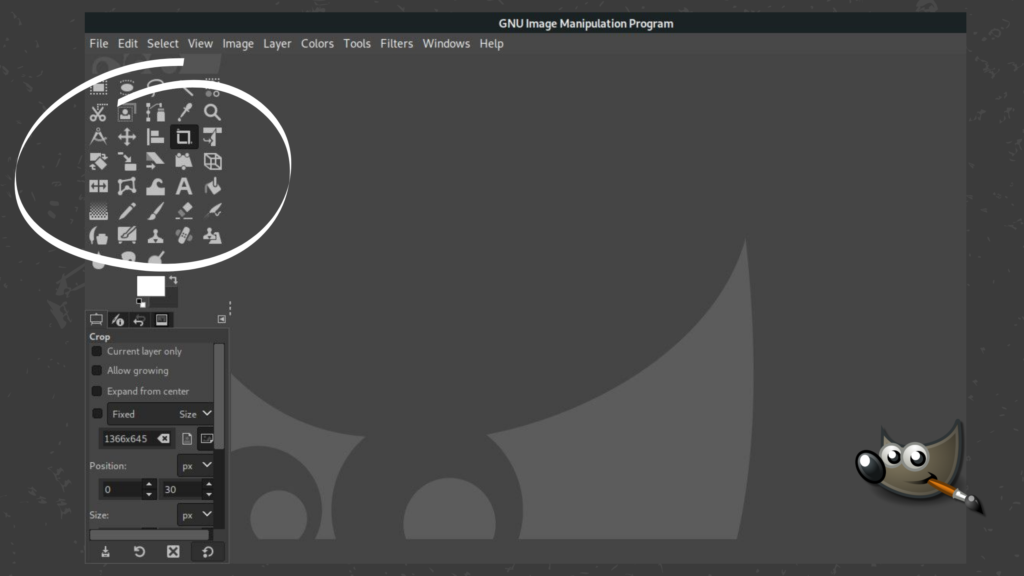
Starting off with GIMP, when you import your images you have plenty of tools and options to work with. You have your usual, but valuable, selection tools in all shapes and types. You have your painting and drawing bushes, healing and cloning tools, smudging, blurring, sharpening, dodging and burning and so many more.
You also have a variety of tools for all of your transformation purposes such as rotating and cropping and even wrapping and 3D transforming. And of course, we can’t forget color tools, you have your levels and curves, your color balance as well as saturation and exposure.
GIMP also possesses many filters, such as the blur and distort ones, there are easily hundreds upon hundreds of these filters that we can not possibly talk all about in this video.
With all of these tools GIMP provides you with the ability to remove backgrounds, skin retouching, or fix a red eye or remove eye bags and even put on makeup on your subject. Your limit is the sky. And the ways you can apply this to your drawing are endless. Especially with the many many filters available, it’s all about you and your creativity and skill.
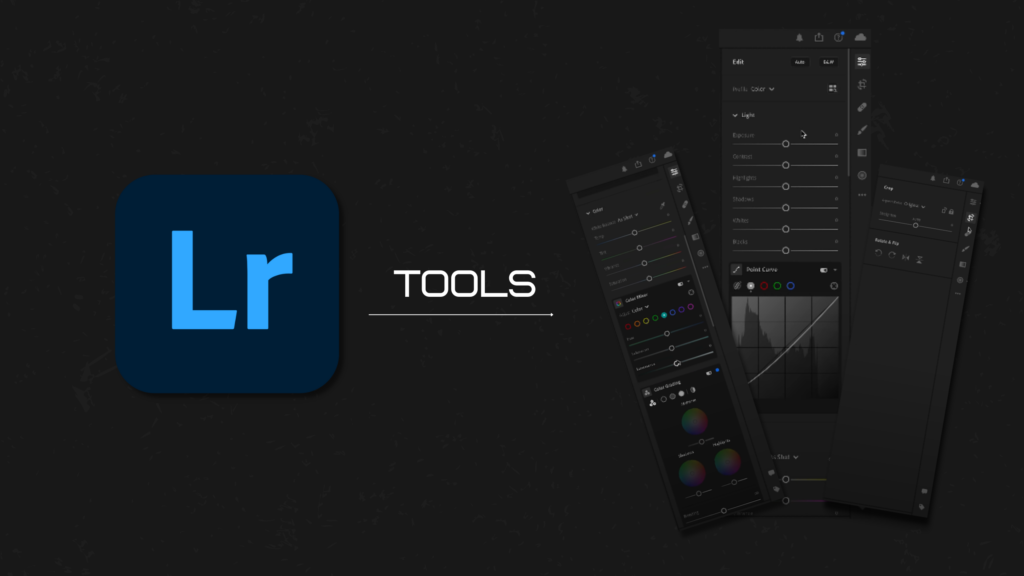
Now let’s move on to Lightroom, with Lightroom as you import your image from the library, you can also add other images and organize them in that module according to your needs. As you move from module to module the panels or dockers will change according to what you need.
Just like GIMP, with Lightroom you can remove shadows, or red eyes and all those classic image manipulation operations. The tools Lightroom has are countless, you have your clarity tool, your sharpness tool for when you feel like your picture is way too blurry. The vignette tool can add dark corners to your artwork and make it a lot more dramatic. The Tint, Hue, Saturation and and Luminance sliders can take your art to the next level.
You can also create presets, meaning filters, or import them. And with the countless tutorials on YouTube you can make your image look like it’s from a 90’s movie or have it look photographed and developed using blurry film. You can make things glow or look somber.
One great thing about Lightroom is that it applies non-linear, or non destructive editing, meaning that it won’t ruin your image forever and you can actually go back and forth in your editing history, this way you can go crazy and completely experimental on your photos and not fear losing the original image. Unfortunately this option isn’t available in GIMP so be careful.
Learning curve
For every software ever there is a learning curve for sure, but Lightroom is definitely built with Photographers in mind. It has a much more streamlined workflow and much better designed user interface and user experience.
GIMP on the other hand, while familiar in its interface and tools as it resembles many software such as Krita and Photoshop, still has you looking and digging into it to find the tools you need.
With that said there are many tutorials and blog posts about both software that you‘ll soon find yourself accustomed to the two software quickly, provided that you put in the time and effort.
Conclusion
Let’s put this simply:
You’re a well established photographer and want something that can not only help you edit your pictures easily but also organize them for you and provides you with RAW image processing as well as non-destructive editing, Lightroom is your best bud.
But if you happen to be a beginner or a hobbyist and you can not afford to be paying a subscription, but still want a software that can help you edit your images, maybe add a pixel or blur effect here and there, you have GIMP by your side for that.


