If you want to immerse yourself in the world of digital painting and graphic design, the paid tools like Illustrator and Photoshop aren’t the only options available. We went through a full comparison between GIMP and Illustrator before, and we even compared Krita to Procreate. To be honest, these comparisons had a very solid determinative factor, which is the price tag.
Today however, it’s the battle of free graphic design software. We will emphasize this specific point today by looking at 2 popular free and open-source software: GIMP and Krita. You must be asking yourself: is GIMP better than Krita, or is it the other way around? Are we on the verge of witnessing the ultimate GIMP vs Krita face-off?
Our goal here is to raise your awareness on the differences of these tools, and hopefully make it easier on you to pick the one that will suit you best.
GIMP vs Krita: is it only a matter of being budget-friendly?
Moving from traditional mediums of using watercolor, oil or acrylic to digital painting seems like a necessary thing to do these days. With the ever increasing in technology, artists need to open a new window for them in the digital worlds. Therefore, if you want to become a digital artist here are some things to put in mind:
- Digital painting requires many of the same skills and techniques as traditional painting.
- To get started you need to choose the ideal hardware for you, like a good graphic tablet for example.
- Next, you need to choose the best software for you. There are many paid options like Photoshop and Illustrator. Alternatively, there are free options like Inkscape or GIMP and Krita that we will cover in this article.
Now that you’re aware of the challenges, here are some of the advantages of digital painting:
- Drawing on a computer or graphic tablet is less messy.
- It is much faster since you do not need to wait for ink to dry.
- Finally, it opens to you new ways of working such as using layers.
GIMP Overview
Let’s start this comparison with GIMP, which you’re most likely to know as the perfect alternative to Photoshop. As a result, it’s chosen by many photographers and designers that work mainly with photos. Using Photoshop for digital art and photo manipulation isn’t big news. But the most interesting thing is how GIMP is being nearly as popular.
The main reason for that is because GIMP relies on a raster graphics system, which is the bitmap technology. It’s the one that allows you to go into the pixel depth and the very details of a photo. The fact that it’s light and powerful makes it very efficient to work with for advanced image manipulation and retouching.
Official Website: https://www.gimp.org/
Krita Overview
The second tool that we’ll cover today is Krita, which is also a free and open-source graphic design software. The first thing that we have to point out in this comparison with GIMP is the noticeable difference between them. Not specifically in the tools and features, but in the general framework that shapes them.
Krita is a lot more focused on the painting and the drawing aspect from a computer graphics point of view. A lot of artists choose it to simulate the classic drawing in a digital environment, like graphic tabs or even plain computers.
Official Website: https://krita.org/en/
Now that you have a general idea about today’s opponents, we’ll approach this Krita vs GIMP battle fro 7 different perspectives. If you’re going to make your selection, we want to make sure that you can thoroughly think this ahead from all angles.
1. Usage of Each Software
You can easily notice that the field where you can use GIMP and Krita will be quite different. For example, Krita is heavily used to create illustrations, comics, concept art and even storyboards. The fact that it has some really good 2D animation capabilities, it’s known to be one of the best open-source 2D animation software. This made Krita find its way to the video games industry as well as animated film production.
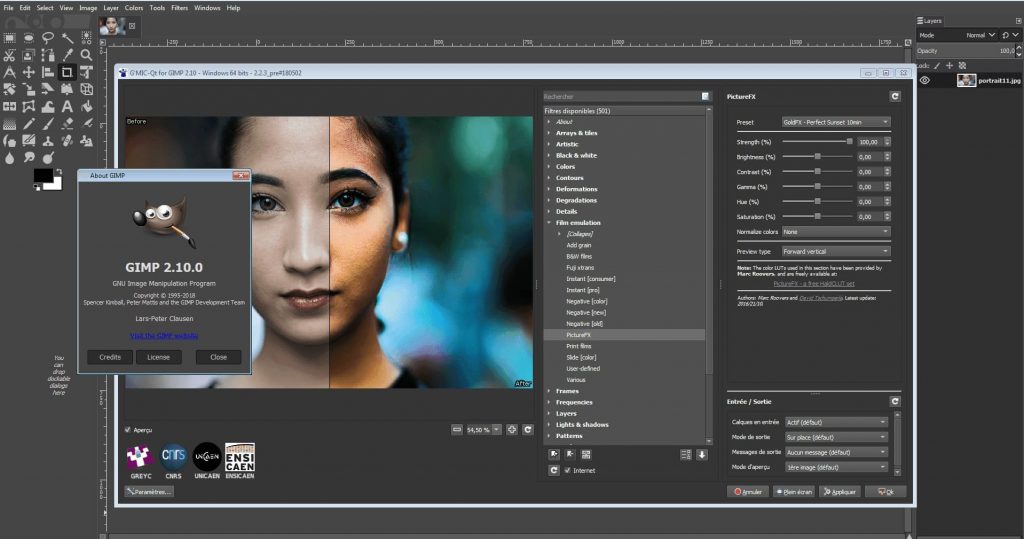
Although GIMP has a pretty decent set of painting tools, like brushes and lineart options, it’s not chosen for that. The field of its action can be summarized in photo manipulation, either some quick adjustments like removing backgrounds, fixing some flaws, creating glow effects and so on.
So if we look at the comparison from the perspective of GIMP vs Krita for photo editing, GIMP is hands-down the most suited.
Or, it could be used for advanced manipulations, that include tweaking parameters related to contrast, saturation, lighting and so on. So GIMP found its way to photography, marketing and graphic design. Not to mention that many designers chose it as the go-to logo design software.
2. Learning Curve
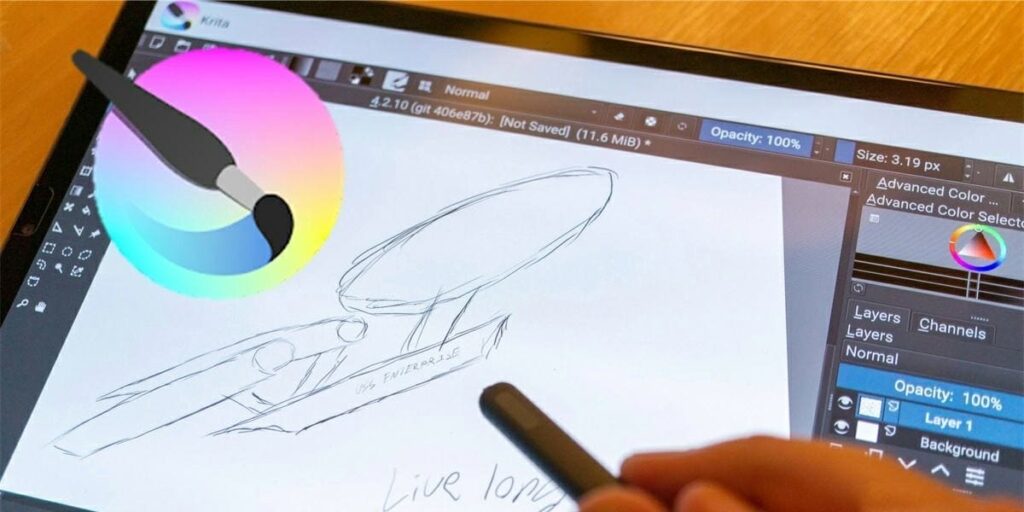
Now that you know what you can do with these tools, let’s see how you can actually start using them. Learning a new program depends first and foremost on time and effort. But the flexibility of the tools also plays a major role.
We can easily describe both GIMP and Krita as being very suitable for beginners. Despite the fact that they come with a huge number of tools and features, you won’t be overwhelmed with that. It’s because you can customize everything to fit your pace of learning.
And one more important thing from this side is that you’ll find plenty of video tutorials and other learning materials available online. Your level doesn’t really matter, because you’ll end up finding something that suits you eventually. The resources vary between beginner, intermediate and advanced. And since these tools are open-source, you’ll find the community behind them to be very receptive and helpful.
3. Interface
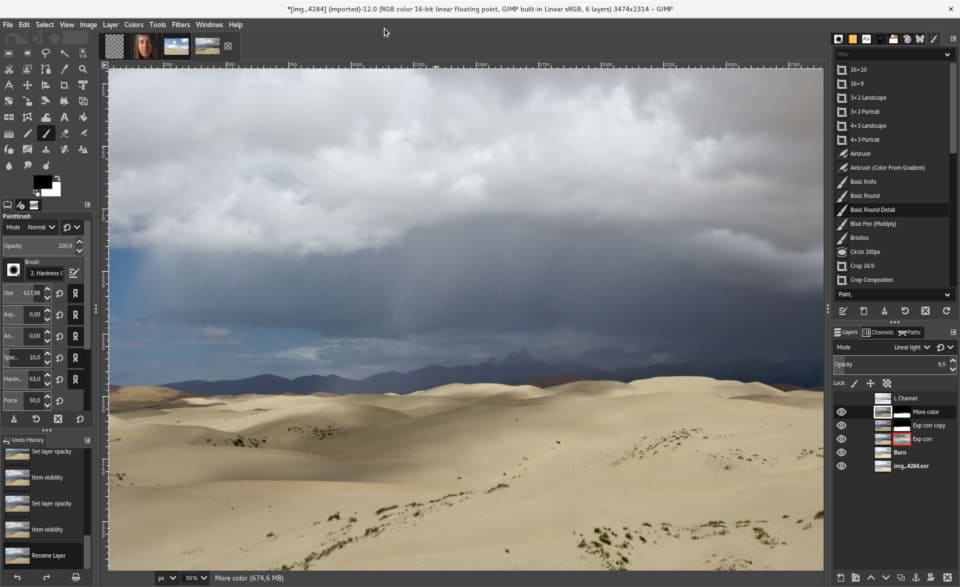
Another major reason that GIMP and Krita are perfect for beginners is the user interface. They both have a simple, intuitive and easy to use interface that will help you get familiar with the concept very quickly.
Many of you will agree on the fact that the interface of GIMP is pretty similar to Photoshop. It comes with a left sidebar that displays many controls, and it also has panels and dockers that can be moved around or even float.
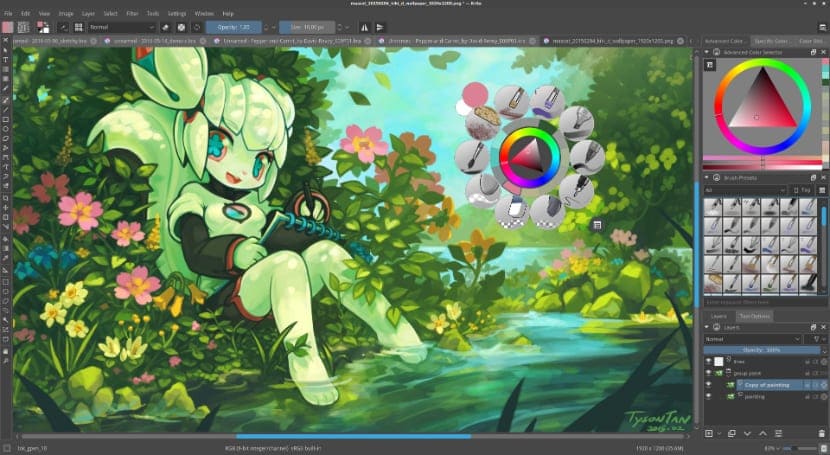
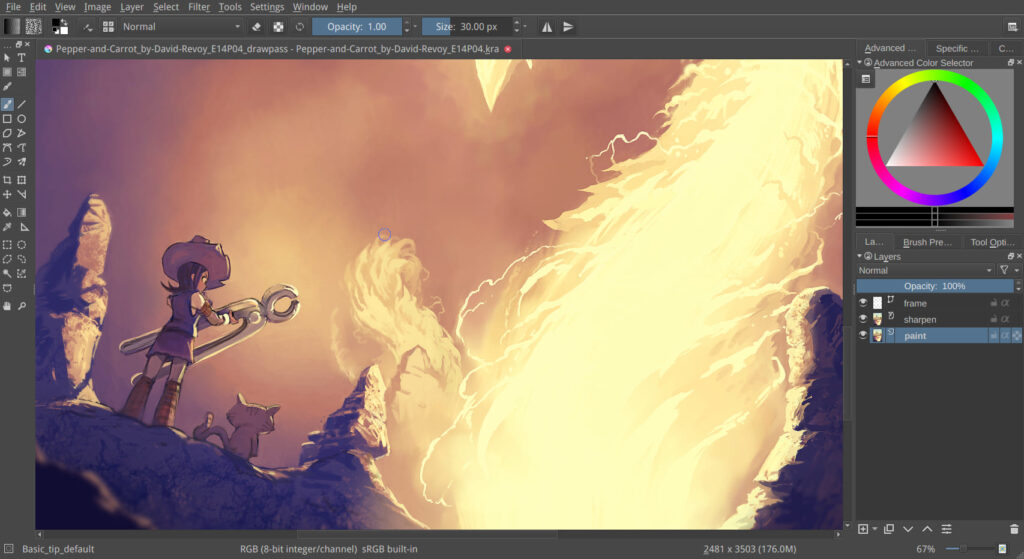
Krita’s interface is a lot more minimal and fluid, since one of the main objectives that the developers were aiming for is to eliminate any distraction.
This is why it will only display the basic and frequently used tools in the main workspace. You can then choose to add other tools and panels from the menu structure, which gives you a lot more freedom to customize your workspace.
4. Workflow
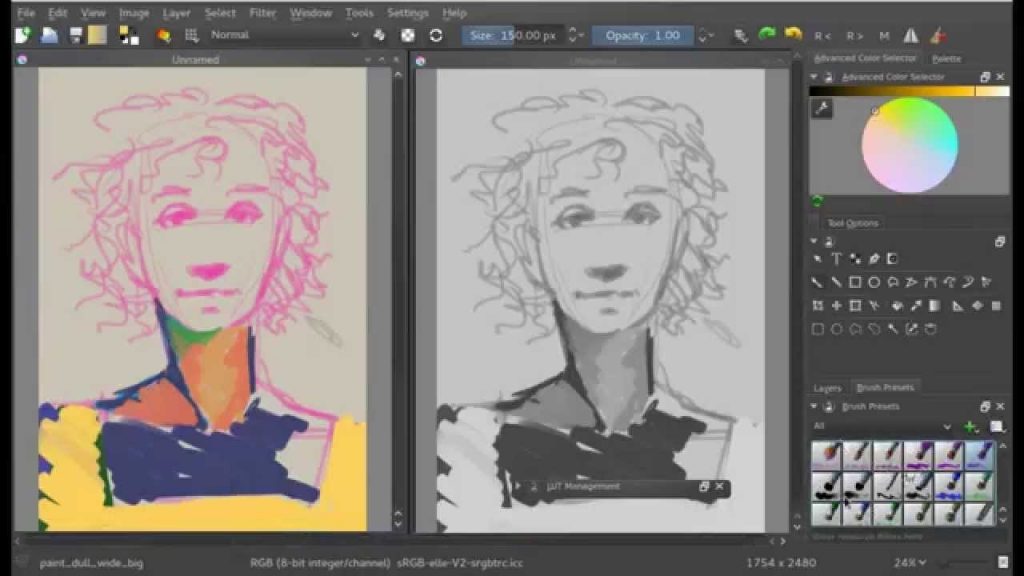
At this stage, speaking of the interface will automatically lead us to take a closer look at the workflow. It’s actually a very basic relation of cause and effect: a simple and intuitive interface will result in a fluid and smooth workflow. And vice versa: a counter-intuitive and complicated interface will make it rather clunky and difficult.
And since both Krita and GIMP have a clean and minimal UI, you’ll be able to go through the different stages of your creative process smoothly. The massive control that these software will grant you doesn’t only cover the components of your workspace, but also the way it looks. You can choose to activate the dark mode whenever you want to give your eyes a break.
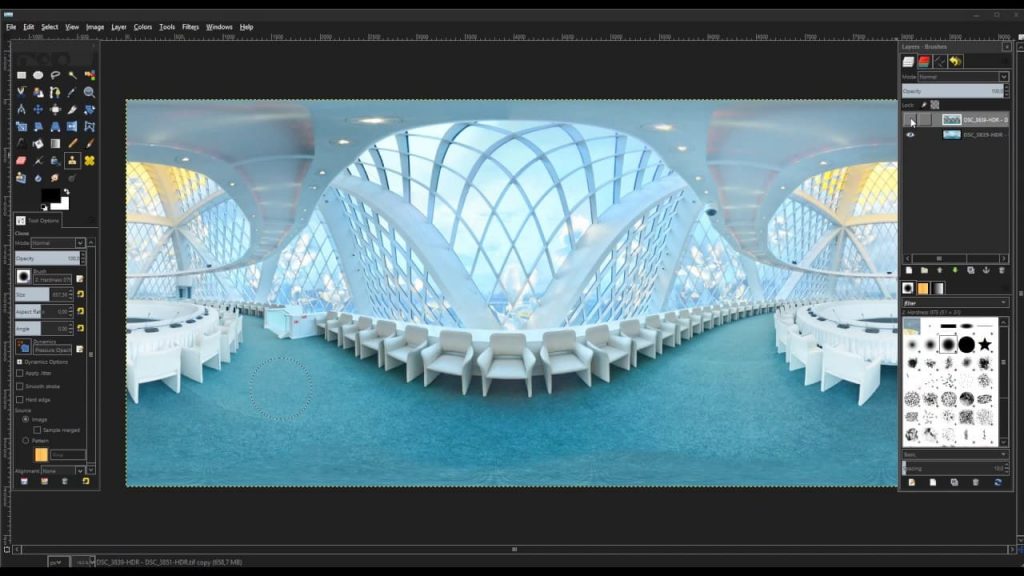
Meanwhile, GIMP has two panels on both sides of the interface, dividing the tools in a way that will help you memorize and access them without too much trouble. You can move the panels around, snap them, expand or rearrange them in various ways to make your experience a lot more productive.
And finally, another time-saving feature is the “preview function”, that will give you a glimpse of everything you do, reducing the risk of making mistakes to a minimum percentage.
5. Tools
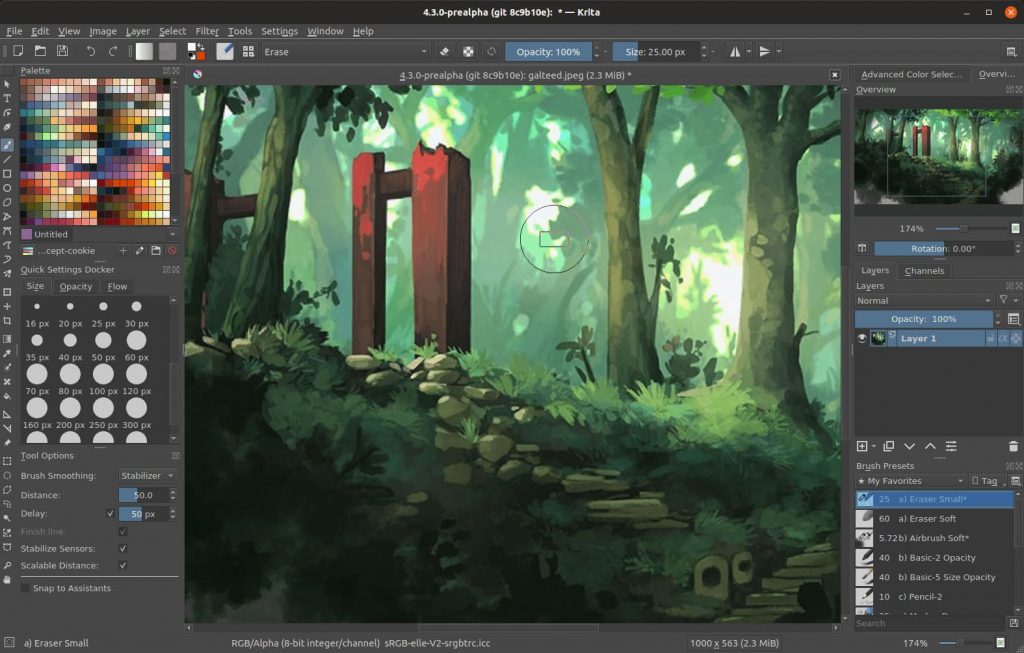
Now that you’re sure about having a fluid workflow with both GIMP and Krita, the next thing you wanna check is the tools and features that you’ll be using.
Krita comes with many powerful tools for rendering, blending, color mixing, transforming, smoothing, layering and much more. It will definitely allow you to create, refine and adjust your work to come up with stunning results.
And since Krita is basically dedicated for digital painting, you can expect some awesome painting tools that can simulate the classic mediums in such a vivid way. If we narrow down the comparison to just GIMP vs Krita for drawing, Krita will definitely win. It comes with nine different brush engines that produce various types of art styles, like chalk, sketch, spray, pixel, particle and more.
You can even create your own brushes, import and export them for extensive usage and much more freedom. And to push the process even further, the brush stabilizers will offer you a seamless experience, whether it be on a graphic tab or just using a mouse.
Besides theses amazing painting capabilities, Krita is also suitable for photo manipulation and creating HDR images. If you want to remove a specific section of an image, you can use the Smart Patch tool that will remove if for you without too much of a hustle.
And of course, one of the best things about Krita is the fact that it comes with a timeline and animation controls. You can expect a great animation process helping you bring your art to life. You can even use the beautiful filters and special effects for the final touches.
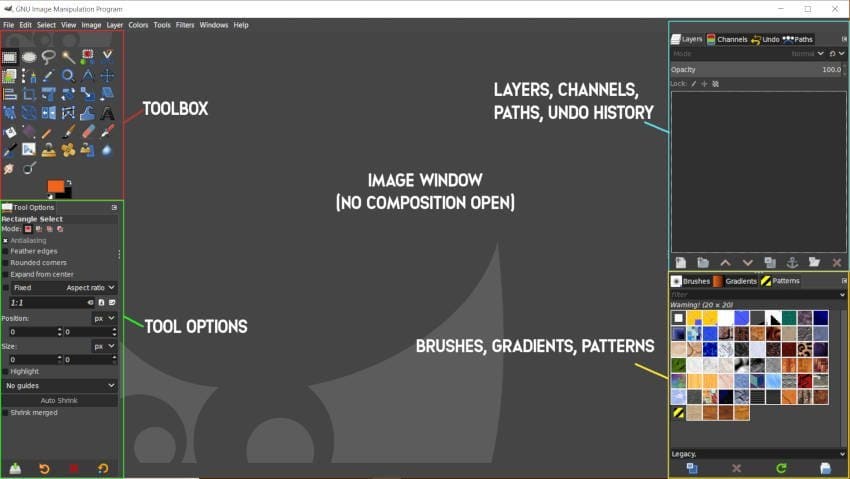
Looking at things from the side of GIMP, it also offers great tools to create images from scratch, although it’s not very extensive.
It has selection, mirror image, portrait stamp, masks, pencil, airbrush and others. Painting in GIMP can definitely not be compared to Krita, but you’ll find it to be very decent as well. It also has a lot of handy tools to offer, like the Clone tool that allows you to save a lot of time when doing adjustment on certain areas that feel a bit off.
There are some basic animation tools that cannot be compared to the ones included in Krita, but you can still create nice and simple animated GIFs.
6. Features
When it comes to the production process, GIMP has a lot more to offer. We can mention for example the Bezier curves, layer masks, photo enhancement, hardware support, channel manipulation and so on.
Krita is keeping up with the competition pretty well from the productivity side, since it’s equipped with a layer management that allows you to combine or group layers and designs. HDR support, transform tools, drawing assistants, OpenGL enhancement and other awesome features.
The selection options will also come in handy for precision, including the Shape selection, Contiguous, Similar Color, Bezier, and Magnetic selection tools.
7. Pricing
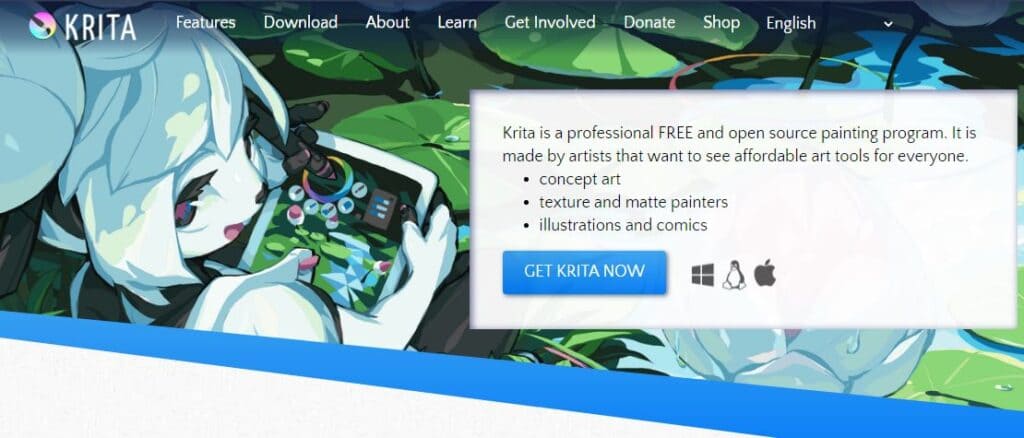
One more aspect to look at is the cost, which is not a decisive factor in this case since GIMP and Krita are both 100% of cost. They’re also both open source, which means that you’re completely free to contribute at making the code more reliable, maybe more flexible and even create your own distribution.
It doesn’t mean that you can’t support the development team if you’re not familiar with software engineering, because you can choose to make donations if you want to financially help things move forward. And of course, being fully free doesn’t mean that they’re less valuable than the other pricy tools on the market.
It’s actually quite the opposite: having artists create something for their fellow artists just for the sake of making art available for everyone, it will definitely result in something that will meet your expectations.
Conclusion
As you can see, there’s not much of a comparison here since the potential of these software is distinct. So in other words, it depends first on your needs as an artist: if it’s photo retouching and manipulation for example, GIMP has it on a very advanced level. But if you need an extensive animation support for example, you would better go for Krita. And of course, the most important tool here is you and your creativity: it’s just a matter of how you would express it.


