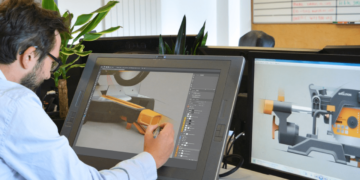
3D modeling and animation are all fun and games until you realize that you have to go through a process called UV unwrapping. I don’t think that a lot of 3D artists like it but it has to be done for the most part.
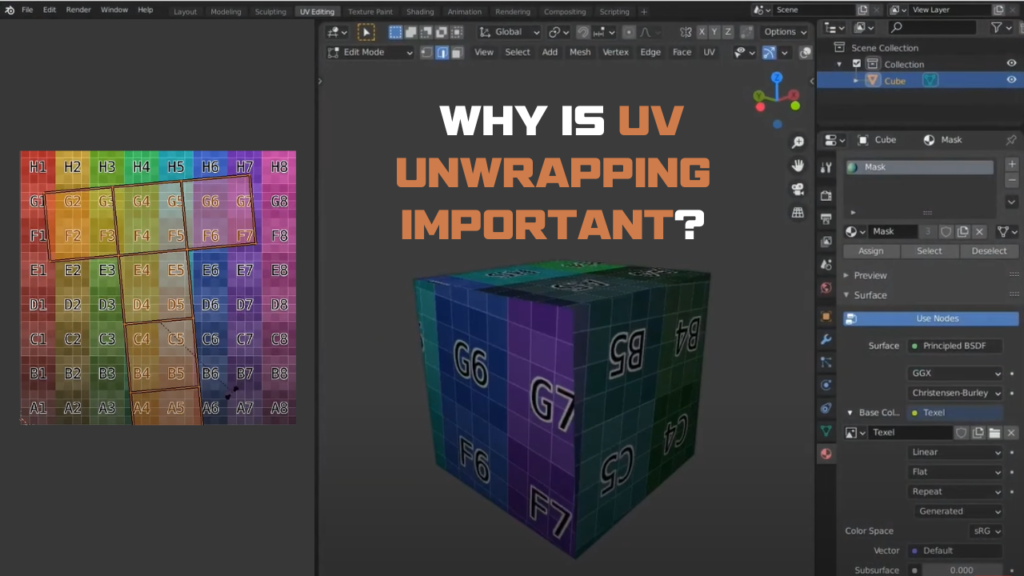
UV mapping is the translation of a three-dimensional surface into the two-dimensional coordinate system of flat bitmap images. Remember when we were kids? we would draw a cube on cardboard and fold it up to take the shape of a Cube.
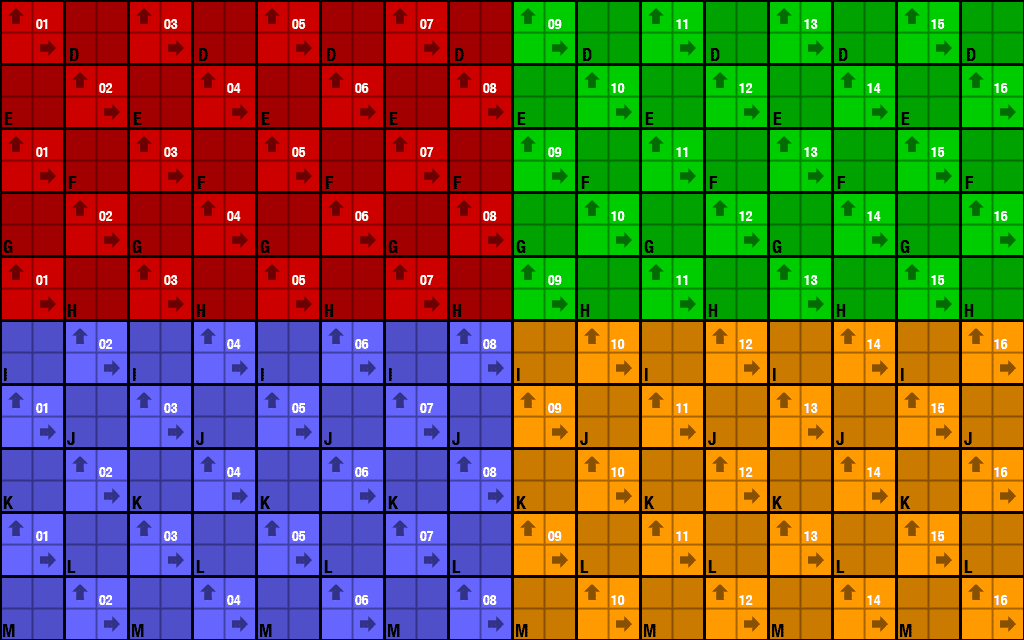
Well UV mapping is exactly like that. In this specific case, you are trying to wrap your texture (which is a 2D image) on a three-dimensional object, eliminating any stretching or distortion that might occur in the process. And today, will attempt to demystify UVs. and will answer some questions such as:
- Why Uvs?
- What’s the importance of UVs?
- What are the basic best practices when dealing with UVs?
- Where are UVs used for?
What is UV unwrapping?
Now, if you are a seasoned 3D artist, you might be shaking your head right now thinking “UVs are UVs! you need Uvs to texture your models!”. But for the 15 years old me, who just picked up a 3D software, I was confused as to Why do I need to cut my object into those transparent Shells? And why are my textures moving when I move those Islands?
It turns out that UVs aren’t just floating transparent Islands, but 2D texture coordinates that are directly linked to your 3D model geometry; the letters ‘U’ and ‘V’ denote the axis of the two-dimensional texture. So going back to our unfolded box, each shell or Island would represent a face in our cube.
UV maps are essential for they serve as a bridge between your 3D model and actual textures for proper texture projection, thus better overall results.
The process of UV unwrapping
Usually, whenever a 3D model is created, the software itself generates an automatic UV map for it. These maps are only made for primitive shapes, the more complex the model gets, the more stretched and deformed the UVs get. And that’s why we need the process of UV unwrapping.

UV mapping or Unwrapping is the process done either manually by the artist or automatically (depending on the software) or some combination of both.
3D software such as Blender, Maya, and 3Ds Max have more of a refined and friendly approach towards the process of Unwrapping. These software basically have all the tools and techniques needed to properly map your UVs. There is also an automatic option to project your UVs into your 3D model, and even great UV addons.
Projection types in UV Mapping
3D software offer plenty of UV projection types and presets such as Planar, Spherical, Cylindrical, Cubic, or Camera-based projections. In addition, each projection has its own list of pros and cons plus the ideal use cases.
1. Planar projection

Planar mapping projects: UVs from a virtual plane-based source that emits perpendicularly onto a surface; think of it as a movie or video projector. This projection is best applied on a relatively flat surface or a fixed point of view.
2. Spherical projection
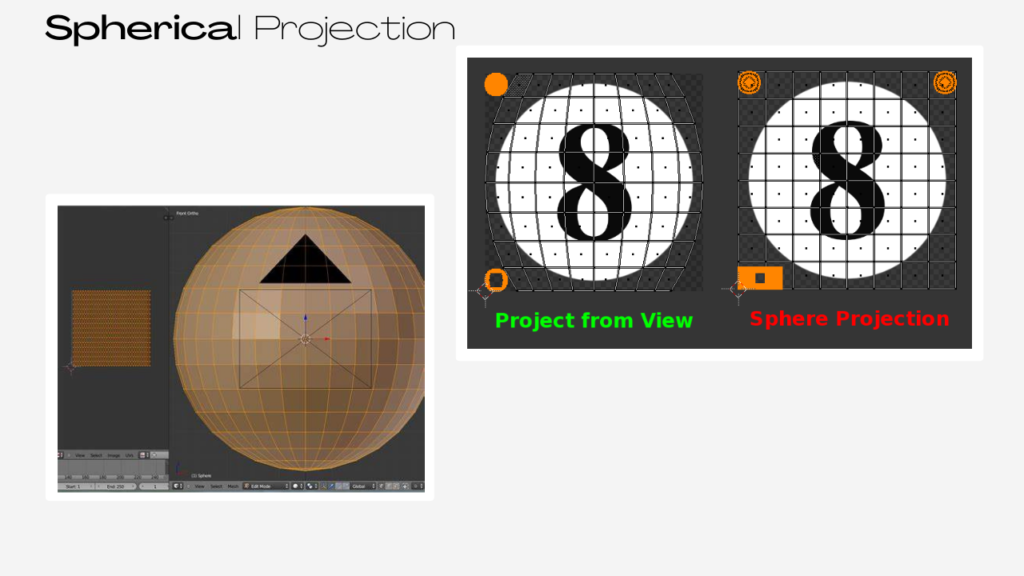
Spherical mapping creates UVs by projecting through a virtual sphere that wraps around your mesh; this comes in handy when used on round-shaped objects such as sports balls, planets, or even 360 panoramic images.
3. Cylindrical projection
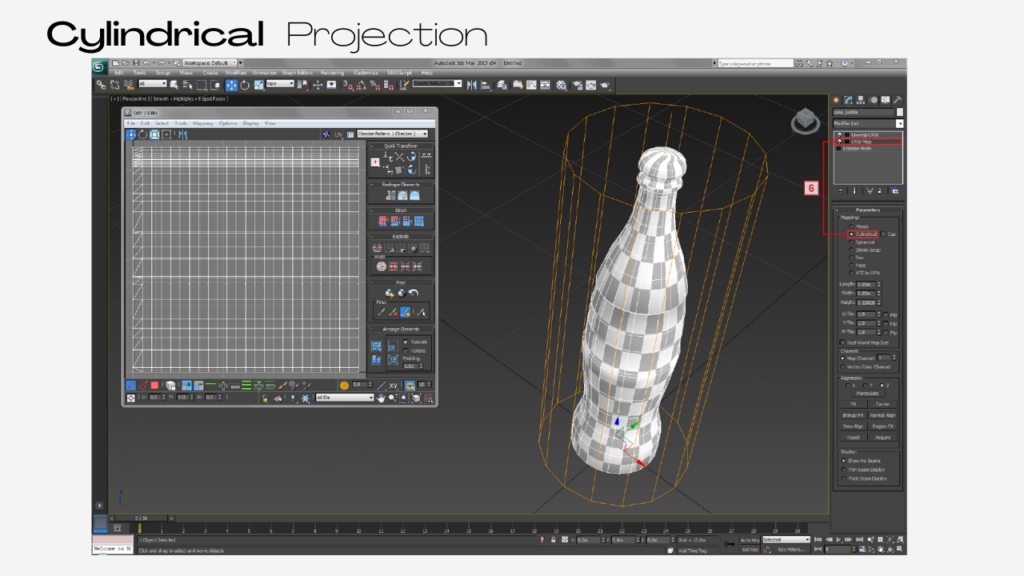
Cylindrical mapping is very similar to that of the spherical projection except that it is a linear non-curved projection that also wraps around your surface. It is best used when texturing a brand sticker or label of a bottle or can or such of a cylindrical shape.
4. Cubic projection
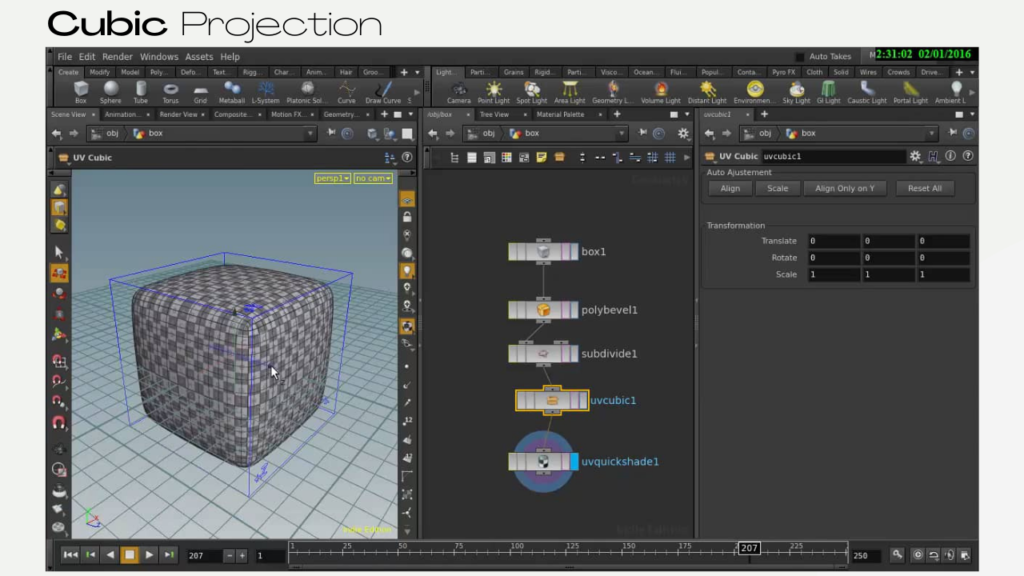
Cubic projection centers your mesh inside a virtual cube that projects from all six directions creating six UV islands. Consider it more of an advanced form of the basic planar projection used for more complex models.
5. Camera based projection
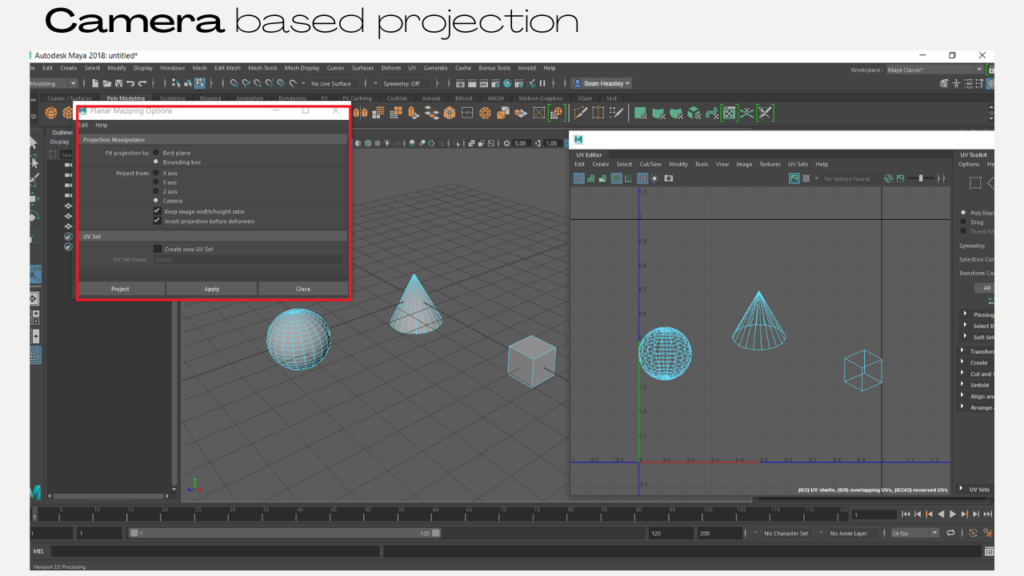
As the name suggests, it projects UVs based on the positioning of your fixed camera angle.
Why do you need UV unwrapping?
1. Games
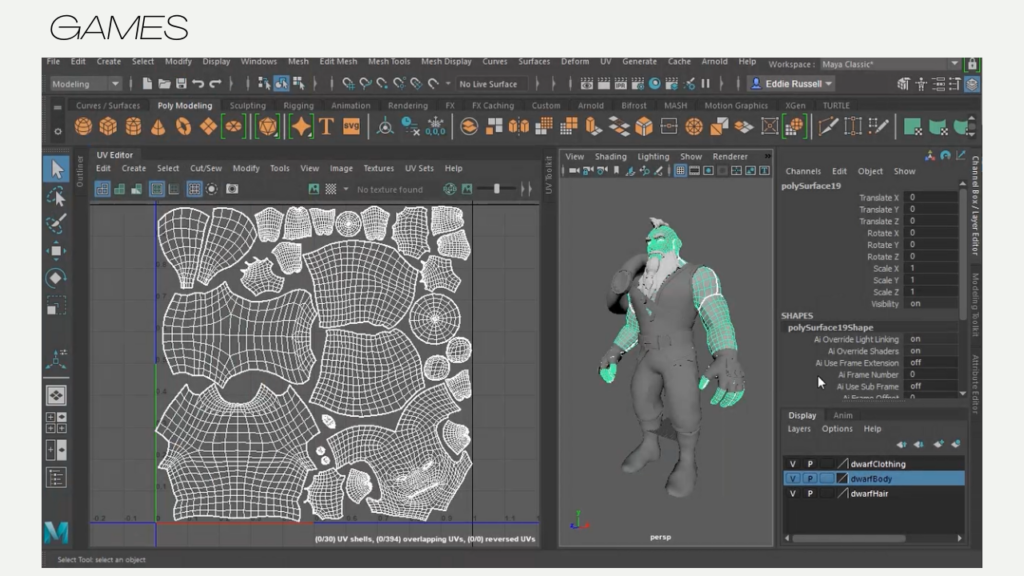
UV unwrapping is mainly used for one purpose which is translating your 3D mesh into a 2D flat representation, thus allowing you to texture and paint over your mesh. For example in video games, graphical fidelity has improved exponentially since the medium’s conception, texture resolution for instance played a huge role in elevating a game’s graphics to a higher level.
Although this isn’t the only factor, being able to display higher resolution textures on your models meant a higher level of details, which wasn’t achievable till just a few years ago with the next-gen consoles and pc gaming hardware. Introducing UDIMs also opened the door for 3D Artists to venture outside of the 0 to 1 limited space, now they can utilize almost unlimited texture space to achieve higher graphical fidelity.
And although using UDIMs has its drawbacks and shortcomings, especially in gaming, it often gets bottlenecked by the performance and optimization that the developers are forced to make games that dont reach that performance threshold. Hopefully, this will not be a limiting factor anymore with Epic’s Unreal Engine technology as we have seen in the matrix game demo.
2. VFX

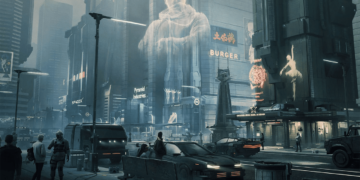
Concerning VFX, however, it is industry standard to rely on very high-resolution textures to achieve breathtaking visuals. Nonetheless, these high-fidelity textures would amount to nothing if laid on poorly projected UVs, or used with a wrong Texel Density, meaning UVs and textures complete each other. For VFX artists, maximizing the graphics and visual output of their shots is the most important thing, because they aren’t bound by any performance limitation. However from a performance standpoint, sometimes using UDIMs could be more viable, as using four 4K textures is much more efficient than using one big 16K texture—GPUs love small things, that’s just how they are.
3. Archviz
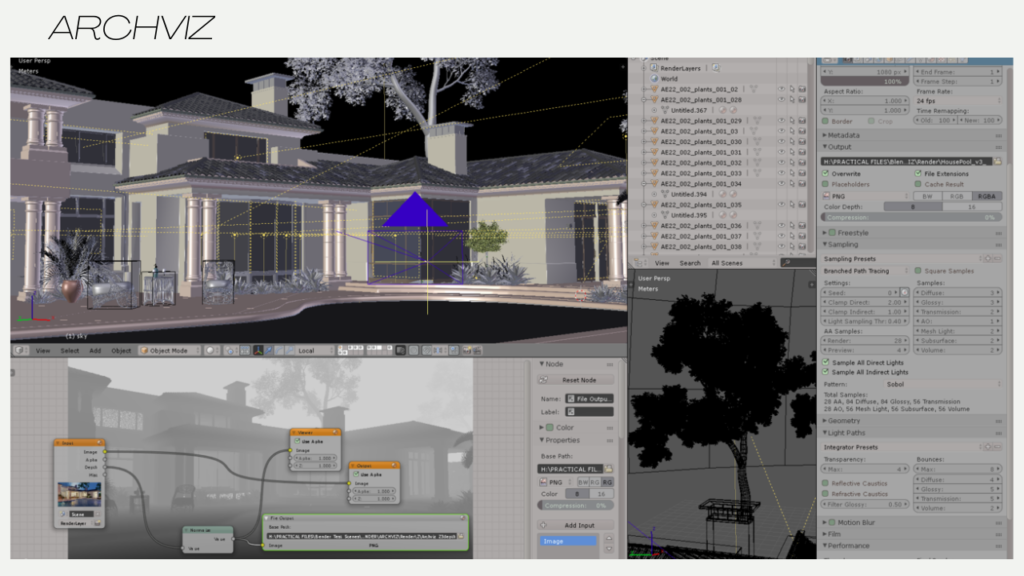
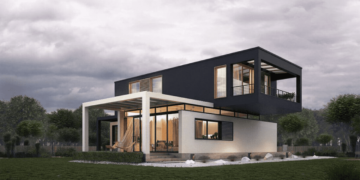
Unlike the VFX & gaming industry which requires a great amount of work and attention to UVs, Architectural visualization does not need that, Since Archviz is only a depiction of certain designs of buildings and interior design to show clients what the final result is going to look like. Overall they do not require any advanced texturing techniques such as baking maps onto the mesh nor complicated painting software to make every inch look crazy detailed like VFX projects.
This is the case if you want to keep things simple and quick, but if you want to take this to the next level, you can Uv Unwrap all your assets, and buildings if you need higher fidelity.
Imagine that you have a cube of size 10×10 meters. On this cube, there’s a cloth of 1×1 meter. Both objects use 2K textures (let’s round to 2000×2000 pixels). Basically, for the cube, “10 meters” is actually “2000 pixels”, or 200 pixels per meter. For the cloth, it’s only 1 meter, so you have 2000 pixels per meter. Therefore, your cloth has a “more dense” concentration of pixels than the cube. The cube will be “more blurry” than the cloth because it holds less information.
UV unwrapping basics and rules

These are the important things to be taken into consideration:
- Lessen the visible seams of your UV layout by hiding them in less visible areas of your mesh.
- Maximize the surface occupied by your UVs on your Udim (more details on this later).
- Straighten and perfectly flatten as much as possible in your UV layout.
1. UDIMs
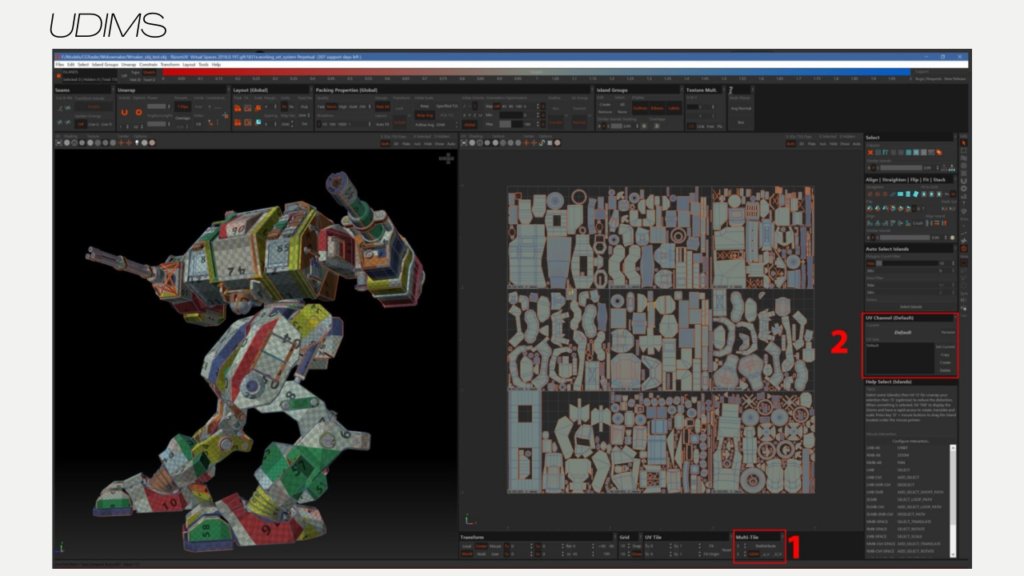
A UDIM is an offset grid that designates an image onto a specific UV tile. Simply said, a UDIM is a way to expand your UV area beyond the 0-1 space. So instead of being restricted to one UV, this gives you:
- A Lot more flexibility over your UVs.
- Advanced optimization.
- Variation of resolution on different tiles.
Using multiple UDIMS surely isn’t an expansion, but more like an additional room for different parts of your complex 3D model for which you would like to maximize the quality.
2. Seams
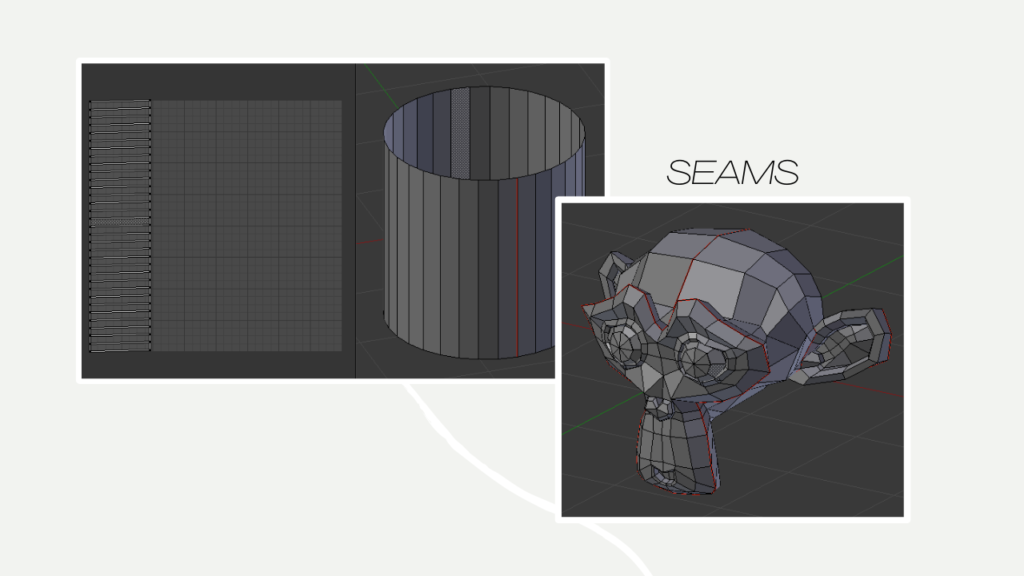
It may not seem like much, but it matters!
Seams are the part where the ends of the UVs are sewn together. They are the edges of each cutoff UV.
Seams, by definition, are a line where two pieces of fabric, or whatnot, are sewn together. UV seams are similar to that since our UVs are cut, scaled, rotated, and flattened; the edges of these separate parts are clearly visible, especially on your mesh textures, and that’s what UV seams are.
3. Texel Density
Texel density is the texture’s native resolution compared to the mesh’s actual real-life scale; it is more of a ratio between the texture’s resolution and the 3D model’s real size that must be taken into consideration for uniform output quality.
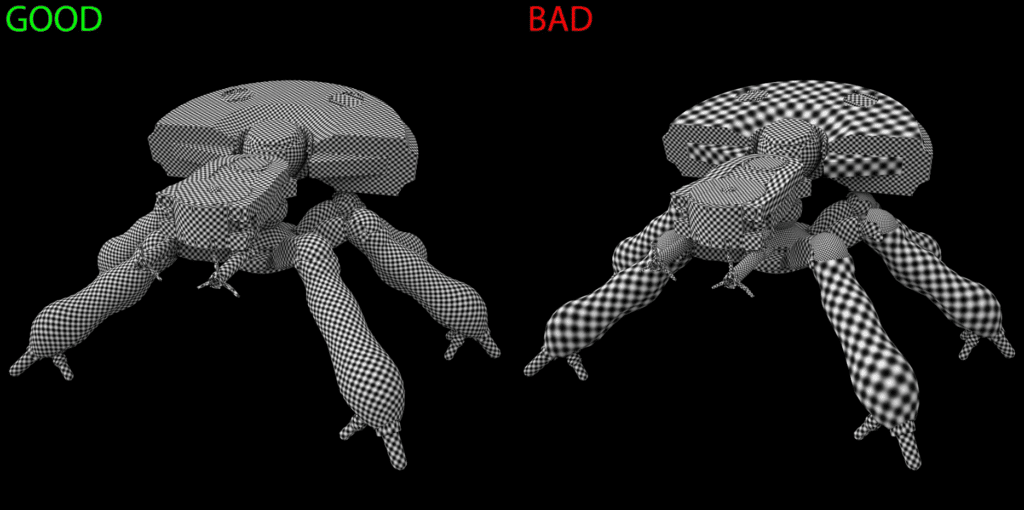
For instance, for the PlayStation 5 and Xbox Series X, a good rule of thumb is to have 512 px/m for most things, sometimes taking it up to 1024 px/m for the object’s very close to the camera, such as first-person shooter weapons.
4. Meshes and textures correlation
In short, there is an absolute direct relation between the mesh itself and the final layer that is textured through the necessity of well-laid-out UVs while keeping an eye on the appropriate compatibility (resolution & real scale).

