Two of the render engines that are popular nowadays are VRay, and Cycles. It is true that they are both useful and powerful, but each one of them has specific and different features.
That’s why we will make a comparison between the two engines to help you pick the best one for your particular project’s needs.
Brief Background:
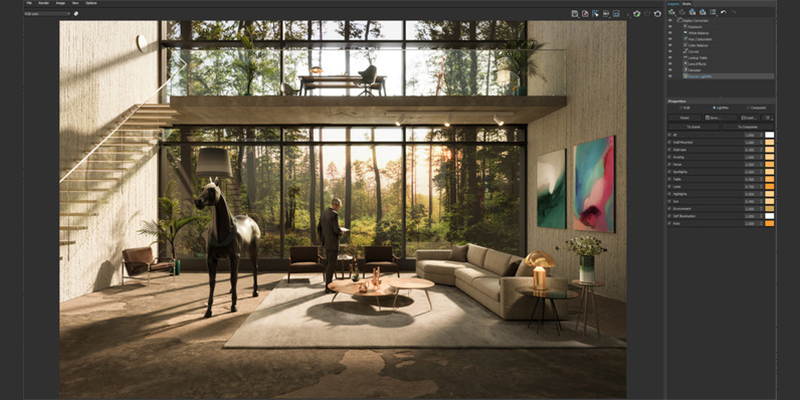
Vray is a render engine developed by the Bulgarian Chaos Group, founded in Sofia in 1997. It is used in many computer graphics and fields such as architecture, media, entertainment, film and video game production, product design, and industrial design.
https://www.youtube.com/watch?v=C9hXsNWzveI
Cycles js a path-tracing render engine launched under the Blender Foundation umbrella on December 14, 2011, as a New Render Engine that was added alongside Blender Internal (as a “preview release”).

Motion Tracking, Dynamic Paint, and Ocean Simulator.
This software is designed to be interactive and easy to use while still supporting many features that help Blender artists do their work as efficiently as possible.
User Interface:
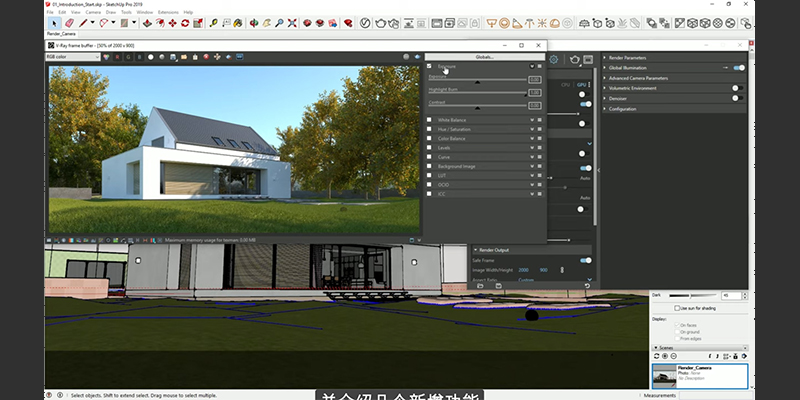
Vray’s interface is clean and quite simple. In the interface, you can find different toolbars, and each one of them includes several other toolbars with simple shortcuts to some of the most commonly used Vray models and components.
You also can find the Frame Buffer that contains a variety of additional rendering tools. The Vray Color Picker is a color manager that allows numeric color value selection in Screen (sRGB) and Rendering (RGB) Color spaces. Besides all these, a File Manager allows you to manage the entirety of your scene records in a single spot, set file paths, create scene archives, and monitor resources like textures, IES files, and proxy objects.

Cycles’ interface is also clean and user-friendly. it has some simple settings for quick renders but if you want control over your results you can dive deeper. Blender’s materials system is node-based which allows for more freedom compared to what you can find in Vray.
Almost every node contains plenty of options, and even more in the properties menu. Many unnecessary options are repeated almost in every node. Also, there is a separation between color and float data, and for each type, there are different nodes.
The Rendering Speed:

The rendering speed is considered one of the main criteria that designers and artists pay attention to before picking a render engine.
Vray comes with a huge stockpile of manual settings. Its different settings have enabled us to diminish the delivery time while preserving a high-quality render. Along these lines, in one-sided based rendering known as: biased, and in it V-RAY takes the headship.
When it comes to Cycles, it is an unbiased, path tracing engine created for animations, which means that it creates an image by tracing the paths of “rays” throughout the scene. Cycles can be quick. Competitively quick. But you need to know how to tweak its settings and get the most out of it.
In the words of Thomas Dinges (developer), The Internal rendering engine was made for speed, but if you wanted realism, you had to turn stuff on, which means more time.

Despite the difference in pace between these two rendering engines, both have outstanding speed and performance. This makes it troublesome in this category to say one is better over the other completely. Also, Vray performs faultlessly in Bias mode while
Cycles outperforms it in the unbiased mode. Disregard that both render engines match each other up in terms of speed and interface efficiency. But since Vray is an older render engine with a whole company behind it you will have more advantages.
Render settings:
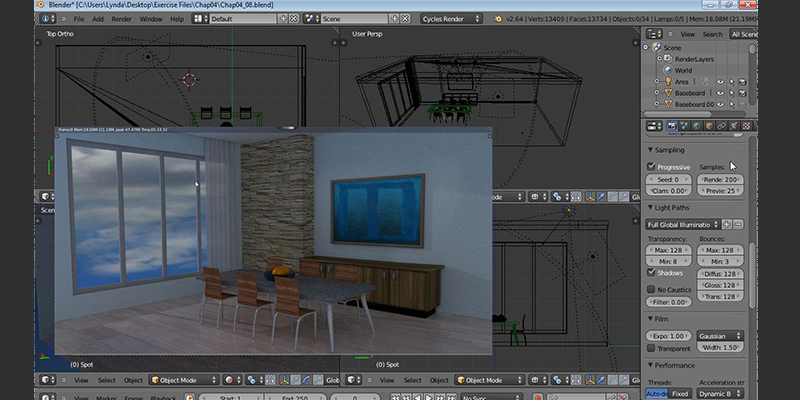
As a beginner, render settings can seem considerably intimidating as there are many tabs and menus.
Cycles render settings are found in the properties panel if you click the render tab. which means that each one may require specific settings to get the best results. You can easily find ready examples in forums.
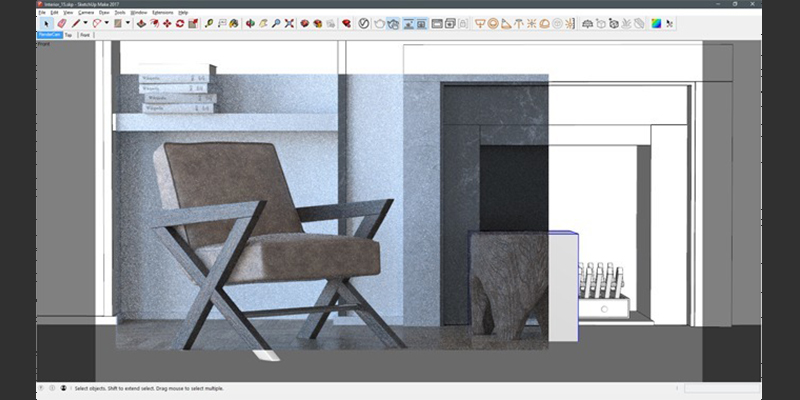
Vray contains many more options, but you can optimize V-Ray for almost every scene if you know how to play around with the most important settings. V-ray’s Render Settings Window hosts many settings for both V-Ray and V-Ray RT. Hanging on what mode you use, the settings may require changes at each time. You can discover ready settings examples in forums or even on the Chaos platform.
Materials:

Cycles materials are generally made up of distinct elements named shaders. They can be combined to build even more complex surface or volume shaders. Cycles allow you to exercise using materials without spending a long time learning how to create them yourself, which is very difficult as a newcomer. and you can do this by using premade ones.
There are many types of materials, such as glass, wood, stone, etc. These all can be used with a single drag and drop organized into three categories of shaders, which are:
-Surface shader: The surface shader defines light interaction at the surface of the mesh.
-Volume shader: When the surface shader doesn’t reflect or receive light, it enters the volume. If no volume shader is particularized, it will pass straight through (or be refracted, see refractive index or IOR) to another side of the mesh.
-Displacement shader: The shape of the surface can be modified by displacement shaders.

On the other hand, V-ray actually does come with its ready-to-use material library. But, you can find a wide range of them ready to download for free or for cash in forums.
If you want to tweak any material or create your own you can do this using traditional settings or you can use the node-based system to work more freely especially when things get complicated.
Real-time rendering capabilities:
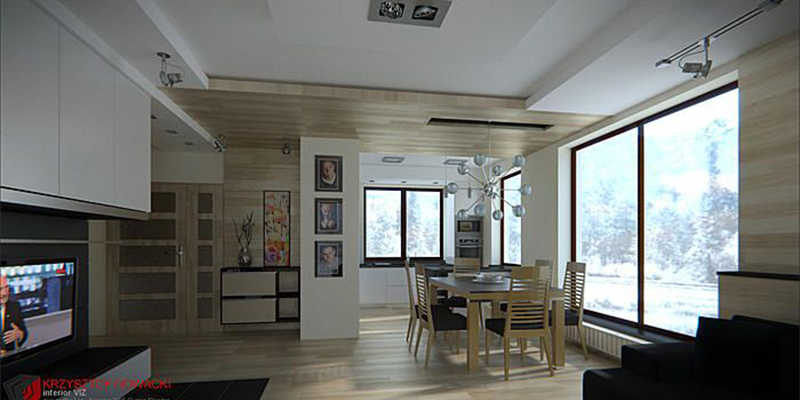
Rendering can be split into two main sorts: real-time rendering and Offline rendering.
Real-time rendering is often used in 3D video games, Archviz, and generally, each frame has to be rendered in a few milliseconds. Offline rendering is used to create realistic images and movies, where each frame can take hours or days to complete.
in Theory, we cannot consider it as real-time because it is just a very fast preview, and what it represents is not the final render quality. To simplify it and make it clear, this feature simply denoises the rendering to give the user an almost real-time preview.
Blender also has a render engine known as Eevee for Real-time rendering. So basically Cycles does not have any real-time features.

When it comes to V-ray, it has a V-ray RT, which allows you to get an almost real-time preview of your scene without waiting to render it each time. You can move the camera angle, change objects, lighting, materials, etc. They automatically update within your viewport.
Vray RT is good and getting better every year but Eevee is a great real-time render engine that really changed how people look at blender now as a 3d package. And it is a fantastic choice and an amazing alternative for the other engines especially knowing that blender is free.
GPU &CPU Rendering:
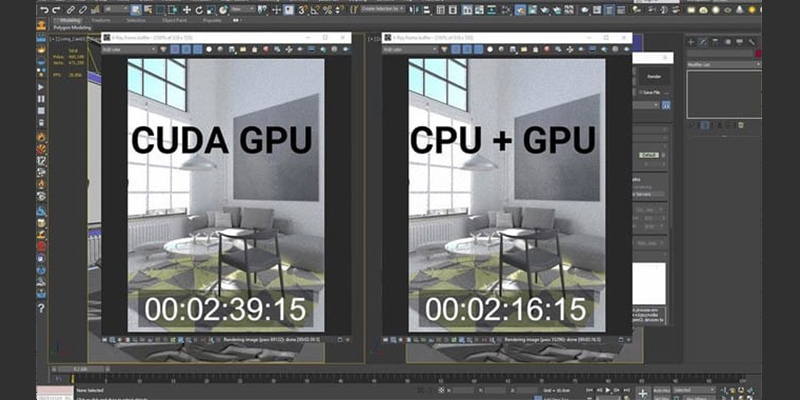
V-Ray can compute rendering in both CPU and GPU setups. Moreover, when in its Hybrid Version, V-Ray can intuitively render files on CPU and GPU systems simultaneously.
like V-Ray, Cycles supports Cpu & GPU rendering, which is used to accelerate rendering times.
There are 3 GPU rendering modes: CUDA, which is the preferred procedure for older Nvidia graphics cards; OptiX, which utilizes the hardware ray-tracing abilities of Nvidia’s Turing architecture & Ampere architecture; and OpenCL, which supports rendering on AMD graphics cards.
Multiple GPUs are also supported if you want to take your renders to the next level– although having multiple GPUs does not expand the available memory because each GPU can only access its memory.
Disadvantages:

One of Cycles renderers’ main disadvantages is that subsurface scattering and volume rendering are not supported on GPU. Also, the lack of some main product features can be a problem. Furthermore, Cycles’ real-time rendering is just a fast preview and a denoise of the rendering that gives the user an “almost” real-time preview.
As for the use of memory, VRAY appears to prevail because it uses RAM rather than the limited VRAM. You can reach real results with both engines, but this operation can be much more complicated and less intuitive using V-ray, especially for the less experienced ones.
Their use in the industry:

In terms of use in the industry, Cycles is used but not as widely as Vray is. It tends more often to be used by freelancers and small studios. So in this sense, it is used in the “industry” but it is not industry “standard.”, at least not yet. Its use includes animation, architecture, interior design, Motion design and product design.
V-Ray is used by many professionals and experts and in many industries such as architecture, interior design, products manufacturing, and the gaming industry.
Furthermore, it is used by a large range of studios producing Hollywood films. For example, “Avengers: Infinity War” and “Game of Thrones” both use V-Ray.
3D software integration:

Cycles is natively integrated into Blender, Rhino and Poser which uses a tweaked version fo the engine. It can be used on Linux, Windows, and Mac OS X for both 32 and 64 bit.
V-Ray is available on 3ds Max, Cinema 4D, Sketchup, Revit, Maya, Unreal Engine, and a host of other software. It also has V-Ray standalone application. It can be used on Windows, Linux.
Learning curve:

V-Ray gives the users a choice to set their own limits and figure out what the output will resemble and what amount of time it will require to render. If you are focusing on photorealism, V-Ray is the right decision. In any case, you should know the basics and the principles of photorealism. But if you want to just understand the basics of rendering, For the most part, it will take around a week to learn V-Ray main tools.
On the other hand, Cycles is pretty well-known for being one of the easiest rendering software to learn. It offers some great tools for different purposes, and it is especially good for animation. so it is worth it to get through the initial learning phase.
Pricing:

The average monthly price for V-ray is $80, and the V-ray’s institutional license is $99 per year. When it comes to Cycles, it is completely FREE. So as you can see, Cycles is more affordable than V-ray, which is very advantageous if you are a hobbyist who is starting fresh.
Final thoughts

In general, V-ray is more mature than Cycles and therefore has more options and more potential. Also, the renders’ settings and speed can be higher when using Vray. But if you are using Blender Cycles is a great choice nonetheless.
If you are just a hobbyist or starting fresh in this field, you may prefer not to spend money on V-ray as it is quite expensive. Thus, Cycles is a great choice as a renderer and The difference between the two is not that huge anyway.

