Free and open source animation software are taking the digital world by storm. Previously, software were unreachable by the general public due to their costliness. Only big corporations with enough money for both the software and the hardware were able to afford them.
Now, that is all gone with the wind. The advancement of technology allowed for stronger hardware for less money, and lighter software for cheap or even for free.
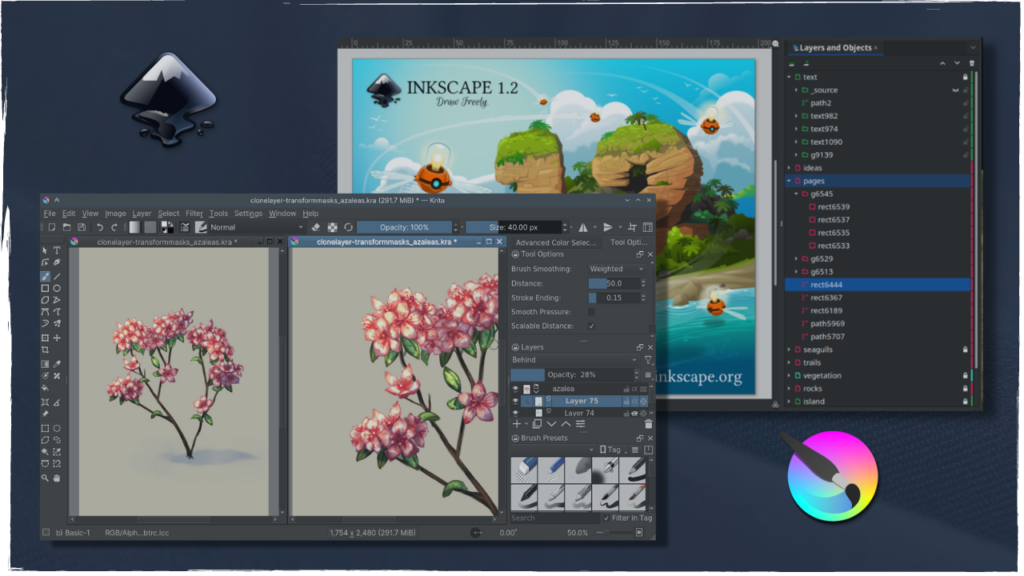
Most prominent of these free and open source software are Krita and Inkscape, in this post we will try to compare between the two, learning about each software and helping you figure out which one is best suited for your needs.
Let’s start this Krita vs Inkscape faceoff by introducing these software on a general level.
What is Inkscape?
Inkscape is a free and open source software. The software is a vector graphics editor, meaning it mainly works with vectors as opposed to working with raster and pixels.
For this reason the software is mainly used for graphic design, where vectors are a requirement as they are scalable and don’t lose quality.
The software was initially released about 18 years ago as of the making of this video, or more precisely, on November 2nd 2003.
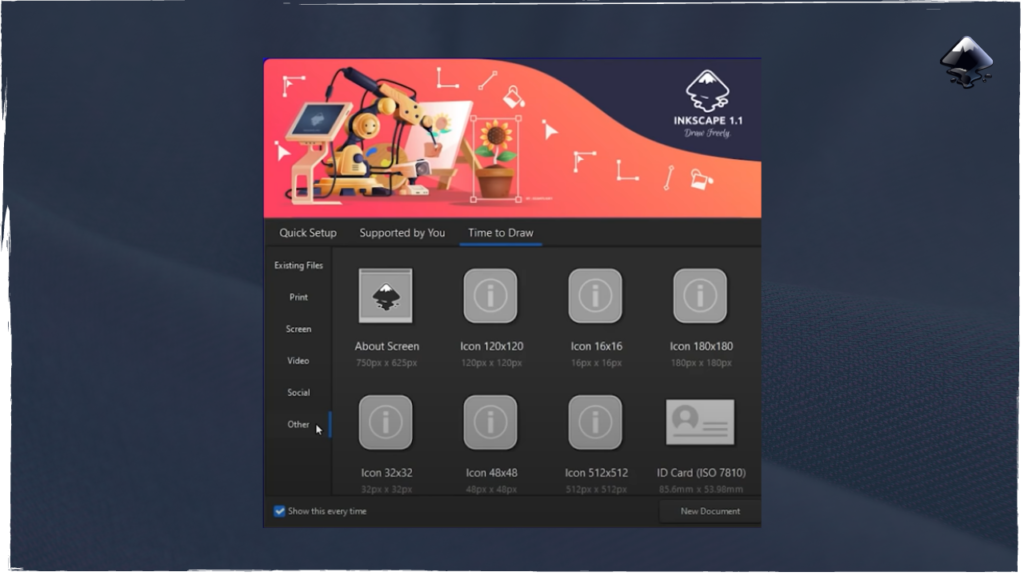
The software can be installed on a plethora of operating systems, macOS, Windows, Linux and FreeBSD. I’m gonna be frank, I’ve never heard of that operating system, but good for you Inkscape!
What is Krita?
If you’re into digital art, chances are you’ve already heard or even used Krita. Krita is a free and open source raster graphics editor, with a main focus on digital drawing and painting as well as 2D animation, recently.
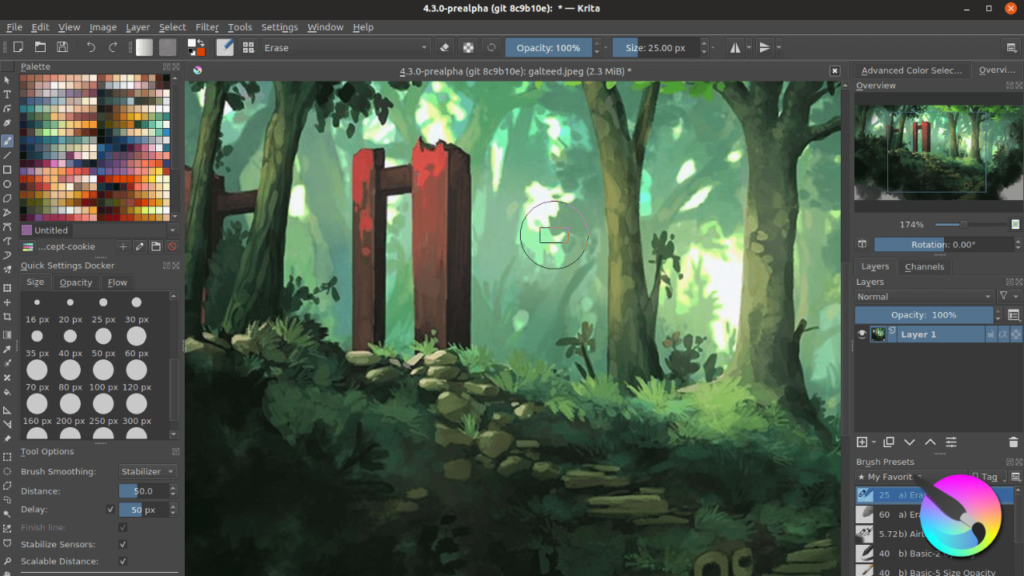
The software’s initial release was 16 years ago as of the making of this video, or more precisely on the 21st of June 2005.
Krita can run on many operating systems: Windows, macOS, Linux, and even Android and Chrome OS. You’ve probably seen Krita being used by the popular artist, Sara Tepes, who seems to be behind the popularization of the software to the mainstream.
Krita vs Inkscape in Interface
Inkscape
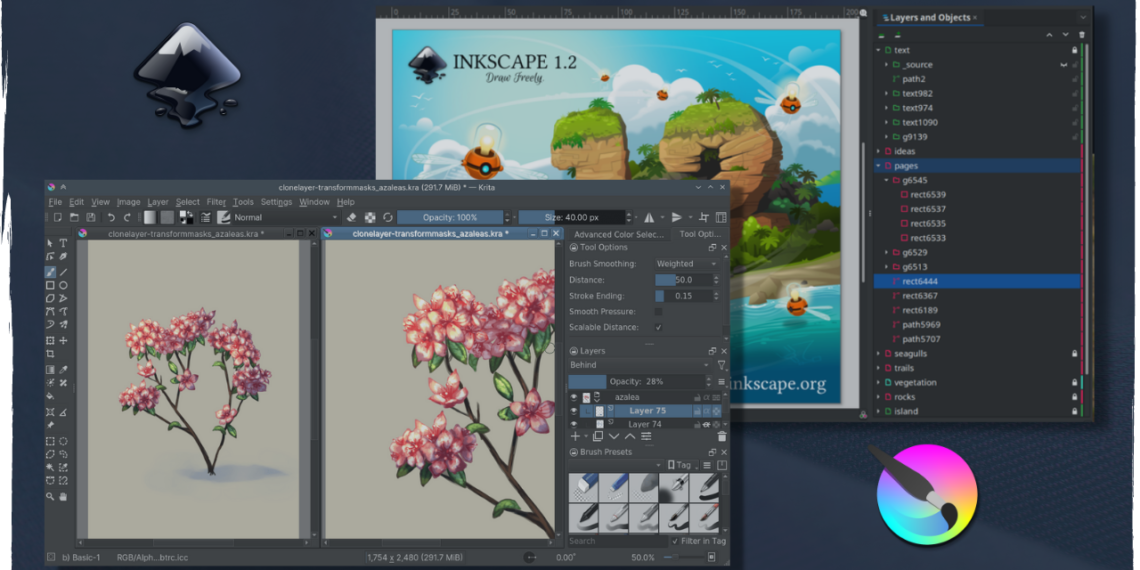
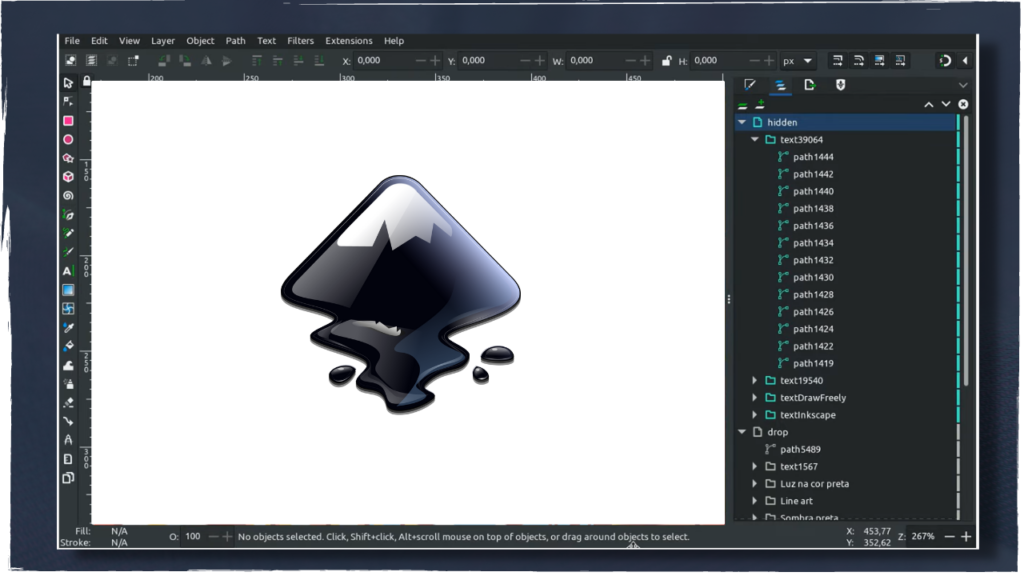
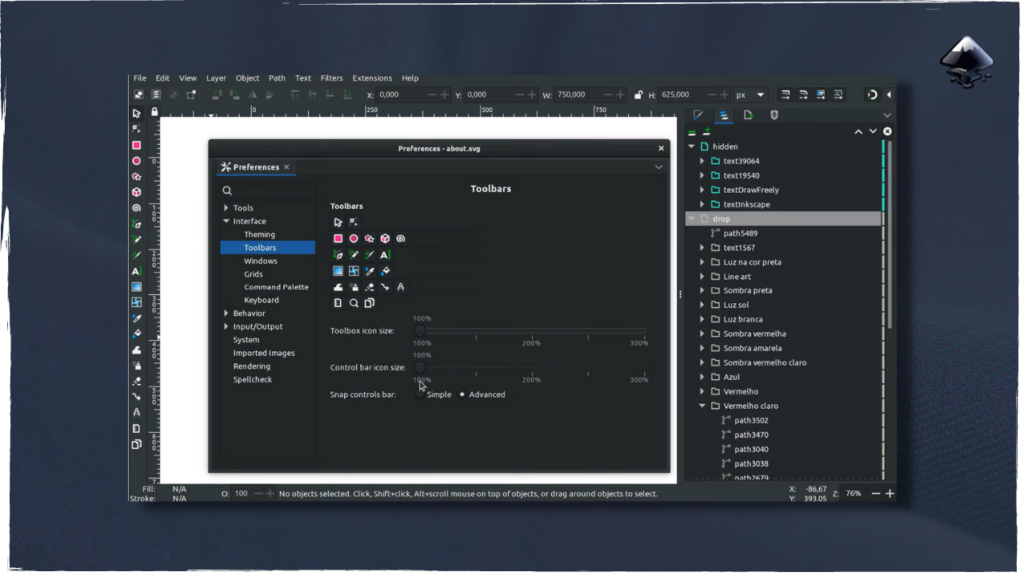
If you have worked with any 2D software, you will be familiar with Inkscape’s interface.
You have the action menu on the far top right, with File, Edit, View, Layer…and many other options.
Just beneath that you will find different tools and options and lastly on the left side is where the rest of the tools are situated.
The right side is empty for the most part and the middle is where the canvas is.
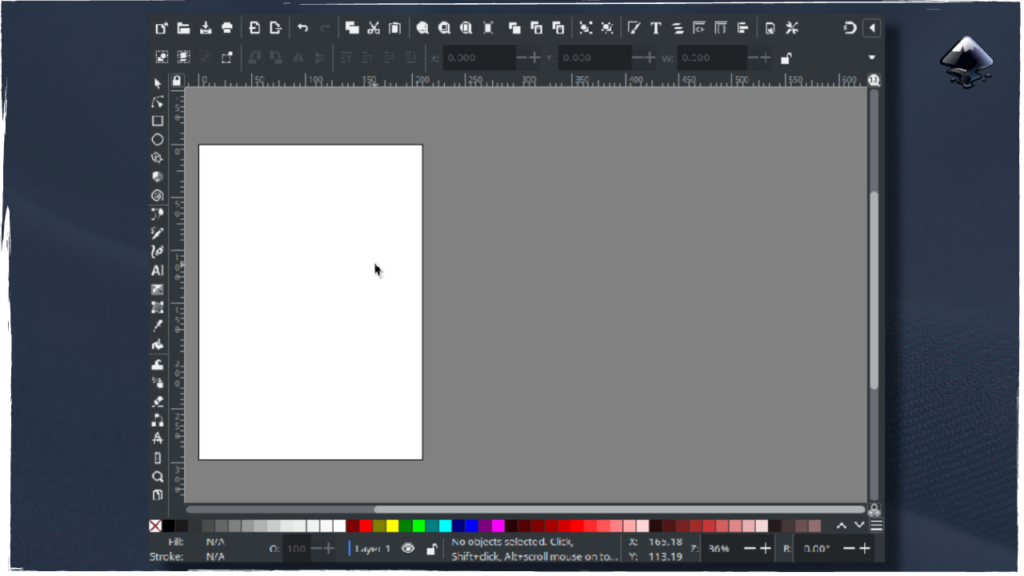
The edges of the toolbars are ruler-like with numbers and lines to make for a general grid for you to follow if need be.
Upon first opening the software, the interface is white, which might be annoying for you if you prefer a dark mode, luckily that option is available on the software, alongside other themes and colors if you wish to have a different look than the default.
All in all Inkscape’s interface is quite ordinary and reminiscent of most 2D software, which can be great as it’ll allow you to get familiar with it, a lot quicker.
Krita
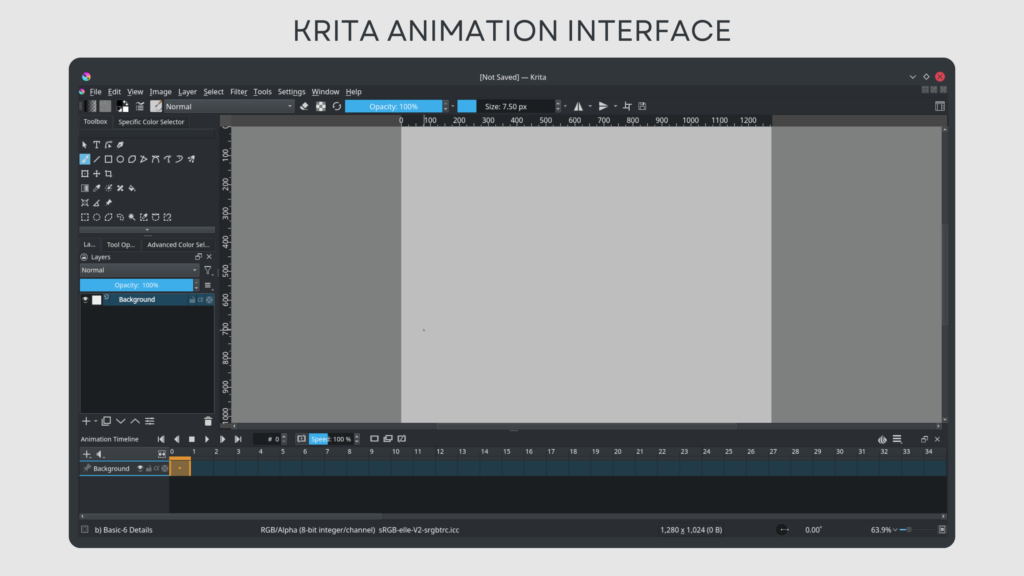
Krita is also a lot like other 2D software. The action menu is on the top with the traditional ‘File’ and friends.
Just beneath the action menu is the toolbar, the place where you change the brush you’re using and set its different parameters, most commonly opacity and size.
On the right and left side are the side bars, on the left is where all the different tools are and on the right, by default you’ll find the color wheel, below that layers and below that brush presets.
This is fully customizable in Krita and can be changed to accommodate your preferences.
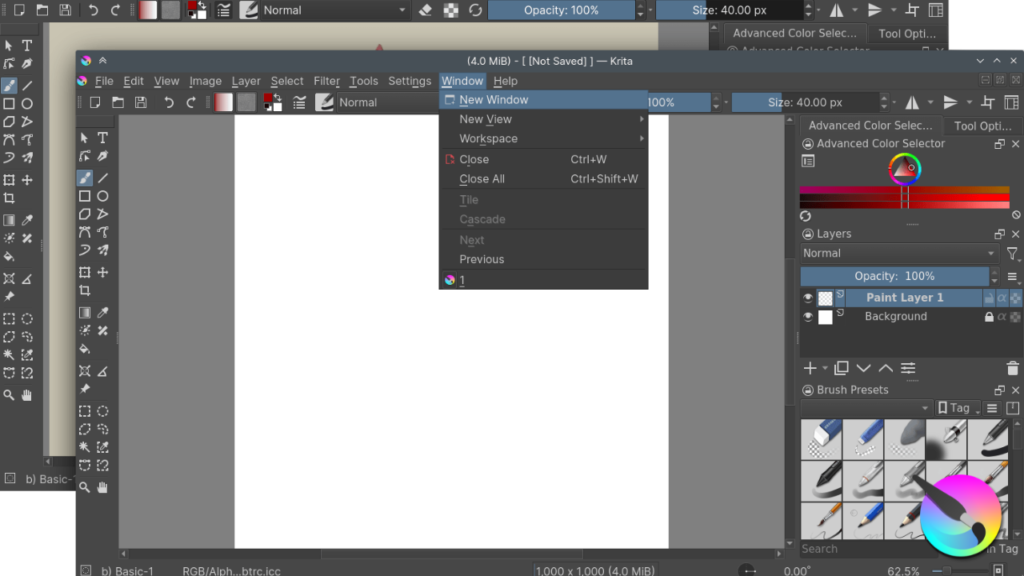
All the way down is where the Status bar lies, it gives you different information about your canvas, how zoomed in or out you are or how much of an angle your canvas is at.
The middle is for the canvas, and the edges of the bars are ruler-like, just as in Inkscape.
Krita vs Inkscape in Tools
Inkscape
Being a graphic design tool first and foremost, the sidebar on the left has a lot of shape tools, there is the circle, the square, the polygon and the star. But of course the software does not limit you with those shapes, you can create shapes in complete freedom with two tools, Bezier pen and the Free Hand tool.
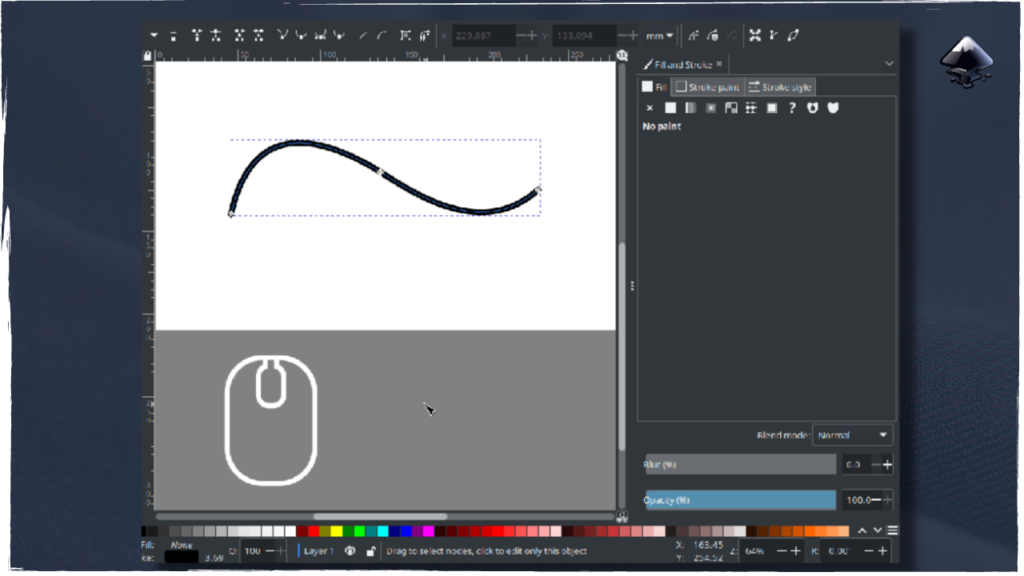
Editing the shapes post-drawing them is also possible with the Edit Path by Nodes tool, which allows you to completely change the shape using the nodes on it.
There are tools that allow you to change the color, either by selecting the color palettes at the bottom or using the Fill and Stroke menu. The gradient tool is also available on Inkscape as it is indispensable in the world of graphic design.
Other amazing tools in the software consist of path operations, live path effects, text editor, texture masking, clone masking and so on and so forth.
The software is a vast sea of powerful tools for graphic designers and with which you can create wonderful graphic design work with no limitation whatsoever.
Krita
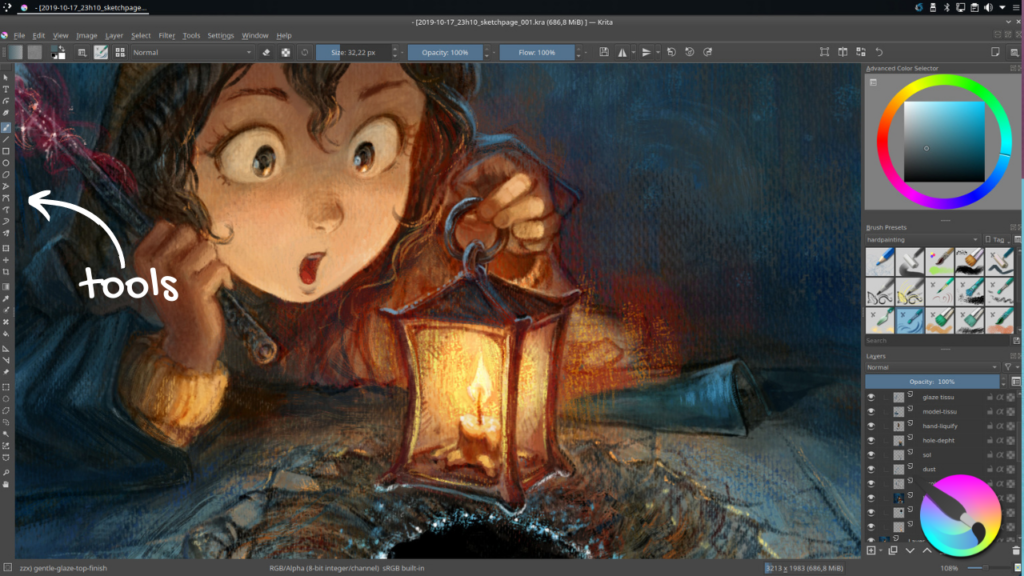
Krita on the other hand is mostly for digital painting, drawing and animating. For this reason the tools are quite different.
There is a brush tool, with countless brushes, for sketching, for painting and for drawing. You name it, Krita has it. There are also shape tools but of course they are for raster purposes, so they are in pixels.
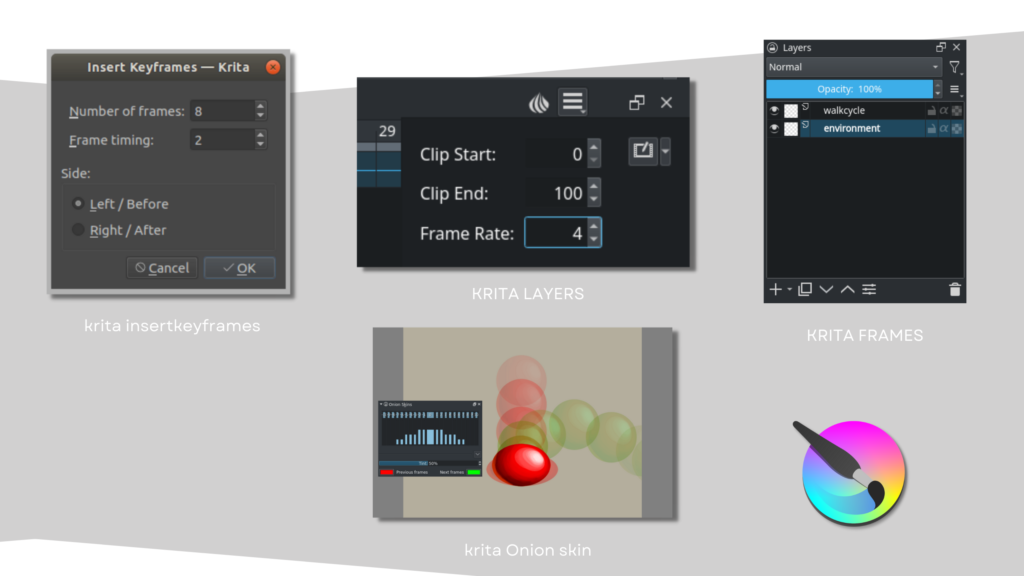
The shapes you make are also adjustable with the Shape Edit tool. There are selection and transformation tools as well as gradient and fill tools. The color selector in this software is available in many different shapes to suit your preference.
Krita also has an animation docker, you can either manually customize your software to add it, or switch between ‘Workspaces’ and have a different interface for different types of work.
The software has many many tools that we can not possibly cover all of them, but the gist is, if you’re a digital artist specializing in illustration and frame by frame animation, Krita is equipped with all the tools you need. You don’t need to worry about switching between software.
Krita vs Inkscape in Learning Curve
Now that you have an idea on the tools these two software have, let’s talk about what it takes to learn them. We have found that for both software, learning their workflow is dependent on your background.
If you have any kind of background in 2D, that will help you tremendously in lessening the weight of the learning curve. However if you’re new these software will be daunting to start with, naturally.
These two software are rich with tools that can help you make the best of your 2D creations, which is great but also means that there are a lot of things to learn. When you don’t learn about these software it can affect your end product and workflow, so we do suggest you take the time to learn about them.
Luckily, there are so many quality tutorials for free on YouTube that you can make use of.
The main takeaway here is that these software can have a big learning curve to them due to the richness of their tools and content, but it for sure is worth it.
Pros and Cons
Both of these software are free, you don’t have to pay a dime! Not only that but they are also open source, so if you’re tech savvy you can take their code and make wonders!
If you’re using Inkscape as a graphic designer, you are in good hands! The software has everything you need and dream of and all for free.
You can also draw with the software but it will not give you that hand drawn traditional feel in your drawing. You can export your work in SVG and scale what you make into oblivion.
That’s all fine and dandy, but if you’re a digital painter, Inkscape can’t do much for you, it lacks the brushes and the blending options necessary to make your painting look how you want it to look.
That’s where you should use Krita, the best free software to paint and draw and even animate, with countless brushes and tools for a traditional and painterly feel.
Krita however will not help with graphic design as it doesn’t do vector and won’t make your work scalable in any shape or form, so if you’re a designer, it’s time to jump ship, not that Krita is a sinking ship, it is just not the one for you.
Final Verdict
As you might have noticed from the previous section, these two software are similar but also very different.
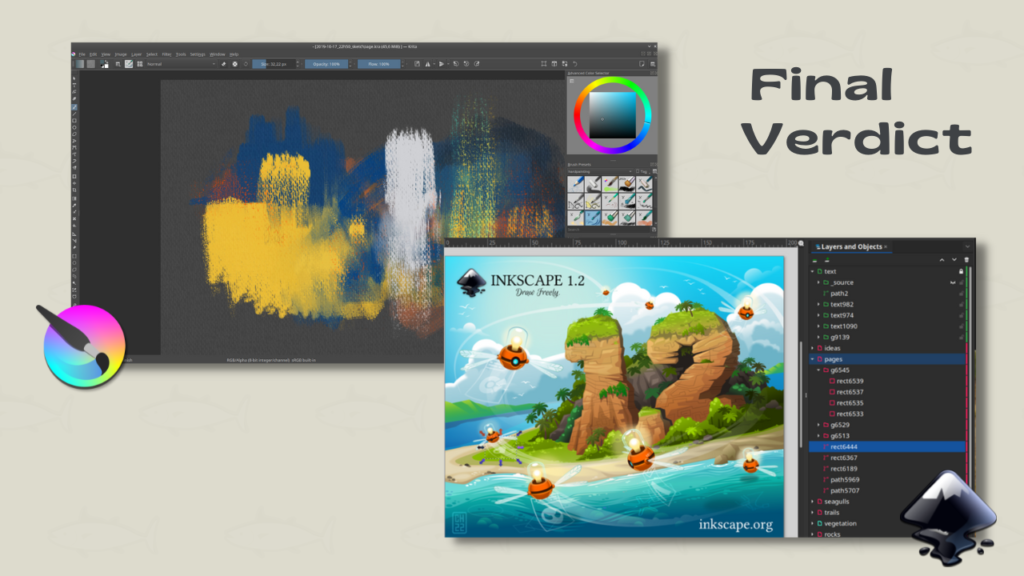
Krita doesn’t win over Inkscape and Inkscape doesn’t win over Krita. That is mainly because they’re made with different purposes in mind.
Simply; Graphic Design? Inkscape. Digital painting, drawing and animation? Krita. You have to know what you want out of the software and then choose which to use.
If you’re a graphic designer, you’ll have a hard time using Krita and if you’re a digital painter you’ll have an awful time using Inkscape.

