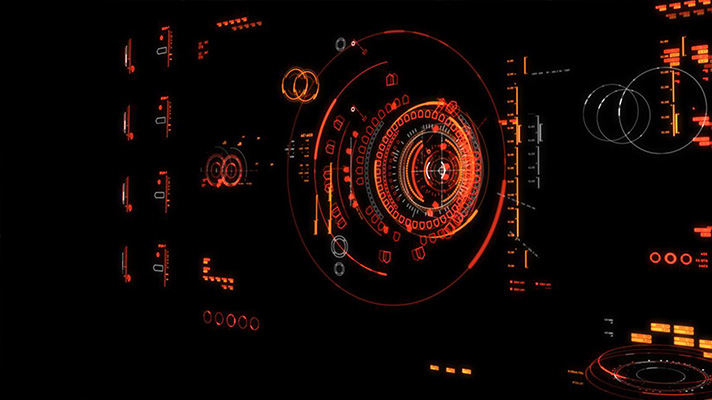
Cinema 4D is known for being the best 3D package for creating high-end motion graphics in VFX heavy films. In this video, we will take a look at how it was used to create complex sci-fi screens, holograms, simulations, and everything else in between.
Detective Pikachu

In this film, Territory studio delivered multiple textural environmental layers using Cinema 4D, from advertising boards to neon shop lights which helped transform London streets into a Pokémon-friendly landscape. For CNM Network News, they created graphics including large wall screens and various monitors.
In the Roundhouse Battle scenes, They created the graphic content for a large-scale retro gaming style screen and six smaller LED wall screens that call out each move by contestants on the arena floor. When not flashing battle moves, the screens pulse with abstract motion graphics.
The PCL Lab set was one of the more extensive and complex in the film, requiring screens that tied into story beats and lent a busy look and feel to the environment. Interfaces that show DNA sequencing, calculations, log screens, maps and database systems implied the malicious scientific intent behind the capture and transformation of Pokémon.
Guardians of the Galaxy
For this film, Territory Studio was asked by Marvel studios to create holograms, screens, and interfaces throughout many sequences, which turned out to be great when the film was released.
They were asked to create hundreds of designs and animations, with each set requiring its own look and feel to fit the vast number of sets, environments, and cultures. There were screens for spaceships, street scenes, gambling dens, communication hubs, and a prison. Each one had to reflect the specifics of a particular culture, whether it was human or alien. They also needed to reflect a sense of the wear and tear of function, history and backstory.
Territory took advantage of the massive Cinema 4D toolset using diverse tools, such as those for character animation, motion graphics, particle effects, and cell rendering. Cinema 4D’s MoGraph tools and workflow with Adobe After Effects were key in simplifying the creation of the complex screen interfaces. The complexity and variables of on-set screen graphics work required the team to be fast, flexible, and creative. And Cinema 4D allows them to do this in bucket loads, and The tight integration with After Effects was essential for this film as well.
The Martian
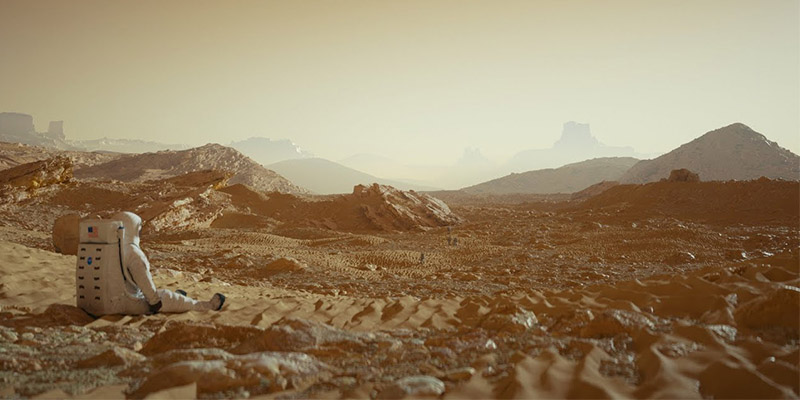
A lot of research was required to create motion graphics for this film because they wanted it to be as realistic as possible, so they created a visual language that was very true to the data requirements and the spirit of NASA’s current Mission Control. The backgrounds they chose were black and dark blue with white fonts and light blue indicators. Red was used to highlight mission-critical data and indicate warning status. They wanted the overall look of the interface to be serious and authoritarian, but the hierarchy of information was clearly readable to tie in with story points.
On the screens, where the terrain is being displayed, they stepped away from the technical, scientific look to show actual landscapes. To create these, Territory obtained a very low-resolution model of the area in Jordan, which doubled for the Mars surface. The team used the plugin DemEarth for that. However, since the available dataset was not detailed enough, they remodeled the area based on satellite and location photographs. Sub-polygon displacement was used for the mountains. Proxy models were used for the HAB, the solar panels, and the Rovers. And those were swapped with the high-resolution models supplied by the production. Since the exact coordinates of the actual location, as well as the shoot dates, were known, it was possible to create accurate lighting setups for the relevant hours. X-Particles was used to simulate the base of the dust storm and a smoke simulation on top of that was created with TurbulenceFD.
For the interactive screens, most requests from the production were for image sequences for Territory’s on-set engineering partners at Compuhire to program. They had to be programmed to display images that refreshed within a realistic time-frame, and the animations and simulations were usually reduced to one image every three seconds. Other screens were programmed to simulate typing scenes from the crew’s laptops or Mission Control computers. So, no matter what the actors were typing, the right message appeared on the screen.
Hunger Games Part 2

For design and visual effects, studio Cantina Creative relied on Cinema 4D as a central digital content creation tool to generate 120 visual effects shots ranging from holograms, animated posters, monitor shots, and user interface graphics that appear throughout the film.
The studio’s primary focus on Part 1 of the film was to generate interactive on-set monitor graphics that would stream live during shooting. And for Part 2, the team was given a more extensive range of post-heavy challenges that included the exclusive use of Cinema 4D to create two main hologram effects and to composite hero monitor screens that required story-specific information and animations to advance key plot sequences.
To meet the technical complexities of a movie of this scope, demanded that they rely on the various toolsets in their Cinema 4D pipeline, which provided them the creative flexibility to explore and tweak story notes throughout the project, critical in delivering a number of beautiful storytelling graphics on some very challenging design sequences. In combination with After Effects, they were able to generate external compositing tags and compositing project files throughout all of the hologram sequences, which further, resulted in an efficient workflow.
They used Cinema 4D to render a number of passes, namely a few variations of cel renders, layered procedural shaders, and a depth map. They also exported light and null data to use for additional elements in the composition.
Blade runner 2049
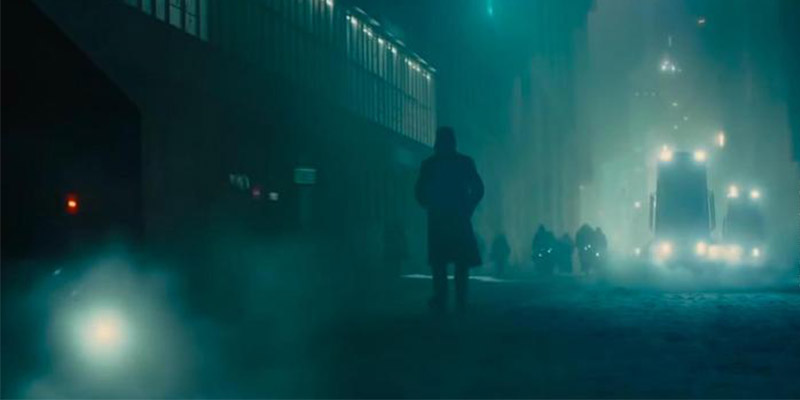
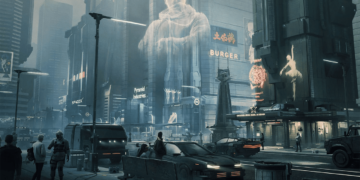
Territory studio was given a task to create graphics for a variety of different screens using cinema 4d from monitors in the LAPD office to the inside of a Library and a penthouse. The team worked for 7 months and produced over 100 original screens across 15 sets.
They also achieved some fluid simulation effects using x particles.
In addition to that, they used particle simulations for the ‘pilotfish’ drone sequences as well as some spinner screens where the outside environment was meant to be shown in an unusual fashion.
Also, Screenburn, ghosting, glitching, color degradation, and texture effects were all created in Cinema 4D.
Ghost in the shell
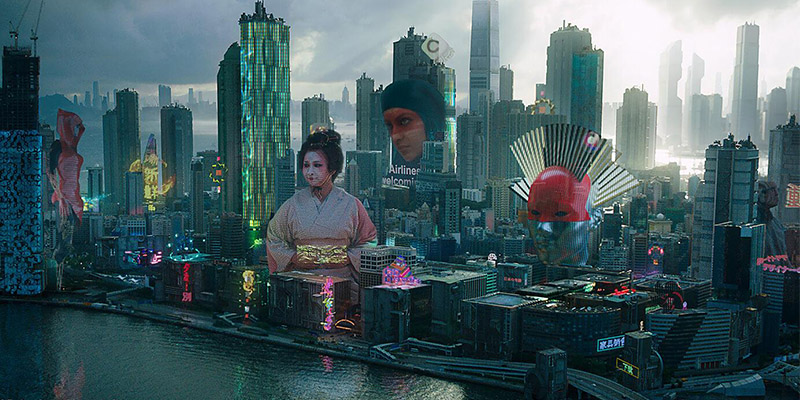
In the making of this movie, a territory studio was asked to devise and visualize concepts for the futuristic holographic technology that is festooned throughout the Ghost in the shell film. The team was also asked to create 3D assets for the street scenes and cityscape shots that aligned with the Director’s vision for a fresh look and feel to New Port City. Which turned out to be great in the film.
Some of the various assets seen in the trailer like some animated, rotating Japanese text. The team mostly used MoGraph effectors to deal with these types of animations and, as usual, the ease of use and speed of Cinema 4D allowed them to iterate through different versions which were essential to the job.
Design studios Sarofsky, Perception, and SPOV were involved in the creation of main-on-end-titles, previz, medical animations, and the design of the new Marvel Studios logo for the movie. All three used Cinema 4D for their inspiring work.
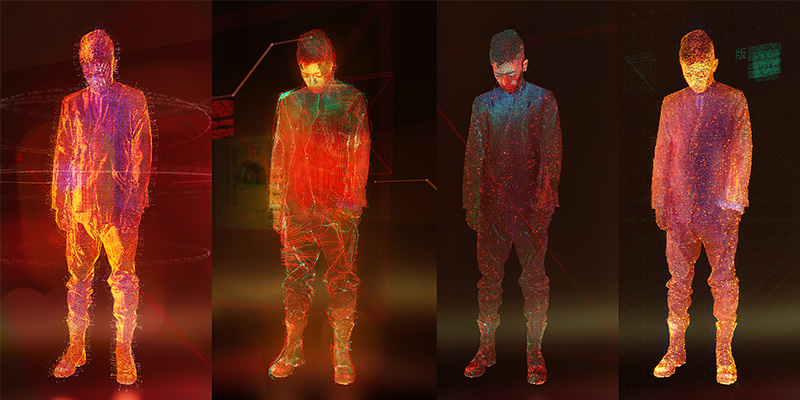
Sarofsky studio used Cinema 4D’s MoGraph and XRefs to deliver a fully rendered 2D and stereoscopic main-on-end title sequence. The team designed a series of animated mandalas which are geometric patterns that represent the cosmos metaphysically or symbolically. They were designed to look like gemstones and weathered gold that connected to the film’s rich symbolism and themes of repetition and symmetry.
Cinema 4D has been a central workflow in Perception studio for over ten years and was used previously by the studio on Marvel feature films such as Iron Man 2, The Avengers, Captain America, Iron Man 3, and extensively for Avengers: Age Of Ultron.
The Perception team provided previz to one of the film’s more mind-altering sequences. And they also designed a new animated logo for Marvel that was shown at the beginning of the rest of the marvel cinematic universe movies.
SPOV studio was given the task of designing and animating a suite of believable, accurate medical screen graphics and visualizations of the procedures being illustrated throughout the film.
Specter 007
The screens in Spectre features a combination of 3D and motion graphics-style imagery, but around 90% of it was created in Cinema 4D, with After Effects used for some 2D animation and compositing.
They used Cinema 4D for many graph animations as they’re quicker to create using MoGraph than in After Effects – especially when working within the modular framework.
The team used the Hair and MoGraph systems inside Cinema 4D and utilized X-Particles to create data clouds and other particle-based animations. TurbulenceFD was also used to help create this film.
One background image shows material analysis was made using Hair,” because It’s the only way to create such a huge amount of objects without grinding your machine to a halt since Hair works very well for this type of work and allows you to create some lovely complex designs.”
The Spectre ring analysis displays the results as a series of elemental building blocks. They modeled the ring in various styles, “Electron microscope, photoreal, gamma, spectrometer… and for flexibility in the main composite. MoGraph was used to create the voxel grid system for isolating the chemical constituents of the ring.”
They designed and modeled the Earth in Cinema 4D for the satellite tracking screen, by making use of the 3D object data by adding 2.5D graphics in the composition. The terrain was created using a mixture of X-Particles, lots of splines, and a fair amount of 2.5D graphic elements.
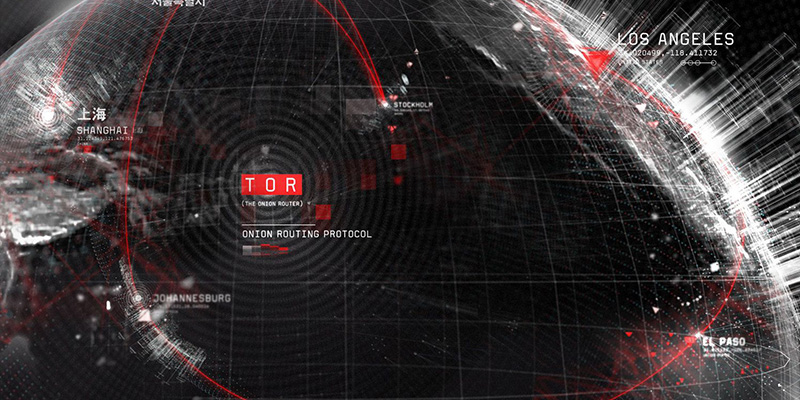
Cinema 4D was great when modeling within a set of design rules – which they found to be a great approach for this type of UI work, and This made things easier when the team needing to keep the overall styling of multiple animations within a single body of work.
For the X-ray skull screens, they modeled many different layers, including bone, veins, arteries, nerves, and sections of the brain. They then rendered out multiple passes of the different layers for compositing in After Effects. “This gave them flexibility when creating the final treatment and isolating various parts of the skull. And needles were created using a mixture of 3D and 2D elements and composited separately over the main 3D skull.

