Switching from classic painting to the digital one can seem fascinating at first glance, but can become quickly confusing when it comes to picking the right tool. So if you’re at the beginning of your journey, you must’ve heard of Krita and Procreate: two of the most popular in the field. We like to present you full comparisons to help you in the process, like our Toon Boom Harmony vs TVPaint face-off.
Today however, we chose a new face-off that lean slightly more towards graphic art: Krita vs Procreate. In this article, we’ll take a closer look at both of them to help you choose the one that suits you best.
Krita vs Procreate: is this even a valid comparison?
The first thing that comes to mind is probably going to discredit the comparison: the price tag. Knowing that Procreate will cost you money (and definitely an Apple product to use it), while Krita is free and open source. It actually encouraged us to make a full list about the best open-source software for 2D animation. But to be honest, pricing is only one factor among many others that make this comparison totally legitimate. We’ll be axing this face-off in depth around 4 main factors. But before that, let’s have a brief overview of these tools in case you’re not very familiar with them in the first place.
- Krita Overview

Krita is a 2D animation and digital painting software that is free and open-source, available for almost all operating systems: Windows, Mac, Linux, iOS and Android. It has an amazing interface developed in Qt5; providing you with a great user experience and allowing you to use a graphic tablet, pen buttons or even a keyboard.
It’s basically built to simulate all kinds of physical classic painting techniques such as oil painting, watercolor, chalk, and so on. This is where it becomes obvious that this software is developed by artists who aimed to launch a complete, powerful and free tool that allows all artists to express the beauty of their creative minds.
The system features an OpenGL-accelerated canvas, color management support, an advanced brush engine, non-destructive layers and masks, group-based layer management, vector and raster support, switchable customization profiles and more. With Krita, you can save your work as a source project, or you can export it to other formats, like PSD, PNG, PDF, and GIF just to name a few. Not to mention that you can also benefit from multiple import options to make the software even more accessible.
The software is quite intuitive and straightforward, and you can even customize the interface to enhance your workflow.
- Procreate Overview
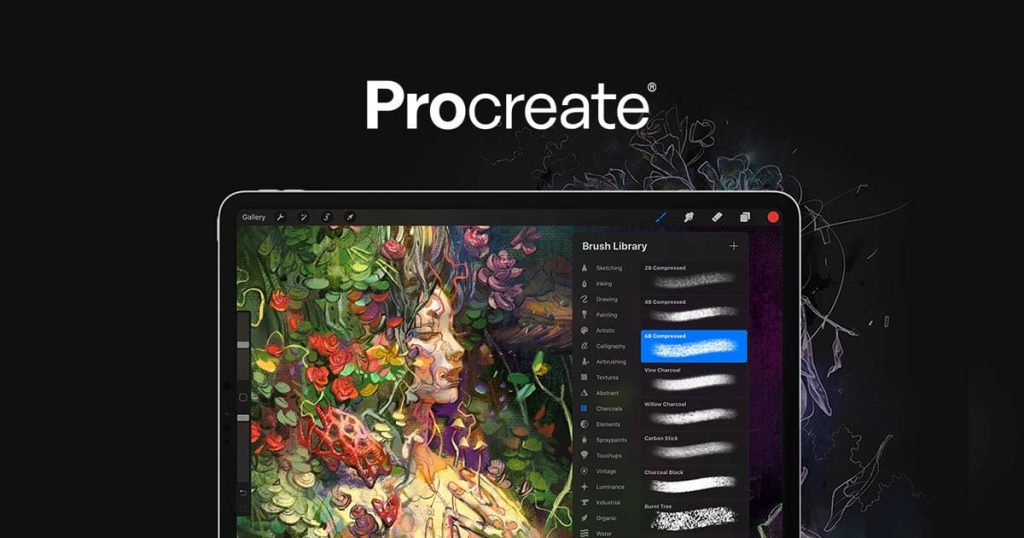
Procreate is a raster-based digital painting software for iOS and MacOS, developed by Savage Interactive. It’s a powerful graphics editor that offers you the natural feeling of classic painting and allows you to quickly get familiar with the environment. There’s really no need to specify how much this tool can unleash your potential, both in digital painting and animation. Not to mention that iPad users have the comfort advantage using Procreate, since the device is easily portable and highly reliable.
The system offers you one of the most advanced coloring schemes, with a bunch of awesome tools and features like the ColorDrop or the SwatchDrop. It comes with many pallets to provide you with stunning color sets and combinations, likeDisc, Classic and Harmony.
Procreate also offers you multiple export options into various formats, such as PSD, PNG, JPEG and PDF. You can even export a workable project in the EPS format, so you can open it in another software for further edits if you like.
1. Learning Curve
Krita
It’s designed for both amateurs and professionals: the intuitive nature of its UI makes it excellent for beginners (even kids can find their way through the process if they’re motivated enough!). On the other hand, advanced users can also explore the endless maze of its options, and can easily adapt its potential to their own creative workflow the way that suits them best.
In other words, the software is highly flexible when it comes to the workspace, allowing you to customize the tooling panels and attach them to any side of the main windows, or you can just have them float. And for more convenience, you can save your preferred workspace as your default setup. In addition to the option of editing the keyboard shortcuts or creating your own. The customization boundaries don’t grant you control over the feel of the software only, but also the look of it: allowing you to choose between the dark mode of the light one.
Although Krita is pretty easy to handle, you could definitely use some courses and tutorials to grasp the concepts and extend the potential of the software even more. When it comes to this matter, the web is overloaded with all sorts of guides, supported by a huge community of active users all over the world.
Procreate
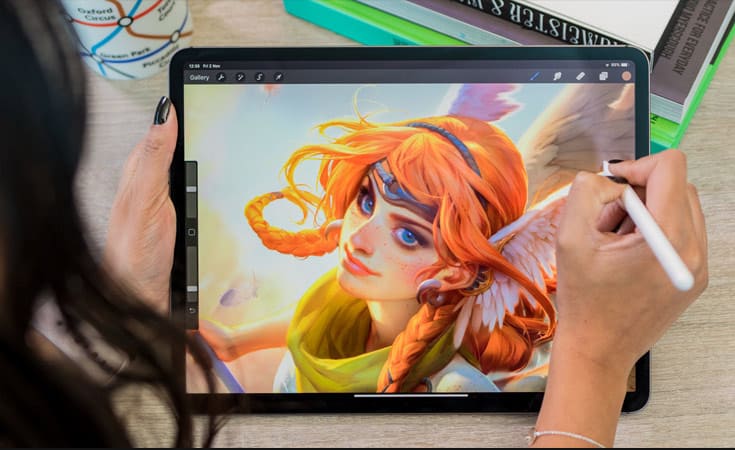
On the other side of this comparison, we have Procreate that is also suitable for beginners, providing you with a very fruitful experience. It has not only an intuitive interface but a beautiful and modern one as well. However, despite the simple and accessible UI, you might need to educate your eyes and to sharpen your skills with some tips and tricks using Procreate. For this matter, the internet got you covered: you’ll find plenty of documentation, courses and tutorials all over the web to get the best of the software’s maximum potential.
2. Drawing Tools
We’re talking about two of the most amazing digital painting software, so it’s very likely to put your expectations very high regarding their drawing tools.

Krita
Starting with this side of the face-off, it comes with a full package of the most advanced tools and features, which probably makes it the best alternative of Adobe Photoshop for many users. It offers you over 100 professional pre-defined brushes with nine different brush engines, such as the color smudge, the shape, the particle engine and so on. Each one of them allows you to tweak and customize the parameters of the brushes in various ways. Not to mention that you can import external brushes, either from other software (like Photoshop for example), or brushes created and shared by other artists.
The software is compatible with graphic tabs and it allows you to modify:
- brush size
- opacity
- color
- blending mode
- …, etc.
In addition to that, it comes with powerful brush stabilizers to help you get smooth paintings and sharp strokes. So you wouldn’t have to worry about your shaky hand anymore.
Besides the awesome painting tools, it responds quickly and efficiently to the stylus pressure and tilt movements; which provides you with a very fluid and realistic physical drawing experience. The drawing process is even more handy with the fact that you can create shapes out of paths and edit them once created. And above all, the layer management system helps you separate and organize your elements to ensure a clean workspace and avoid things getting all messy.
When it comes to the coloring process, Krita has awesome color pallets with an enhanced workflow, supporting multiple color modes such as RGBA, CMYK and more. You can set the color swatches and brushes as floating panels or dockers for a better grip over the process. As a complementary side of coloring, texturing with this software is highly assisted and easy with the wrap-around mode, allowing you to create awesome patterns seamlessly. You only need to press the W key while painting. Not to mention that Krita comes with import and export options for these textures in the form of packs.
The tooling of Krita doesn’t stop here: with the wide variety of transformation tools, you can rotate, scale, warp, and do so much more to push your artistic senses further. You can also benefit from basic effects, such as dropping shadows, tweaking perspective parameters, in addition to many filters and templates. And finally, for a maximum level of efficiency, you can modify the keyboard commands and shortcuts the way it suits you best.
Procreate
As for the other side of the comparison, the leading digital drawing software dedicated to iOS and iPadOS is being a worthy opponent despite the price tag. You can work with it on your iPad using an Apple pencil or simply your fingers. But it’s not meant to be a limitation, since the system supports third-party styluses as well (although with lower accuracy).

The power of this software can really blow your mind: with over 200 predefined brushes, you’ll experience a sensibly accurate simulation of classic painting, including oil painting, ink, charcoal and more. The Brush Studio extends the options even further, allowing you to import your favorite brushes or even create your own from scratch. With the Valkyrie graphics engine, the reliability of this software is incredible when it comes to pressure sensitivity and tilt movements, providing you with a smooth and unique drawing experience. And the speed of 120 FPS definitely feels like a breeze to speed up the process and push the boundaries of the performance further
Although Procreate is a beast in the field of digital painting, you can probably spot a few cons to it: such as the unsupported vector graphics and the hefty masking options.
However, your workflow will certainly be assisted by many smart functions, such as the QuickShape, the ColorDrop and the StreamLine. Not to mention that the latest update comes with stunning effects and filters too, like Blur, Halftone or Liquify finishing touches.
3. Animation Tools
Krita
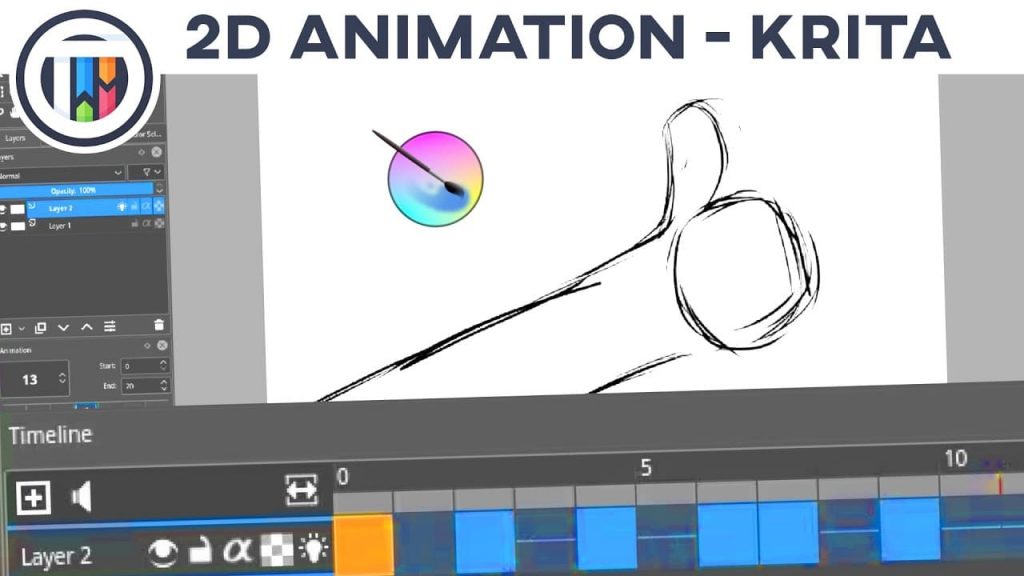
It’s a frame-by-frame animation software that comes with three main dockers dividing and guiding the workflow: the timeline, the animation keyframes and the onion skin display. In other words, this is where everything happens, including the playback options, the frame-rate, the layer management and much more, until the final phase which is exporting your project as a GIF,MP4 or AVI file. Not to mention that the speed of the process reaches high levels thanks to the OpenGL accelerated canvas.
The artistic spirit of your artwork can be sensibly enhanced with a wide variety of fantastic predefined and customizable filters, having full control over the final cut. We can mention for example blur effects, edge detection and more.
Procreate
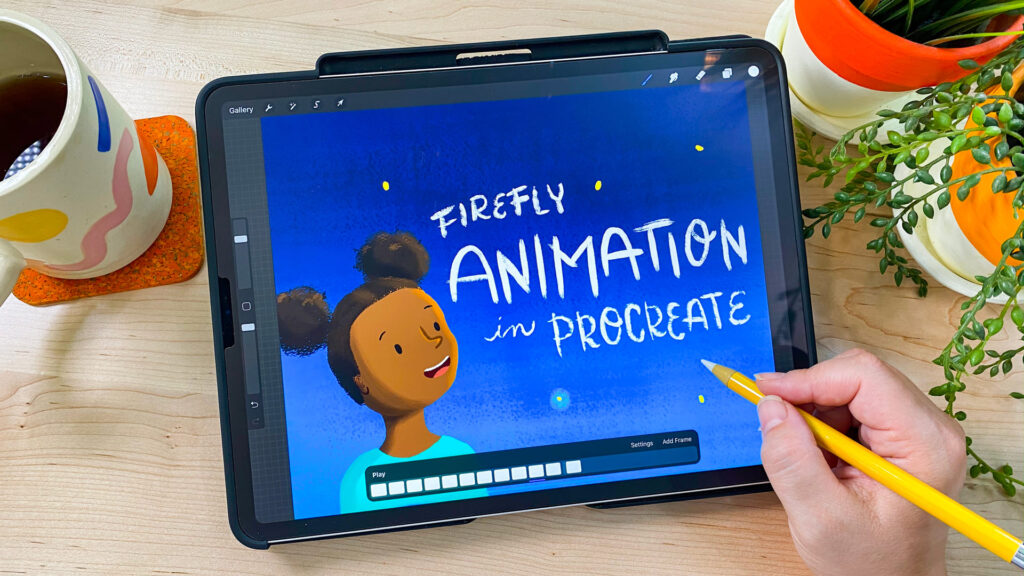
Despite all its glory, it can be described as somewhat limited when it comes to animation compared to Krita. It’s also a frame-by-frame animation software assisted with onion-skinning display mode and a layer management system. However, the results are meant to be high quality simple animations, such as time-lapses and looping GIFs.
5. Pricing
- Krita: it’s a free software as we mentioned above, but you get to pay $10 or even make donations if you want to support the development. Take a look at the official website for download and for additional information.
- Procreate: you can purchase it from the App Store for around $10. It doesn’t offer any free trials unfortunately, but it’s a lifetime purchase that won’t require any further subscriptions.
Conclusion: who wins the Krita vs Procreate battle?
As you can see, these 2 software have so much in common but can differ depending on your needs as a digital artist. For example, if your art requires advanced animation features on a budget, Krita would be better for you. But if you’re looking for premium brush stabilizers and you already have an Apple device, going for Procreate is the wiser decision. Using them both is absolutely okay too, especially since they complete each other very well.
We hope that this article, helped you take a closer look at both of them, and choose the one that fits your aspirations. Your choice can get even more comforted if you dive in and give it a try. Let us know in the comments if you have a preference for one of them.

