I. Introduction
A. The Growing Interest in 3D Modeling
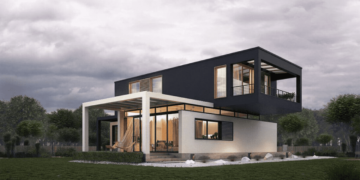
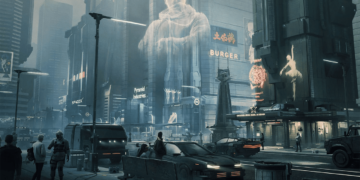
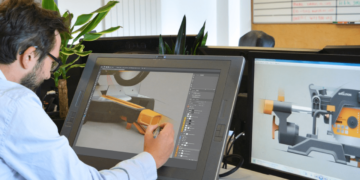
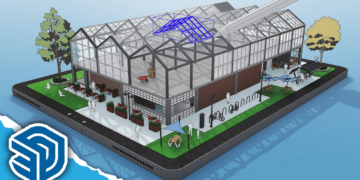
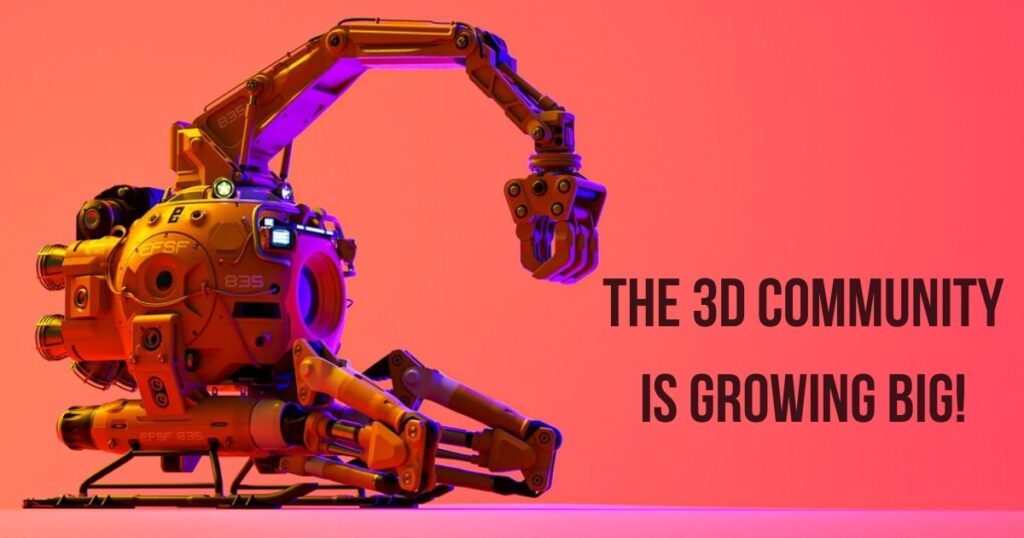
3D modeling in recent years, the world of has experienced an extraordinary surge in popularity. Whether you’re an aspiring artist, a game developer, an architect, or simply a curious enthusiast, the allure of creating three-dimensional digital wonders has captured the imagination of many. This growing interest can be attributed to the boundless possibilities that 3D modeling offers. From bringing fantastical creatures to life to designing architectural marvels, the scope of 3D modeling is only limited by your creativity.
B. The Power of Blender as a 3D Modeling Tool
At the forefront of this exciting realm is Blender, a free and open-source 3D creation suite that has gained immense recognition and admiration within the community. Blender’s exceptional capabilities as a 3D modeling tool have made it a household name among artists and professionals alike. With its versatile features, intuitive interface, and a supportive community, Blender empowers users to turn their visions into stunning 3D reality.
C. Overview of What to Expect in the Blog Post
In this comprehensive blog post, we will embark on a journey through the world of 3D modeling using Blender. Whether you’re a seasoned pro looking to sharpen your skills or a newcomer eager to dive into this captivating domain, this blog post has something for everyone. We’ll be delving into a series of tutorials and guides that cover the fundamental aspects of 3D modeling in Blender.
Our goal is to equip you with the knowledge and tools needed to unleash your creativity and bring your 3D projects to life. From understanding the basics of Blender’s interface to mastering complex modeling techniques, we’ll walk you through each step with clear and concise instructions. So, whether you’re aiming to create mesmerizing characters, realistic environments, or architectural wonders, you’re in the right place.
Let’s embark on this exciting journey of 3D modeling in Blender, where the possibilities are as limitless as your imagination.
II. Getting Started with 3d modeling in Blender
A. Downloading and Installing Blender
Before we dive into the world of 3D modeling in Blender, it’s crucial to get the software up and running on your computer. Fortunately, Blender is both free and easy to obtain. Here’s a quick guide on how to download and install it:
- Visit the Blender Website: Head over to the official Blender website (https://www.blender.org/).
- Download Blender: On the website’s main page, you’ll find a prominent “Download Blender” button. Click on it.
- Select Your Operating System: Blender is compatible with Windows, macOS, and Linux. Choose the version that matches your operating system.
- Download Blender: Click the download button to start downloading the Blender installer.
- Install Blender: Once the download is complete, run the installer and follow the on-screen instructions to install Blender on your computer.
B. Navigating the Blender 3D Interface
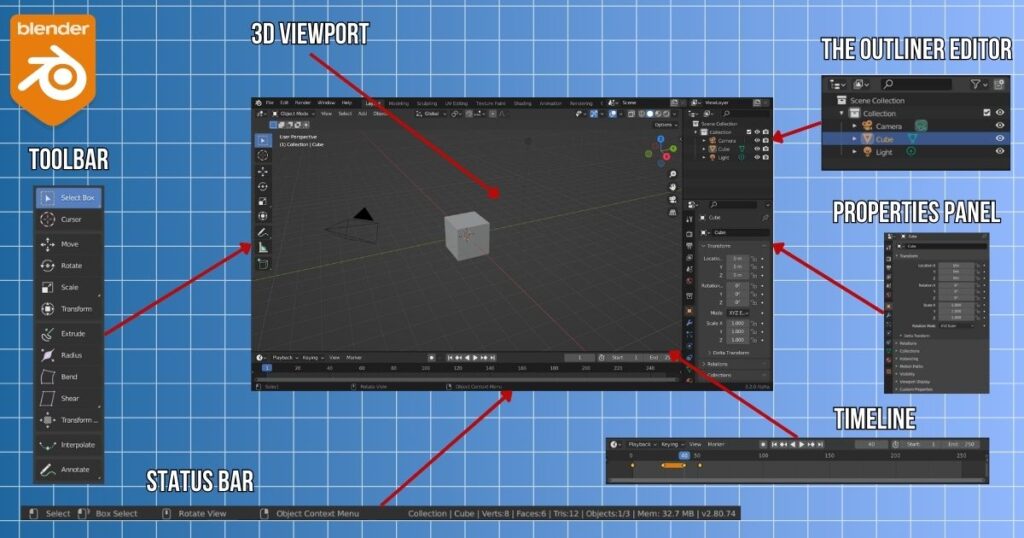
Blender’s interface may seem daunting at first, but with a bit of guidance, you’ll find it surprisingly intuitive. Here’s a brief overview of the key elements:
- Viewport: This is where you’ll see your 3D scene. You can rotate, pan, and zoom in/out using your mouse.
- Toolbar: Located on the left side, the toolbar contains various tools for modeling, sculpting, and more.
- Properties Panel: On the right, you’ll find properties and settings related to your objects and scene.
- Timeline: At the bottom, you have the timeline for animation purposes.
- Outliner: This window on the top right displays all the objects in your scene.
- Info and Status Bar: The top bar provides useful information, including file options and scene statistics.
C. Basic 3D Modeling Principles
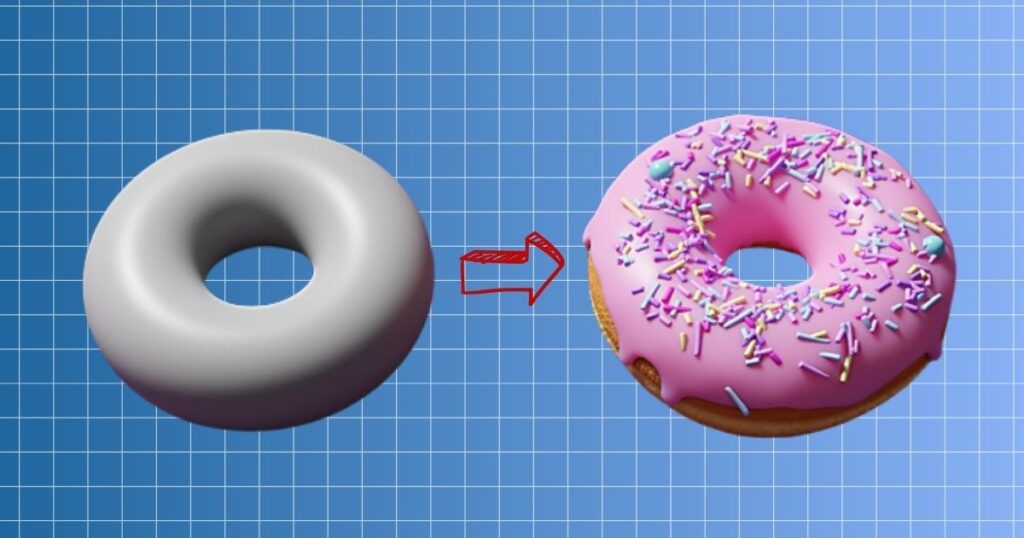
Before we start creating 3D models, it’s essential to grasp some fundamental principles:
- Vertices, Edges, and Faces: Objects in Blender are made up of vertices (points), edges (lines connecting vertices), and faces (closed shapes formed by connecting edges). Understanding these elements is crucial for modeling.
- Object Mode vs. Edit Mode: Blender has two primary modes for working with objects. Object Mode allows you to select, move, and manipulate entire objects, while Edit Mode is for modifying the object’s geometry (vertices, edges, and faces).
- Hotkeys: Blender relies heavily on hotkeys for efficiency. Learning key shortcuts for common actions will significantly speed up your workflow.
- Modifiers: Blender offers a wide range of modifiers that can be applied to objects to achieve various effects like smoothing, mirroring, and more.
In the upcoming sections of this blog post, we will delve deeper into these concepts, guiding you through hands-on exercises and tutorials to help you become proficient in 3D modeling with Blender. Stay tuned for more exciting discoveries in the world of 3D modeling!
Also check our take on How to Render in Blender Faster? | Case Study
III. Essential Tools and Techniques for Blender 3D
A. Introduction to Mesh Modeling
Mesh modeling forms the foundation of 3D modeling in Blender. It involves creating and manipulating objects using interconnected vertices, edges, and faces. Here’s a glimpse of what you can expect:
- Mesh Basics: Learn how to add, delete, and manipulate vertices, edges, and faces to shape your objects.
- Mesh Primitives: Blender offers a variety of pre-made shapes like cubes, spheres, and cylinders. Discover how to use these as a starting point for your models.
B. Extrusion, Scaling, and Rotation
Once you’re comfortable with mesh basics, it’s time to explore more advanced modeling techniques:
- Extrusion: Understand how to give your models depth by extruding faces and edges.
- Scaling: Master the art of resizing objects and individual components for precise modeling.
- Rotation: Learn to rotate objects and components to achieve the desired orientation and symmetry.
C. Working with Materials and Textures
Textures and materials are essential for adding realism and visual appeal to your 3D models:
- Materials: Discover how to create and assign materials to your objects, controlling their color, reflectivity, and more.
- Textures: Learn how to apply textures to your models, giving them detailed surface characteristics like wood grain or stone textures.
- UV Mapping: Explore the concept of UV mapping to ensure textures are applied accurately to your models’ surfaces.
D. Sculpting and Shading in Blender
Take your 3D modeling skills to the next level with sculpting and shading:
- Sculpting: Delve into Blender’s sculpting mode, where you can add fine details, create organic shapes, and refine your models with brushes and tools.
- Shading and Lighting: Understand how to set up realistic lighting and shading for your scenes, enhancing the visual quality of your renders.
Throughout these tutorials, we’ll provide step-by-step instructions and practical exercises, allowing you to apply these essential tools and techniques to your own 3D modeling projects. Blender’s capabilities are vast, and with the right guidance, you can create stunning 3D art and bring your imagination to life. Stay tuned for more exciting insights into the world of 3D modeling with Blender!
IV. Creating Your First 3D Model in Blender
A. Step-by-Step Tutorial: Modeling a Simple Object
In this section, we’ll guide you through the process of creating your first 3D model in Blender. We’ll start with a straightforward object, such as a cup or a vase, to get you acquainted with the modeling workflow:
- Setting Up: Open Blender and familiarize yourself with the interface. Create a new project and select a basic mesh shape like a cylinder or cube.
- Modeling: Using the techniques you’ve learned, manipulate the shape to resemble your chosen object. This may involve extruding, scaling, and rotating vertices, edges, and faces.
- Refinement: Continue refining your model until you’re satisfied with its form. Pay attention to details and proportions.
- Smoothing: Apply smoothing modifiers if needed to give your model a polished appearance.
B. Applying Materials and Textures
Once you have your basic 3D model, it’s time to make it visually appealing:
- Materials: Create materials for your model’s surfaces. For example, if you’re modeling a cup, you might assign a ceramic material to the cup’s body and a different one to the handle.
- Textures: Add textures to your materials to simulate surface details. For the cup, you could apply a texture for a realistic ceramic finish.
- UV Unwrapping: Learn how to unwrap your model’s UVs, allowing you to precisely apply textures.
C. Rendering Your 3D Model
Rendering brings your 3D model to life by producing high-quality images:
- Setting Up Render Settings: Configure the render settings in Blender, including resolution, lighting, and camera angles.
- Materials and Lighting: Ensure that your materials and lighting are set up correctly for the desired visual effect.
- Rendering: Hit the render button and watch as Blender turns your 3D model into a 2D image. You can also render animations for dynamic scenes.
- Exporting: Learn how to export your rendered image or animation in various formats for use in other projects or for sharing your work with others.
By the end of this section, you’ll have created, textured, and rendered your first 3D model in Blender. This hands-on experience will provide you with a solid foundation for more complex projects and help you unlock the full potential of Blender’s 3D modeling capabilities. Congratulations on your first step towards becoming a 3D modeling artist!
7 Amazing Free Blender Tutorials | Beginner Friendly
V. Advanced 3D Modeling Techniques
A. Creating Complex Objects and Characters
Once you’ve mastered the basics, it’s time to take on more complex challenges:
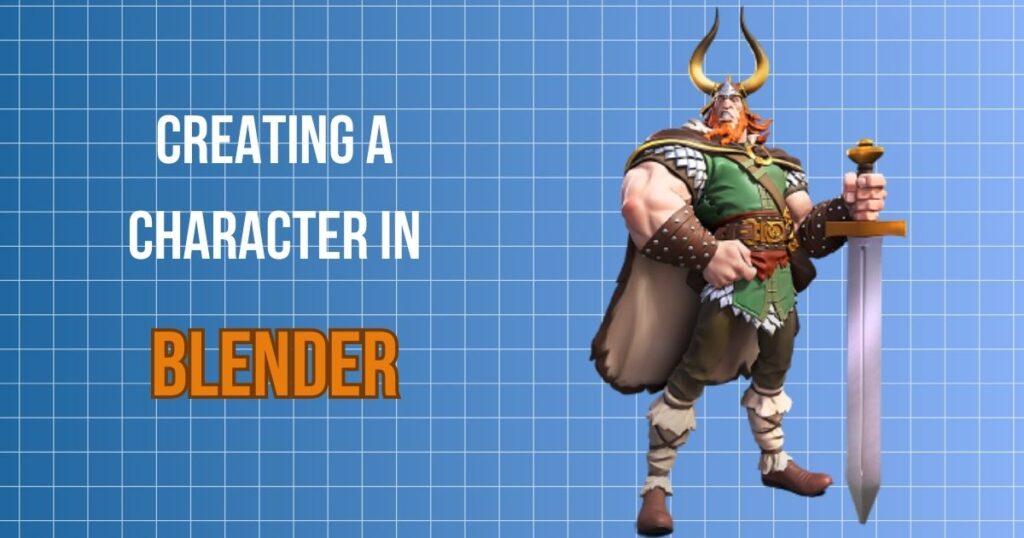
- Advanced Modeling: Dive into the intricacies of modeling by creating intricate objects like vehicles, detailed buildings, or even lifelike characters.
- Topology: Learn about good topology, which is crucial for creating smooth and deformable surfaces on characters and complex objects.
- Modifiers: Explore advanced modifiers such as Boolean, Array, and Mirror to streamline your modeling process.
B. Rigging and Animation in Blender
Breathing life into your 3D models requires understanding rigging and animation:
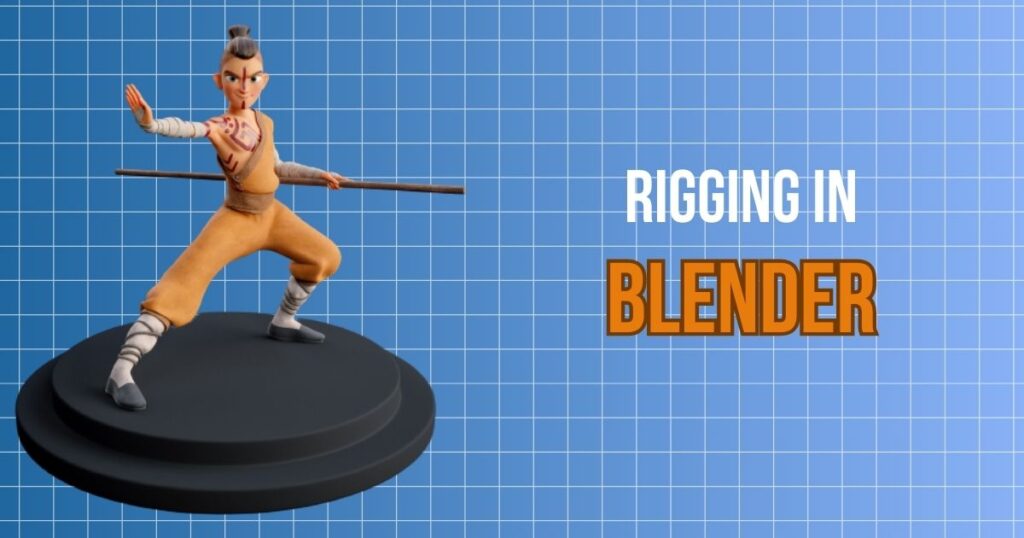
- Rigging Basics: Learn how to create armatures and rig characters for movement.
- Animation Fundamentals: Get a grasp of the animation timeline, keyframes, and animation curves.
- Character Animation: Animate characters by posing and animating their rigging.
- Object Animation: Explore object animation for creating moving scenes and dynamic simulations.
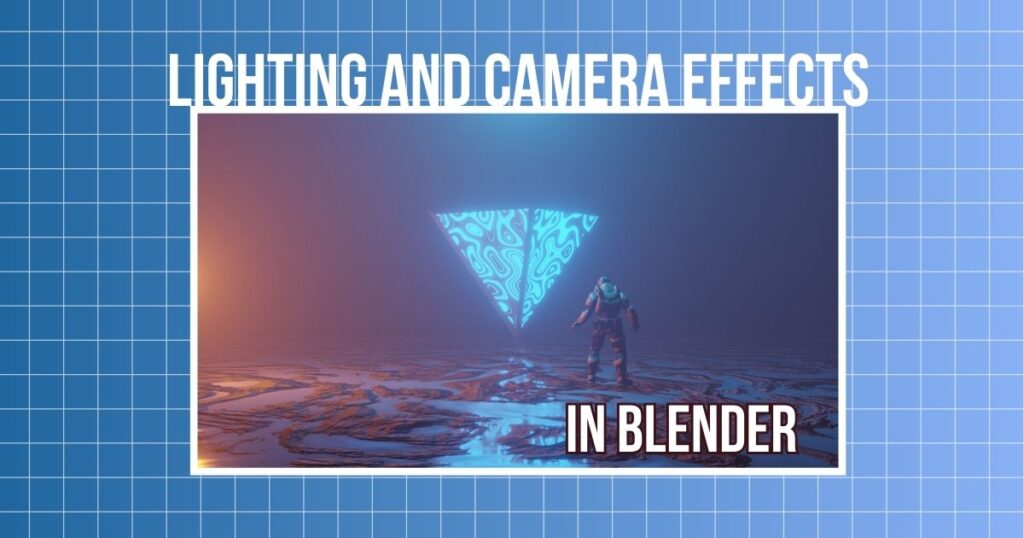
C. Incorporating Lighting and Camera Effects
To create visually stunning 3D scenes, you’ll need to master lighting and camera effects:
- Lighting Techniques: Understand different types of lights in Blender, such as point lights, spotlights, and area lights. Experiment with their placement and settings to achieve desired moods and atmospheres.
- Materials and Shaders: Further refine materials and shaders to interact realistically with lighting conditions.
- Camera Composition: Learn the art of framing and composition to create compelling shots.
- Post-Processing: Explore Blender’s compositing and post-processing capabilities to enhance your final renders.
By exploring these advanced techniques, you’ll be well on your way to becoming a proficient 3D artist in Blender. You’ll have the skills to create intricate models, bring them to life with animations, and craft visually captivating scenes that captivate your audience. The world of 3D modeling and animation is vast, and with dedication and practice, you can push the boundaries of your creative potential.
VI. Tips and Tricks for Efficient 3D Modeling
A. Keyboard Shortcuts and Workflow Optimization
Efficiency in 3D modeling can greatly enhance your productivity and creativity. Here are some tips:
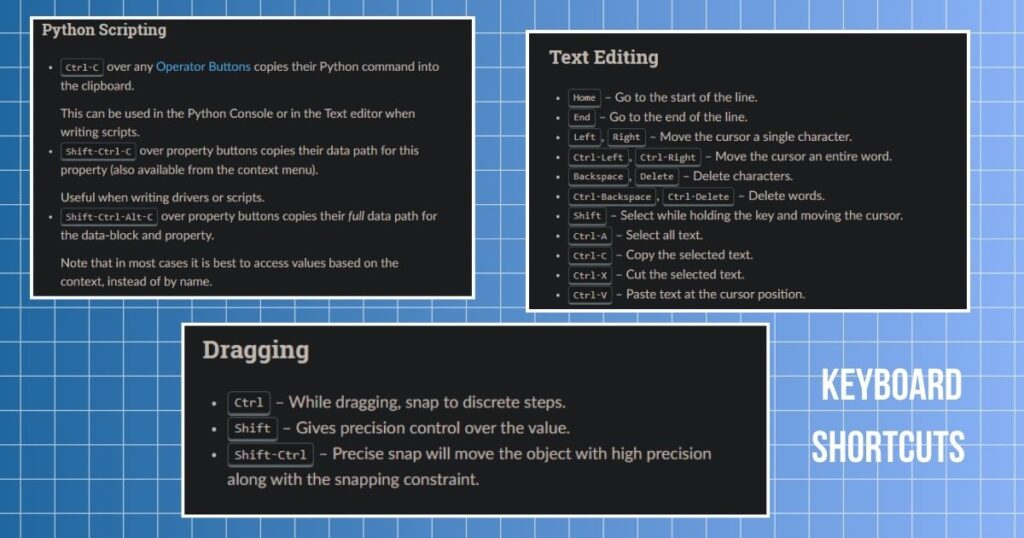
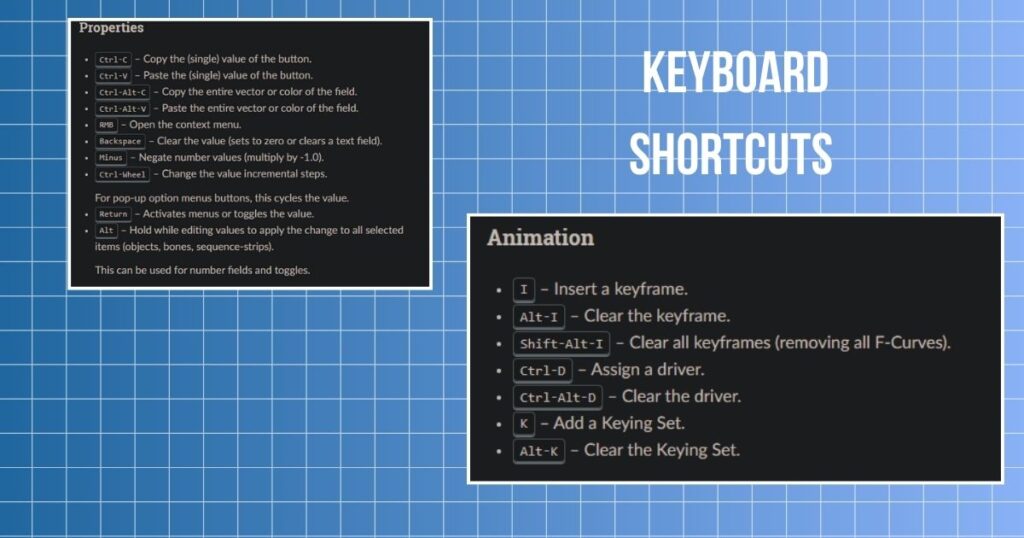
- Master Keyboard Shortcuts: Blender relies heavily on keyboard shortcuts. Invest time in learning common shortcuts for tasks like selecting, transforming, and modeling. This will significantly speed up your workflow.
- Customize Your Workspace: Blender allows you to customize your workspace. Create layouts tailored to your specific modeling tasks, making it easier to access the tools and panels you need.
- Use Add-ons: Explore the Blender community’s vast collection of add-ons. These can extend Blender’s functionality and streamline your workflow for specific tasks.
- Utilize the Node Editor: The Node Editor isn’t just for shaders and materials. You can use it for compositing and creating complex procedural textures.
B. Troubleshooting Common Issues
In the world of 3D modeling, challenges are part of the process. Here’s how to handle common issues:
- Normals and Face Orientation: Learn how to check and recalculate normals. Incorrect normals can lead to shading issues.
- Topology Problems: Understand how to identify and fix topology issues that cause unwanted deformations or artifacts during animation.
- Texture Mapping Errors: When textures don’t appear as expected, check your UV mapping and texture coordinates.
- Performance Optimization: Optimize your scenes for rendering and real-time performance by managing the level of detail (LOD) and using simplified meshes when necessary.
C. Staying Updated with Blender’s Features
Blender is continually evolving with new features and improvements. To stay at the forefront of 3D modeling:
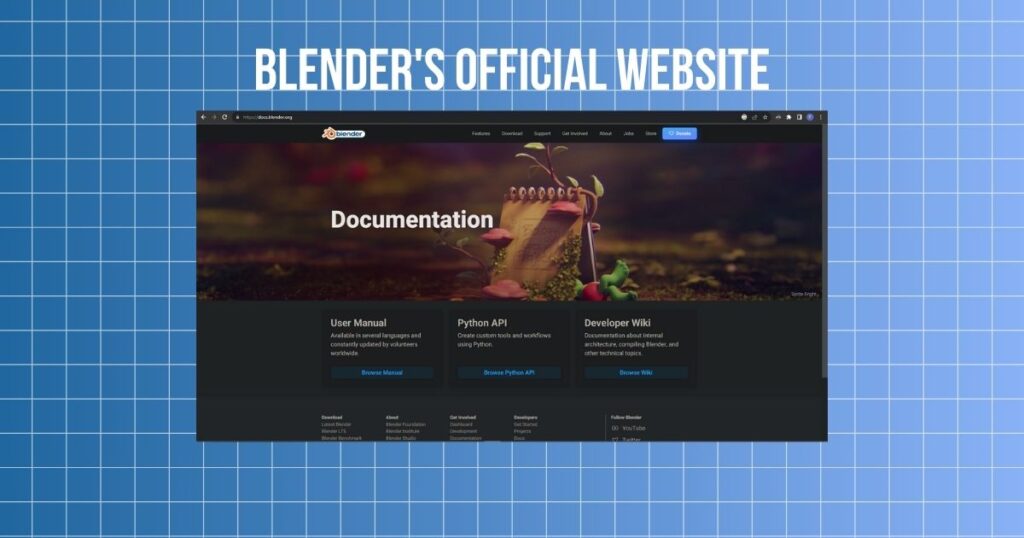
- Follow Official Channels: Keep an eye on Blender’s official website, blog, and social media channels for announcements about updates, new features, and tutorials.
- Community Forums: Participate in Blender’s vibrant online community, where users share tips, tricks, and updates on the latest developments.
- Tutorials and Courses: Invest in learning from tutorials and online courses that cater to the latest Blender versions and features.
- Experiment and Explore: Don’t be afraid to experiment with new features and techniques. Blender’s user-friendly interface encourages exploration.
By incorporating these tips and tricks into your 3D modeling journey, you’ll not only become more proficient but also better equipped to tackle challenges and create stunning, innovative projects in Blender. Happy modeling!
VII. Showcasing Blender’s Versatility
A. Real-World Examples of Blender’s Applications
Blender’s versatility extends far beyond 3D modeling, and it finds practical use in various industries and creative endeavors:
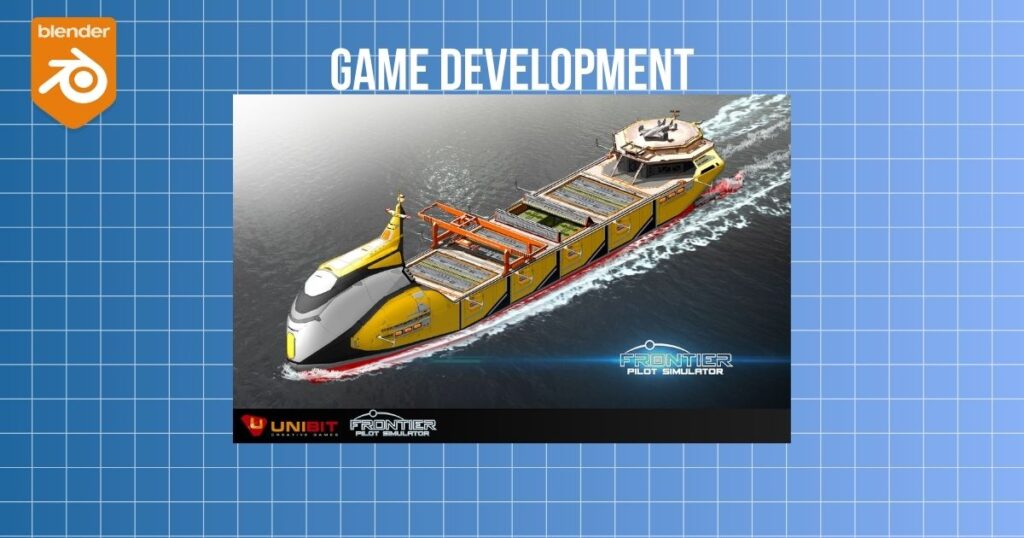
Game Development: Discover how Blender is employed in game design for creating assets, character animations, and level design.
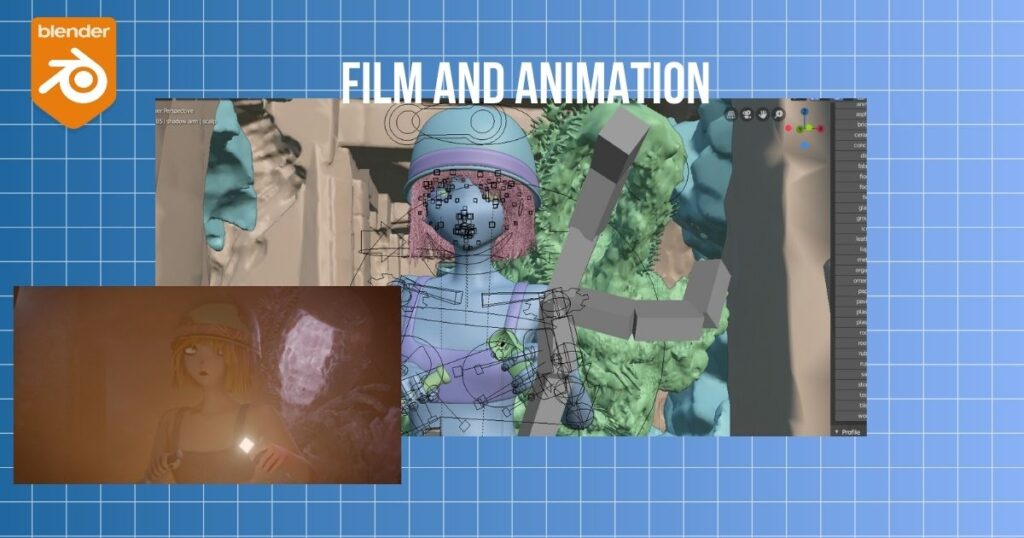
Film and Animation: Explore how Blender has been used in film production and animation, both for indie projects and in professional studios.
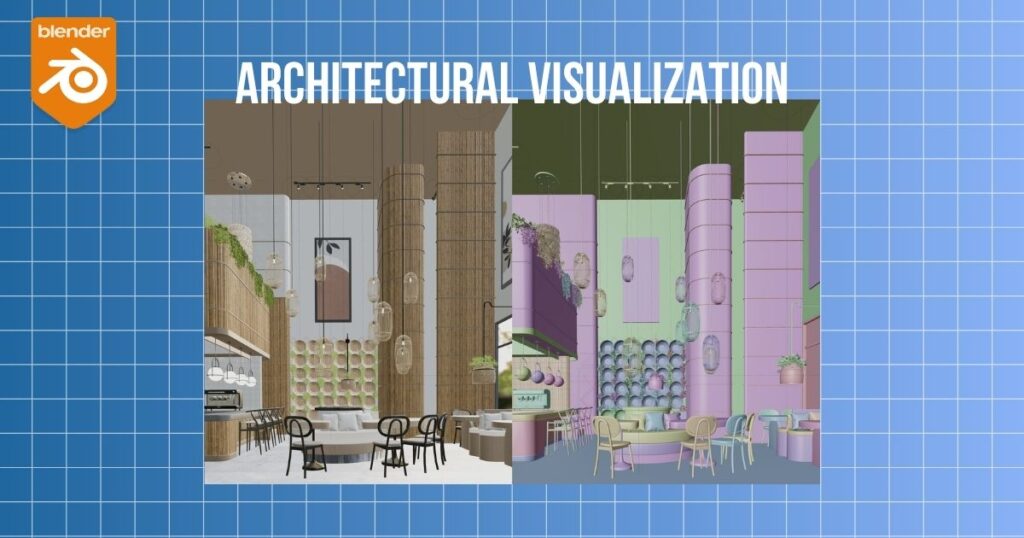
Architectural Visualization: See how architects and interior designers leverage Blender to visualize and present their designs in 3D.
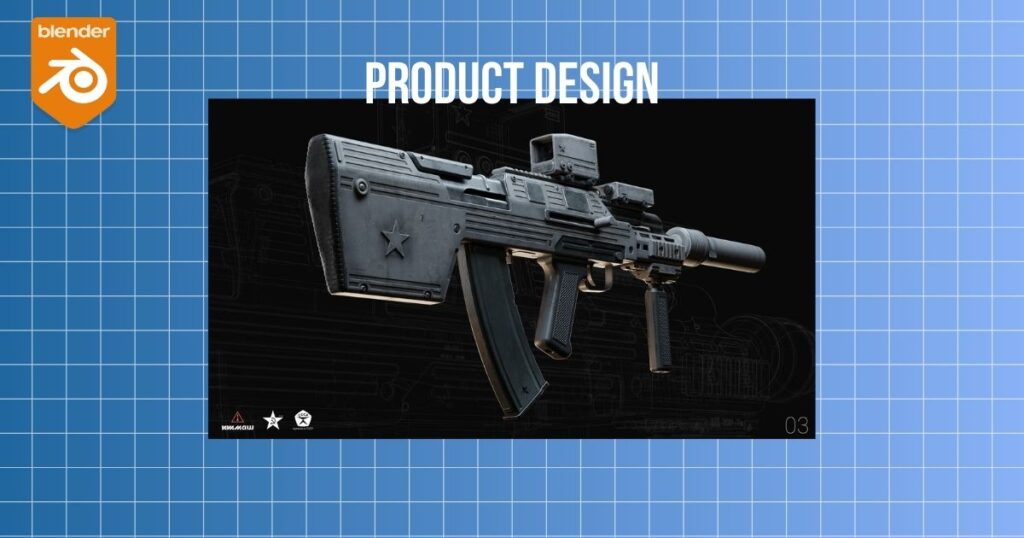
Product Design: Learn about product designers who use Blender to prototype and visualize products before production.
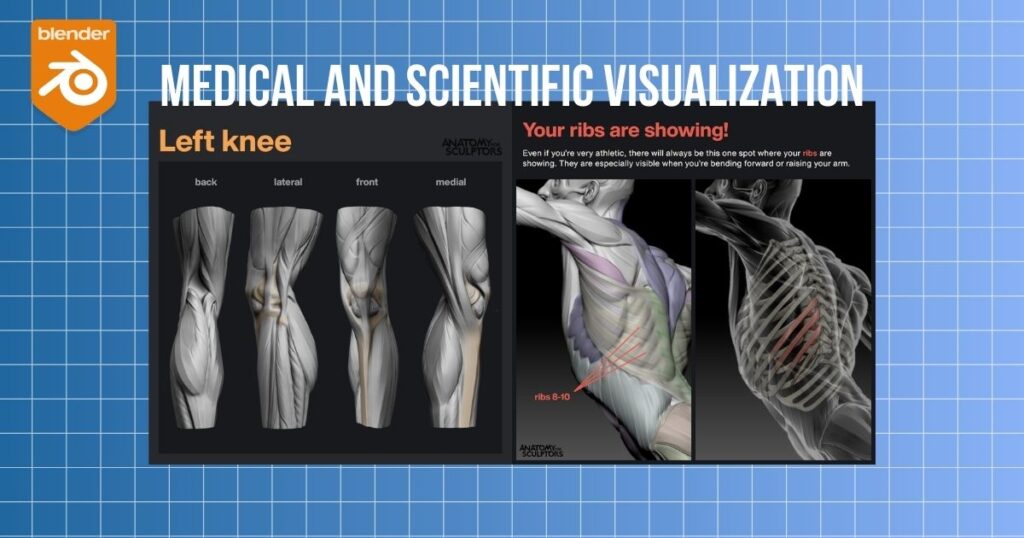
Medical and Scientific Visualization: Understand how Blender contributes to medical and scientific research through 3D visualization and simulation.
B. Case Studies: How Artists and Designers Use Blender
Dive deeper into real-world success stories where artists and designers have harnessed Blender’s power:
- Character Design: Explore case studies of character artists who have created captivating 3D characters for video games, animation, and more using Blender.
- Architectural Visualization: See how architectural firms have effectively used Blender to create stunning 3D architectural renders and walkthroughs.
- Indie Animation: Learn about independent animators who have produced remarkable animated shorts and films with Blender.
- Product Design and Prototyping: Discover how Blender has played a pivotal role in the prototyping and design phases of various consumer products.
- Educational Initiatives: Read about educational institutions and initiatives that incorporate Blender into their curriculum to teach 3D modeling and animation.
These real-world examples and case studies will demonstrate Blender’s wide-reaching impact and its ability to serve as a powerful tool in the hands of artists, designers, and professionals across diverse fields. Whether you’re pursuing a career in animation, architecture, or game development, Blender’s versatility can help you achieve your creative and professional goals.
VIII. Joining the Blender Community
A. Online Resources and Tutorials
- Official Blender Website: Start your journey by exploring the official Blender website (https://www.blender.org/). Here, you’ll find an abundance of resources, including documentation, tutorials, and downloads.
- YouTube Tutorials: YouTube is a treasure trove of Blender tutorials. Many talented creators share in-depth guides, tips, and tricks for users of all skill levels. Channels like Blender Guru, CG Geek, and Blender Cloud are great places to start.
- Blender Artists Community: The Blender Artists Community (https://blenderartists.org/) is a vibrant online forum where Blender users share their work, seek advice, and discuss Blender-related topics. It’s an excellent place to connect with fellow enthusiasts and professionals.
B. Blender Forums and Communities
- Blender Stack Exchange: If you have specific questions or encounter technical challenges, Blender Stack Exchange (https://blender.stackexchange.com/) is a Q&A platform where you can get expert answers and solutions.
- Reddit’s r/blender: Reddit’s Blender community (https://www.reddit.com/r/blender/) is an active hub for Blender enthusiasts. You can share your work, seek feedback, and engage in discussions about the software.
- Blender Artists Forum: As mentioned earlier, Blender Artists (https://blenderartists.org/) is a welcoming and supportive community where artists showcase their work and exchange ideas. It’s an ideal place to connect with other Blender users.
C. Sharing Your Own Work and Learning from Others
- Social Media: Platforms like Instagram, Twitter, and ArtStation are great for sharing your Blender creations and connecting with artists from around the world. Use relevant hashtags to reach a broader audience.
- Blend Swap: Blend Swap (https://www.blendswap.com/) is a platform where Blender users share their 3D models, materials, and scenes for free. It’s a fantastic resource for finding assets to use in your projects and for contributing your own creations.
- Attend Blender Conferences and Meetups: If you have the opportunity, consider attending Blender conferences and meetups, either in person or virtually. These events are great for networking, learning from experts, and staying up-to-date with the latest developments in the Blender community.
Joining the Blender community is not only about learning but also about sharing your passion for 3D modeling, animation, and design. By actively participating in these online resources, forums, and communities, you’ll find inspiration, gain valuable insights, and make connections with like-minded individuals who share your enthusiasm for Blender.
IX. Conclusion
A. The Exciting World of 3D Modeling in Blender
In conclusion, the world of 3D modeling in Blender is a thrilling and boundless realm of creativity. We’ve embarked on a journey together, starting from the basics and progressing to advanced techniques. Blender’s versatility, combined with your imagination, can lead to the creation of captivating 3D art, animations, and designs.
B. Encouragement to Continue Exploring and Learning
As you take your first steps or continue your journey in 3D modeling with Blender, remember that learning is an ongoing process. The more you explore and experiment, the more you’ll grow as a 3D artist. Embrace challenges, seek inspiration, and never stop honing your skills. Your potential in Blender is limited only by your dedication and creativity.
C. Inviting Readers to Share Their Experiences and Projects
We invite you to share your experiences, projects, and discoveries with the Blender community. Whether you’ve created stunning artwork, solved challenging modeling problems, or found unique ways to use Blender in your field, your contributions can inspire others and foster a sense of camaraderie among Blender enthusiasts.
X. Additional Resources
A. Links to Further Blender Tutorials and Learning Materials
- Blender Guru’s Beginner Tutorial Series
- Blender Cloud’s Learning Platform
- BlenderDiplom Tutorials
- Blender Cookie (CG Cookie) Tutorials
B. Recommended Books and Courses on 3D Modeling
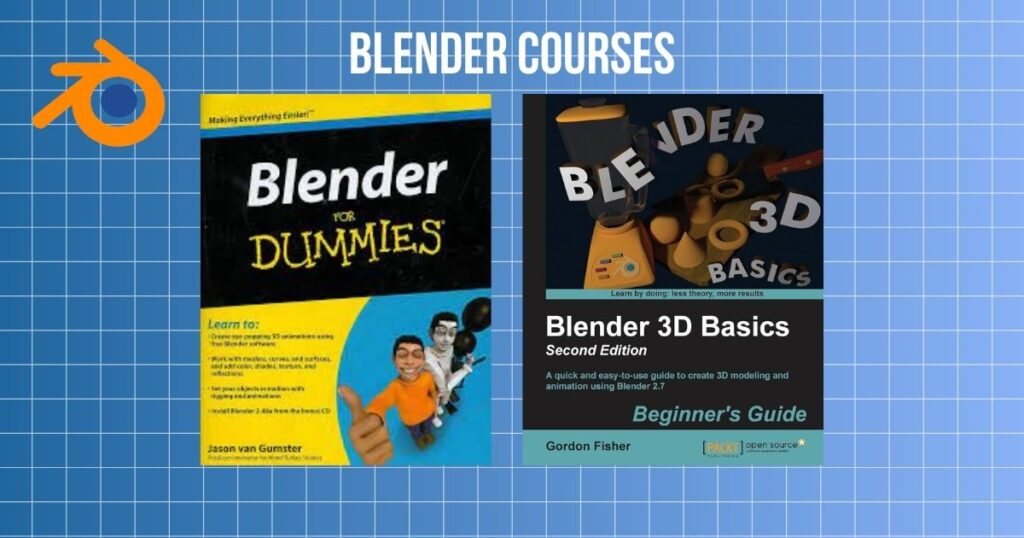
- “Blender For Dummies” by Jason van Gumster – This book offers a comprehensive introduction to Blender for beginners.
- Coursera’s “3D Modeling and Animation: Blender” – This online course provides structured learning for Blender users of all levels.
- Udemy’s “Complete Blender Guide: Learn 3D modeling with Blender” – An in-depth course covering everything from modeling to animation and rendering.
- “Blender 3D Basics” by Gordon Fisher – A beginner-friendly book that covers Blender’s fundamental concepts.
These additional resources will support your ongoing learning journey and help you refine your skills in Blender. Whether you’re pursuing 3D modeling as a hobby or a profession, there are abundant opportunities to explore, create, and excel in the world of Blender. Happy modeling!
