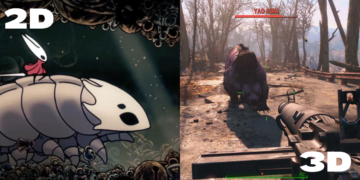
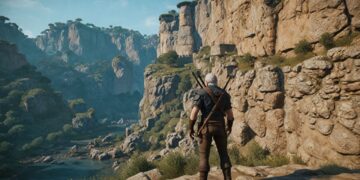
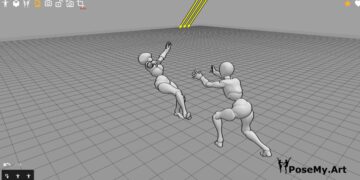
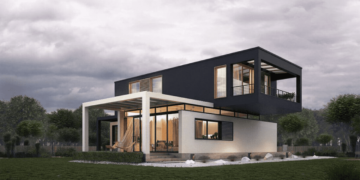
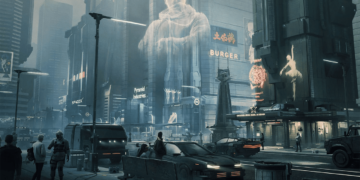
These days, we can see a lot of people creating their own 3D animated short films from scratch, some of them look cartoonish or stylized and some of them look really great in terms of quality and realism.
Today, we are going to see How to Make a 3D Animation Movie at Home on your own, if you will learn the skills and the processes we will discuss in this video.
So, any production of a movie or 3D animated short film can be separated into 3 steps: Pre-production, Production, and Post-production.
1. Pre-Production
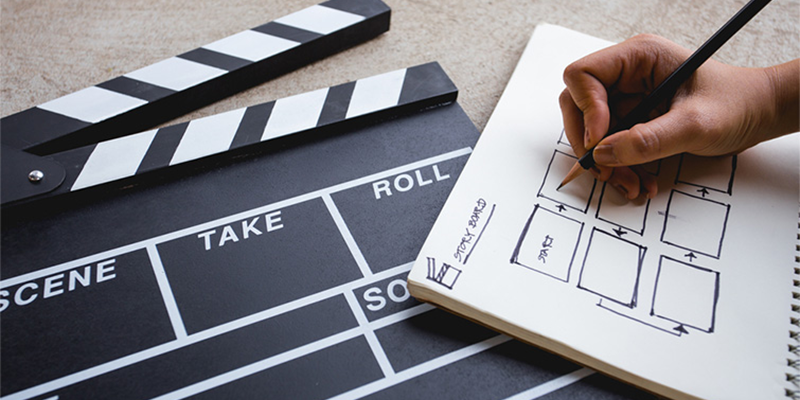
in this stage what you are going to do for the most part is planning, creating a story and the characters involved in it.
This is very important and it will basically shape how your movie will look when it is completed. This stage is really detrimental because it can make or break the process as a whole, and it can lead to a great or poor looking movie.
The important aspects of the pre-production stage are:
The Story:
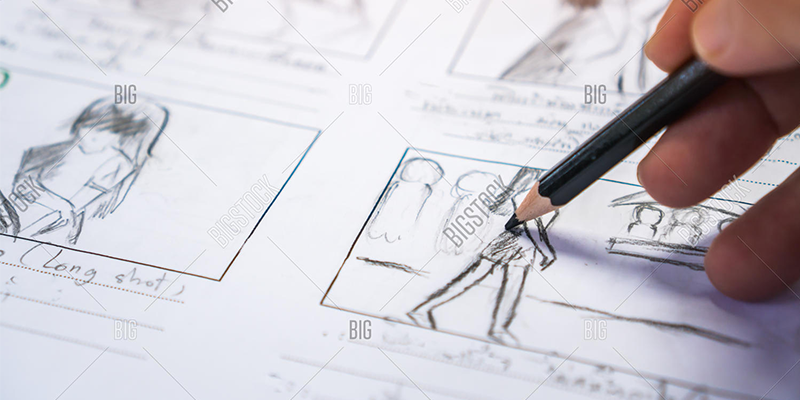
before you make a movie you need to have an idea for the story and why it is important for the people who are going to engage with it.
you have to define the main concept of the story and who are the people you are argetting.
The Script:
of course, when you decide what the story is going to be you need to write a script for it, you are going to develop characters and their dialogues.
The script can refine flaws in the story by making it practical and allowing your characters actions and words the overall direction.
The storyboard is going to allow you to see how your story is progressing and how long every action and scene takes to complete.
on this storyboard you can also have some notes to explain things that probably are not very clear, you can also show characters and camera movements using signs or words.
Storyboarding
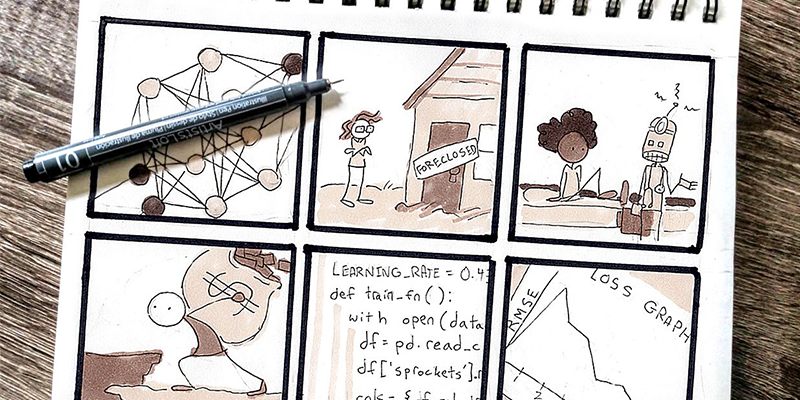
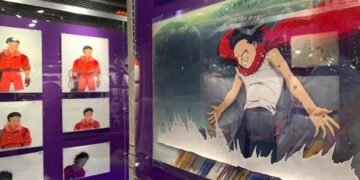
this is the process in which you transform the written story into a design on paper so you can outline or block out scenes and the dialogue that is going on between characters.
Model Sheets
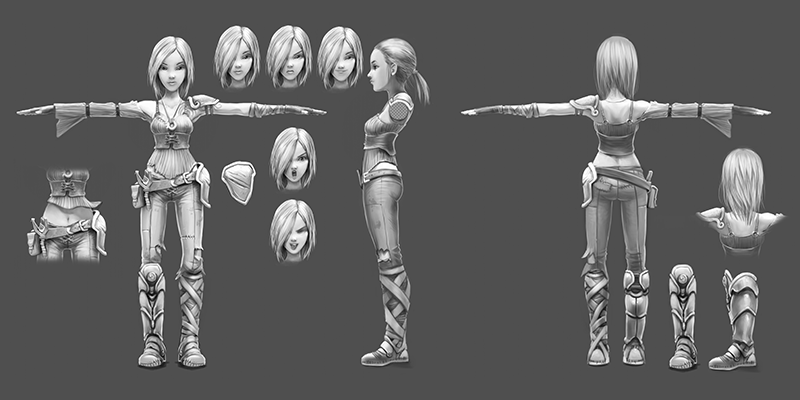
After storyboarding, you already have the characters for your movie and have an idea
of what they’ll be doing.
Model sheets show every angle possible of a specific character.
These drawings will display all the sides and expressions of a character that will appear in the movie. Having a detailed drawing here makes the modeling of the characters easier later.
Animatics
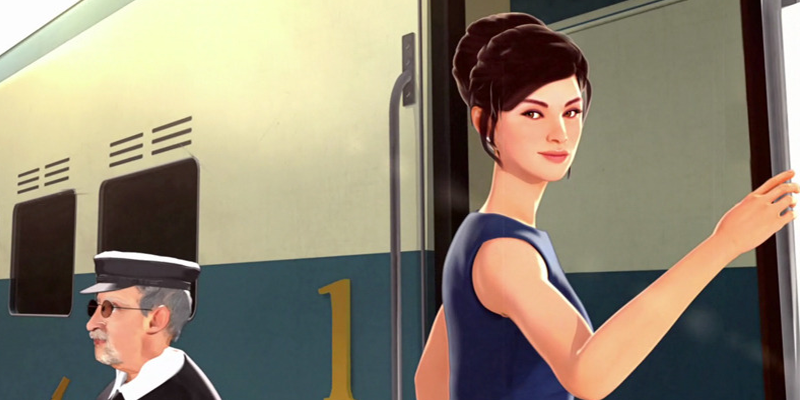
To have a view of how your movie will look like, you have to create a mockup of your characters and include their dialogues.This is like a ‘pre-movie’ and you can still change many things later.
Here, you see in motion how the characters interact and if their conversation makes sense. You can also add parts needed or remove parts of your story that don’t work well.
With your animatics, you can plan the sequences of your scene and the visual effects you’ll have to add later on.
At this stage, you should finalize your scenes and dialogues as it will be more difficult to make these changes during production.
2. Production
in this stage you know what you are going to make, it is time to take the concepts and the story you wrote into action.
Modeling
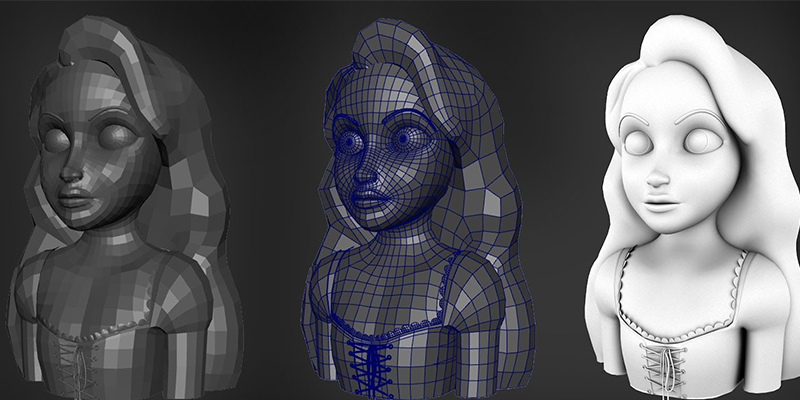
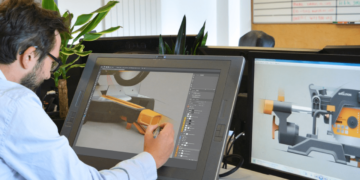
in this stage, you take you 2D characters from concept to 3D Using 3D Modeling software, and this will define how your characters will look in action inside the final movie you are creating.
This is where your model sheet will be useful as it becomes easier to transform your character to 3D since you have already drawn all the angles. You have to note that a 3D model of your character itself is static.
you can not show movement or facial expressions just yet because this is will be done in the next stages of production
Modeling also creating the environment or the scenes in which the action is going to take place, and i would say the most time-consuming part of modeling is this.
sometimes you need to create a scene with lots of props especially when it comes to interior scenes.
of course, it all depends on how complex your movie is if you want something that is not going to take a long time you can spend a week or so every scene max.
Texturing
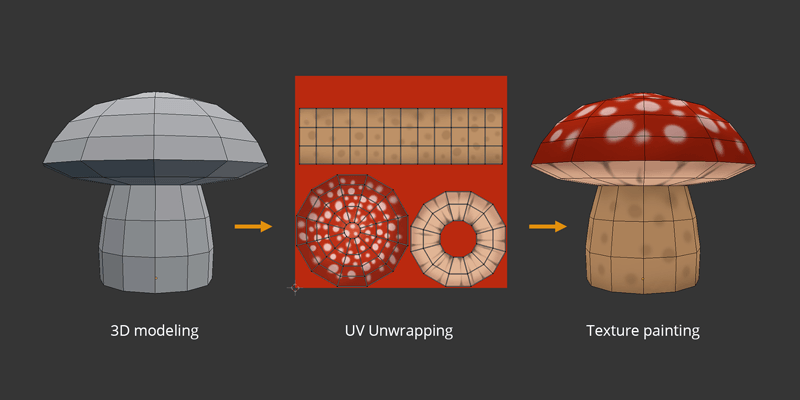
Texturing is also a very important part of creating characters and scenes because it is going to make everything look like it is alive.
3D animation studios call this process surfacing, and it is all about creating textures, color for surfaces and interaction with lighting.
Rigging
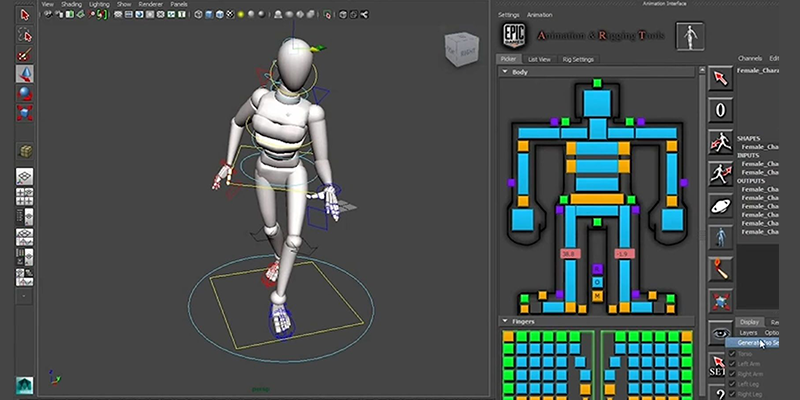
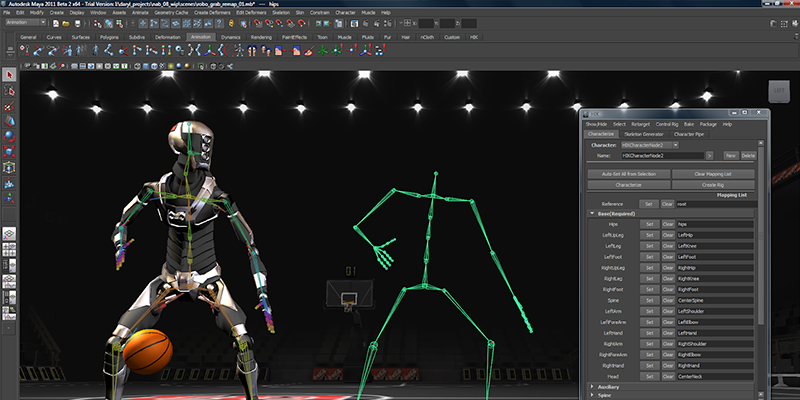
Rigging is a technique used in skeletal animation for representing a 3D character model using a series of interconnected digital bones.
Specifically, rigging refers to the process of creating the bone structure of a 3D model. This bone structure is used to manipulate the 3D model like a puppet for animation.
Pretty much anything can be rigged. A space ship, a soldier, a galaxy, a door, it doesn’t make any difference what the object is. Adding bones will allow any object to be animated freely.
when you finish the process of rigging you will be able to take your characters to action through the process of animation.
Animation
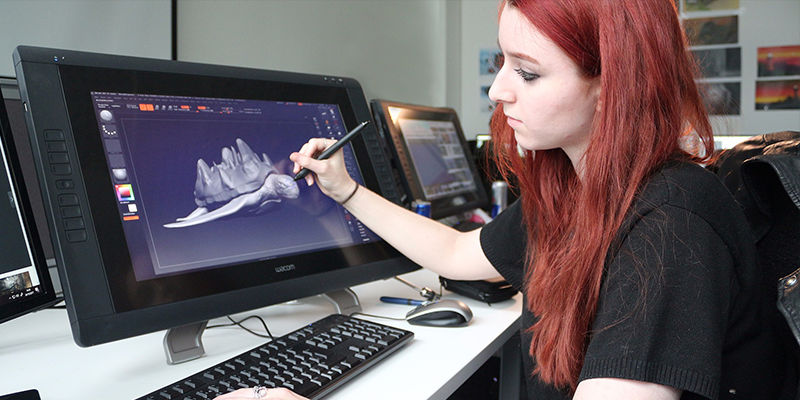
After your characters are rigged you need to bring them to the 3D environments and 3D scenes you created for animation, in this process camera movements will be involved as well because they will move with the characters to capture their movements.
In the animation stage, you have to create the movements of each character frame by frame.
This is one of the longest stages of production. It’s also where you can make your animated movie great or poor.
and if you have the money and experience to work with motion capture technology this is going to make things a lot faster.
Lighting
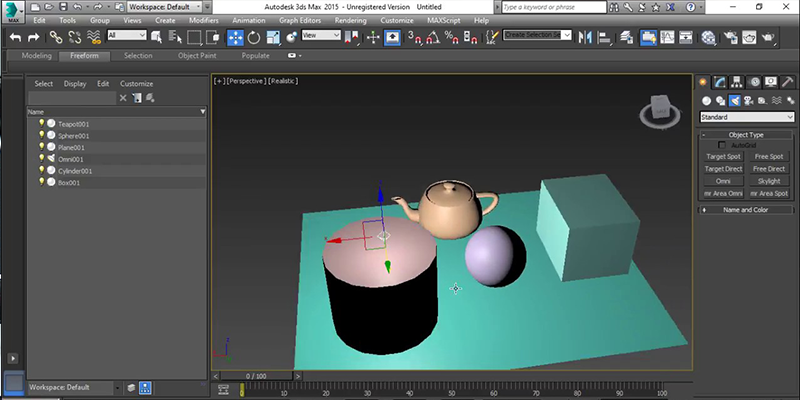
Lighting is a very important part of creating your scenes and the environment in general, it sets the mood and overall setup of the scene.
if you used strong lighting it is going be too bright, if you use too little light things are going to look dim and unclear to the viewer, so you need to find the right balance to tell the story.
you can create amazing scenes with very detailed and cool looking characters but if you can’t show your hard work properly through the use of good lighting it will not matter that much.
Rendering
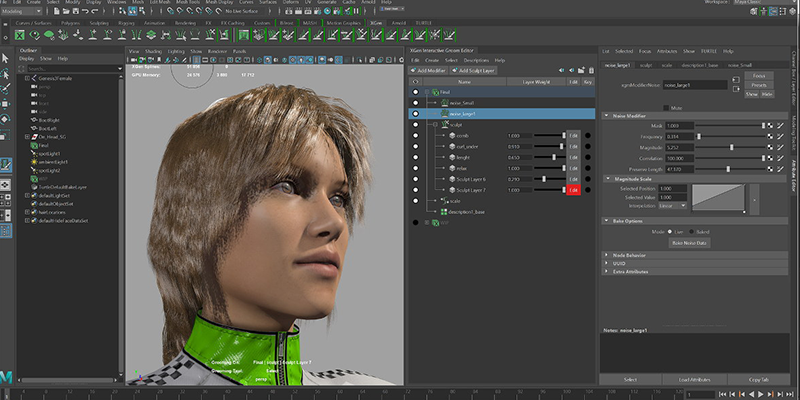
finally, you are going to render your work in the form of frames, for this the job you need a very strong high-end computer or you can use the services of online render farms which will allow you to get faster results.
you will need to render thousands of frames, this will consume a lot of time if you are going to do it on one computer.
3. Post-Production
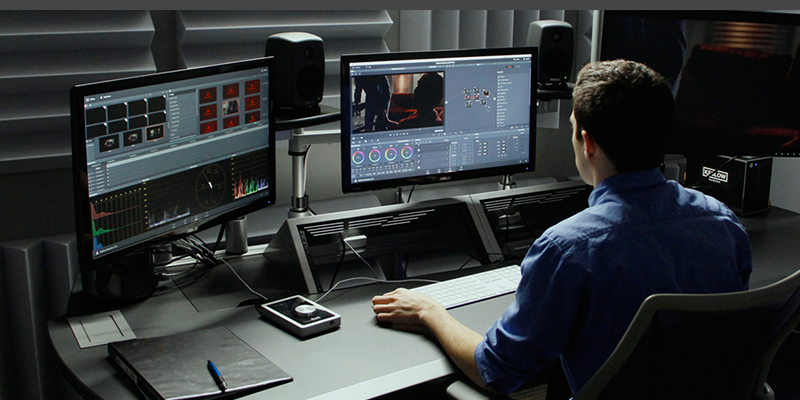
Now you have an animated movie but it is not ready yet because it is not consumable in this form, it needs compositing and editing.
Compositing
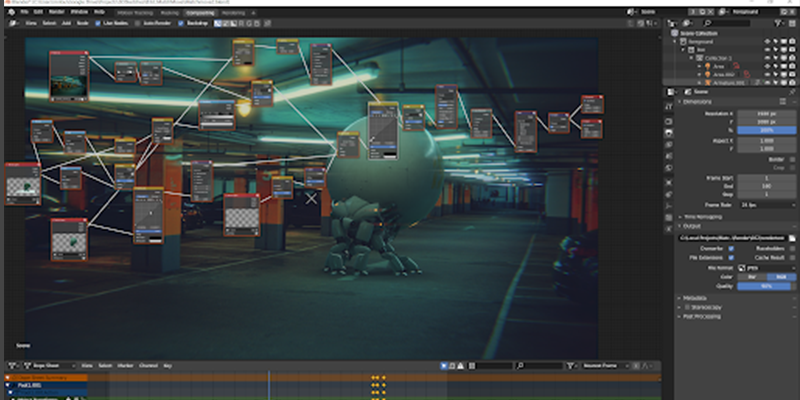
this process involves bringing all the elements of the scene into the animation pipeline, you will render different passes to create final shots.
in this stage usually a lot of post-production is done, the most important this is that your movie can be drastically visually enhanced during this process.
Sound editing
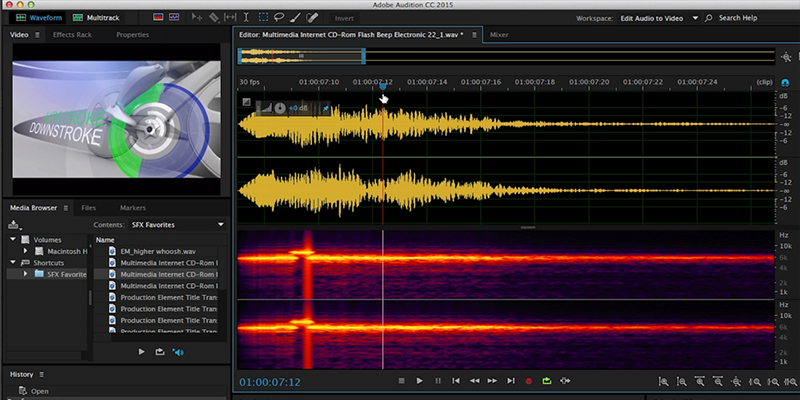
during this process, you will make sure that the voice is going to synchronize with the characters, this involves lips and body movements sounds also, the environment and some other sound effects.
music is an important part of the audio in a movie so you are to put it in the movie as well.
Video editing
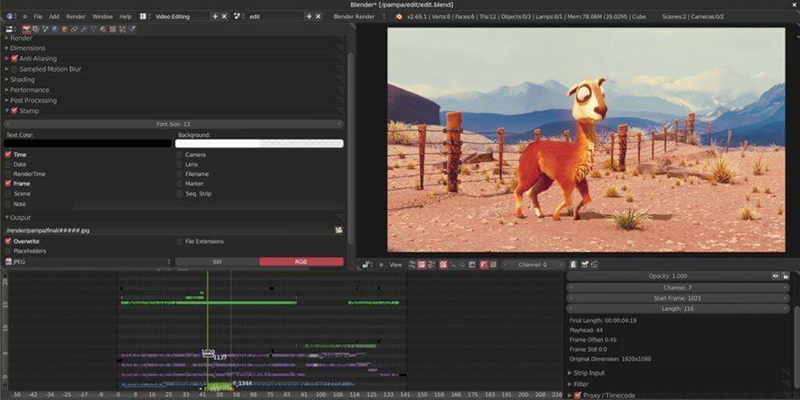
this is the last step in the process in which you will make sure that everything will come together nicely.
all the shots that were created will come together in one video, some shots will look out of proportion with the rest of the movie so probably you will consider cutting it out.
you can add other final touches such as visual effects, text, color correction.
i hope this was useful and helped you know more about how to create a short movie from scratch that does not need a large team of professionals.

